Stenar via Brojanov Raz
Trip overview
Stenar is a 2,501-meter peak in the Julian Alps of Slovenia. It forms part of the ridge dividing the Vrata Valley from the Krma Valleys. It's northern and eastern walls as well as pyramidal shape definitely make it a conspicuous summit. The top is accessible using a tourist marked path.
Brojanov raz is an interesting and fairly easy to navigate route that enables us to climb Stenar from northeast. It runs mostly through pillars and ridges but also in the chimneys. The ridge and pillar parts are exposed (in some places greatly) and the rock quality is questionable, especially in lower parts. Therefore, although the difficulty grade does not exceed III degree the climb cannot be underestimated.
Route description
Brojanov Raz access - marked trail to Škrlatica:
Starting from parking lot we head in the direction Aljažev dom mountain hut and shortly before it we turn right into the trail that goes to Škrlatica. Now the fun part begins as the path is quite steep and exposed to first rays of morning sun. At around 1800 meters we need be watchful as the marked path turns right but we stay in the big scree ravine and continue up. Around 1950 we turn left into scree opening that gives access to enclosed platform. Here we continue more to the left into direction where this platform is limited by sharp and exposed cliffs. Check out the images for better reference.
If you are interested in Škrlatica trail check out dedicated post to getting to the top of Slovenia's second highest mountain.
Links:Škrlatica - normal route
Brojanov Raz description:
For the detailed route description please refer to the topo and images.
Links:TOPO of the route
Brojanov Raz - route exit (I+):
The climbing route does not go as far as Stenar summit, the terrain eases-off with difficulties around 2350 meters and we need to scramble up - first along the ridge, then by-passing the first culmination of Macesence (2472m) to eventually get to its top. From here the Stenar seems like impossible to climb from our direction - however that is not the case. We leave the summit of Macesence under a conspicuous giant block of rock land on tiny ridge connecting it to Stenar. From now on, in partly exposed but easy climb (I+) right to the top.
Stenar descent - Sovatna ravine marked trail:
Initially for the descent we have only one option which is marked tourist trail, at Stenarska vratca pass (2295m) we can decide whether to stick to marked path and desecend to Vrata valley via Sovatna ravine (longer but more civilised) or take an off-road shortcut through scree madness and land back on the ascent path. Can't say much about the second option because I felt a bit sorry for my newish shoes which usually suffer greatly during rundowns in scree. That is definitely faster option of course.
Trip conditions
Weather:
Stuffy and warm in the morning, the climb was done in low-hanging clouds with chilly feeling. Merino underwear with long sleeve was needed together with a second layer.
Trail:
Tourist trails are well marked and passable at all times. Access path to the start of the climb isn't very distinct and is a bit tedious due to scree character of the terrain.
Additional information
Tips and author's comments:
Route is only equipped with pittons, some of them are in bad condition. The rock doesn't offer that many options for mobile protection however some friends, nuts and loops come in handy. Key sections are always secured with pitons. Orientation is fairly easy. Despite low grade the route requires very precise footwork at times and because of that it might be worth to put on climbing shoes, at least for the first three pitches. Steps in there are tiny in places.
Lately there has been some rockfall (yellow rocks) that touched the ridge, however it did not affect the route.
Dangers:
Since the rock quality is an actual concern in here extra caution is required while climbing. It's highly unlikely to meet here other teams, however, in such case I would strongly advise against proceeding in the chimney part. The risk of triggering rocks (and really big ones) even involuntarily is too high in my opinion.
Gear used:
20l rucksack, hiking poles, ascent shoes, harness, personal climbing set, helmet, 60m single rope, set of friends, set of loops
Transportation:
Starting point reached by car. There's a parking lot just below Aljažev dom mountain hut. For more detailed information please refer to a dedicated section linked below.
Accommodation:
Stay at Aljažev dom mountain hut is the most reasonable option if we want to avoid driving/commuting in the early morning.
Another option to start the route really early is to spend a night at Bivak IV na Rušju shelter - it's the closest spot to the start of the route and it splits the effort into two days. Downside is we need a bit more stuff to carry - own sleeping bag and water reserve. We might also not get the best of sleep as the shelter is a popular one. (Cheers to Czechs!) Our things do not have to be carried up as long as we return via Grunt scree - we can stash our things somewhere between the rocks and don't need to return to the shelter to pick them up.
Trip photos
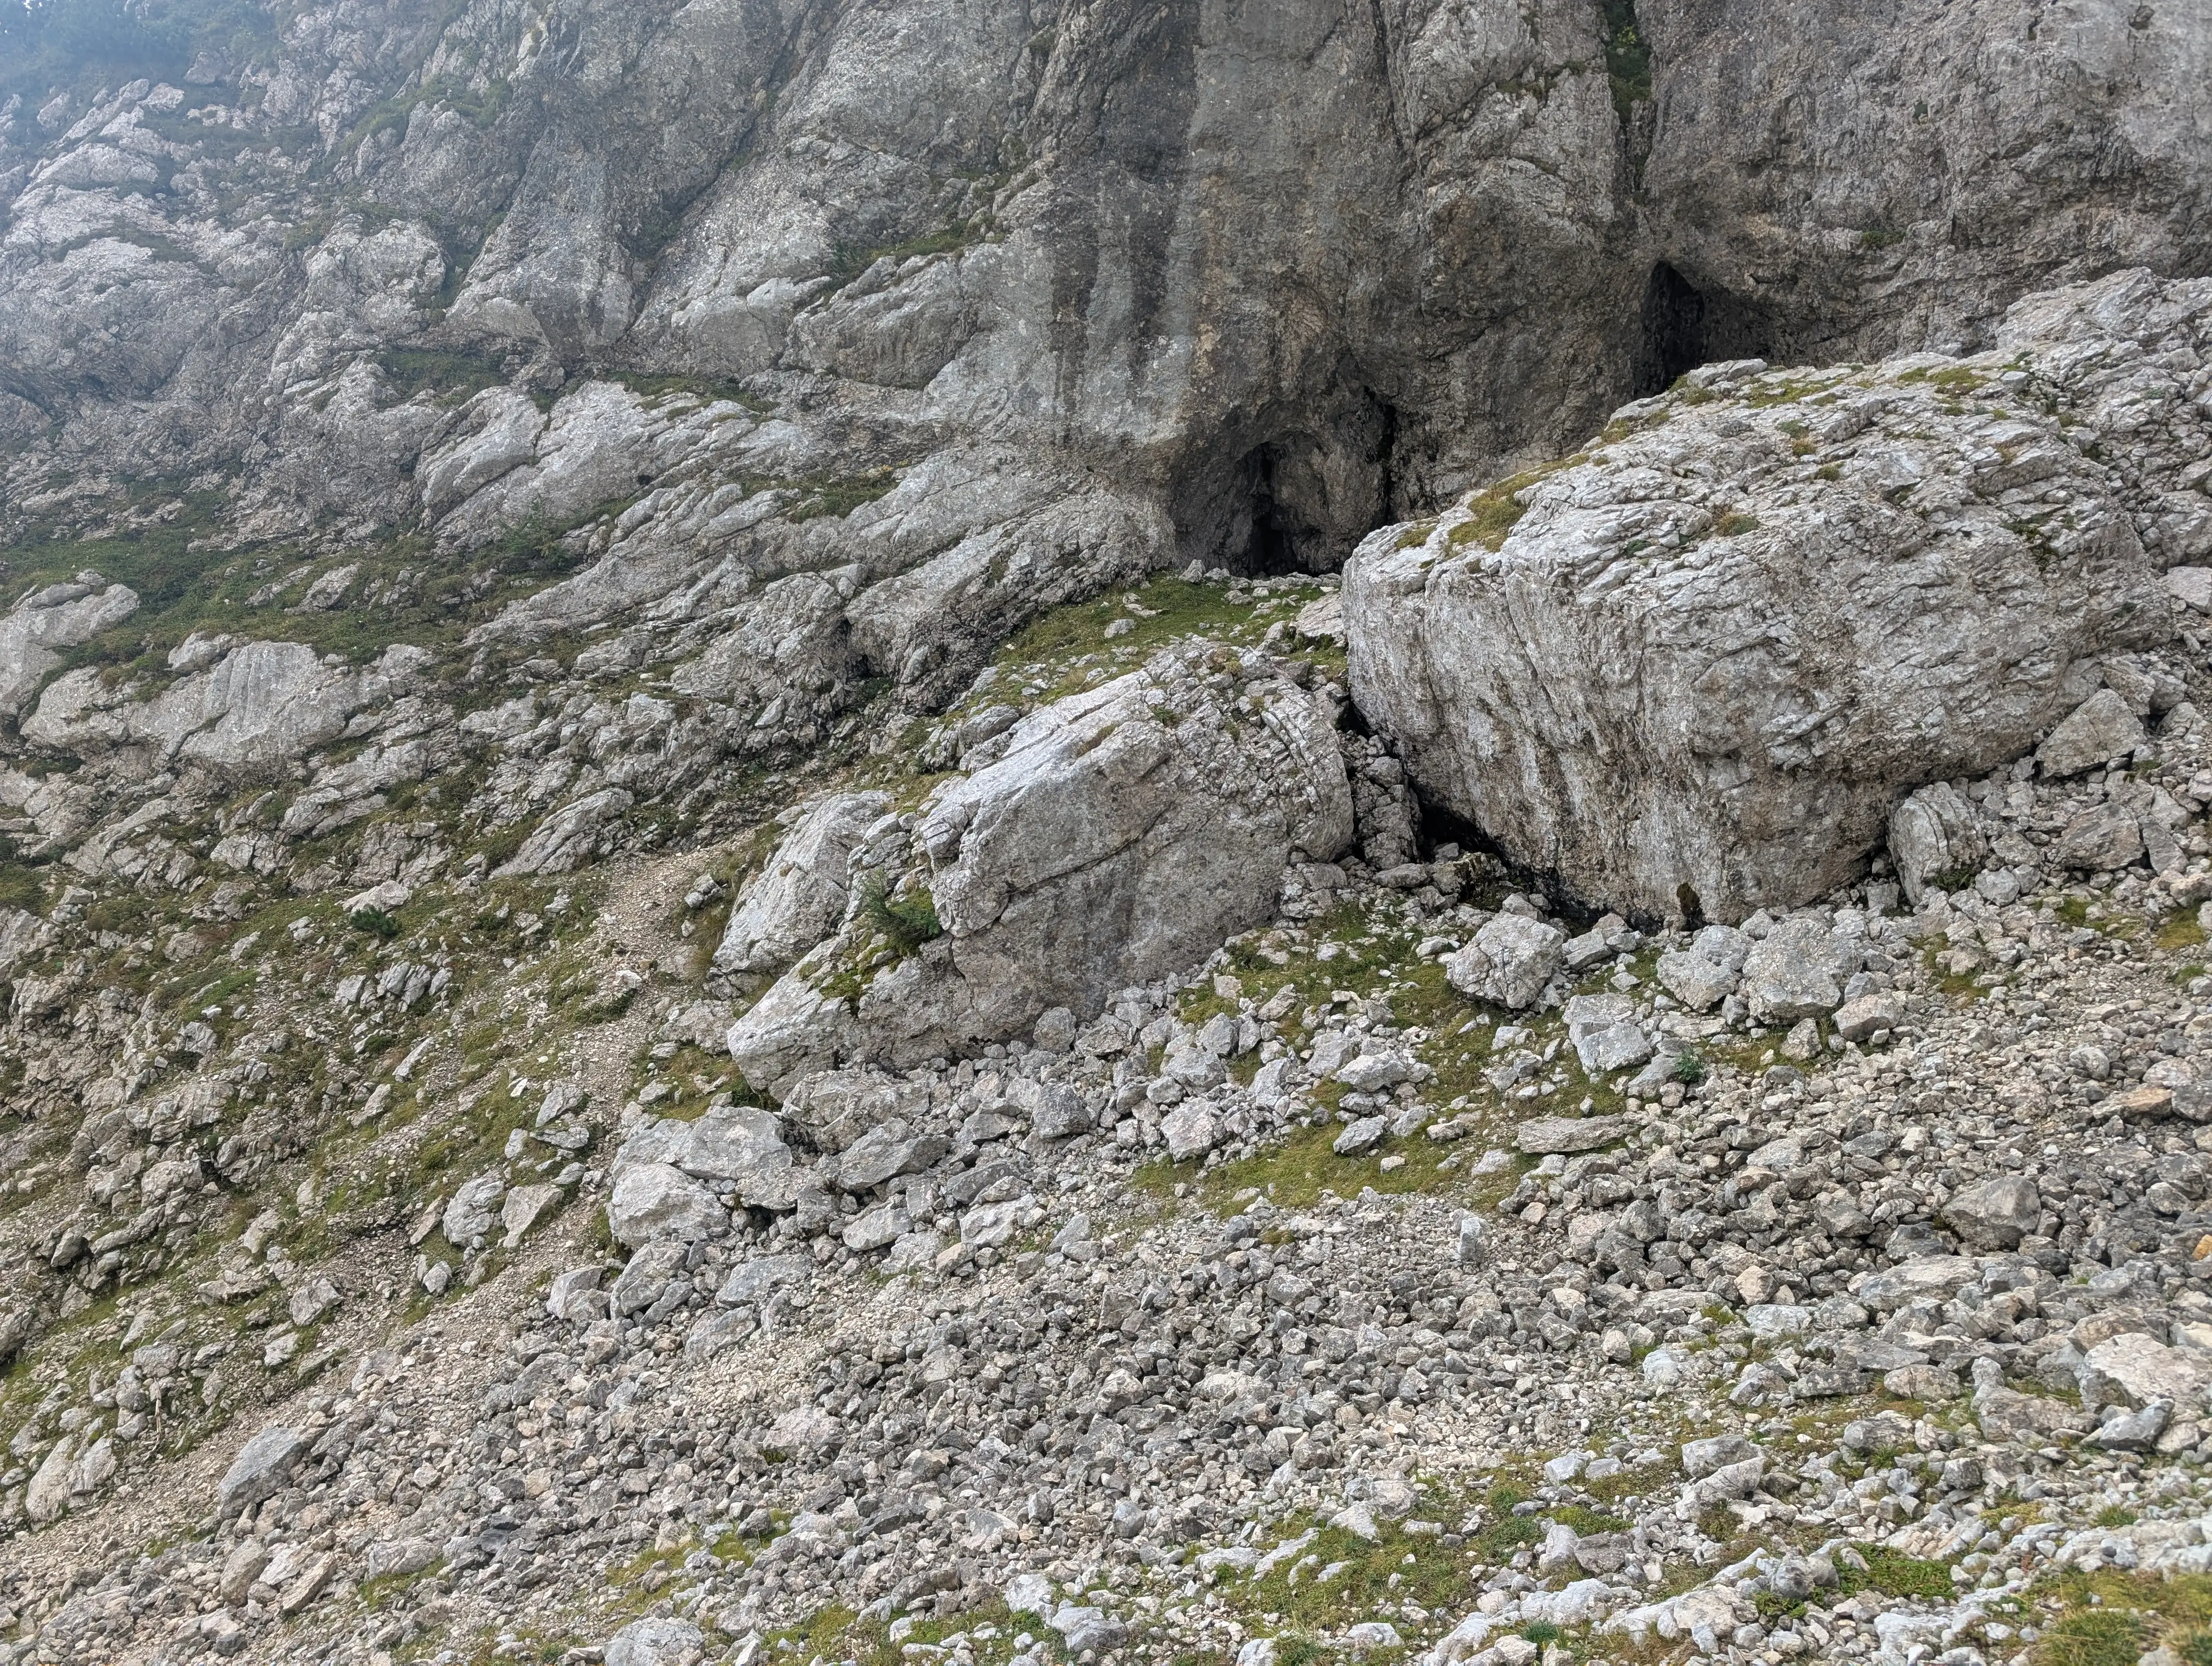 Below this rocks we should turn left sligthly and head up, leaving these cave-like holes on the left.
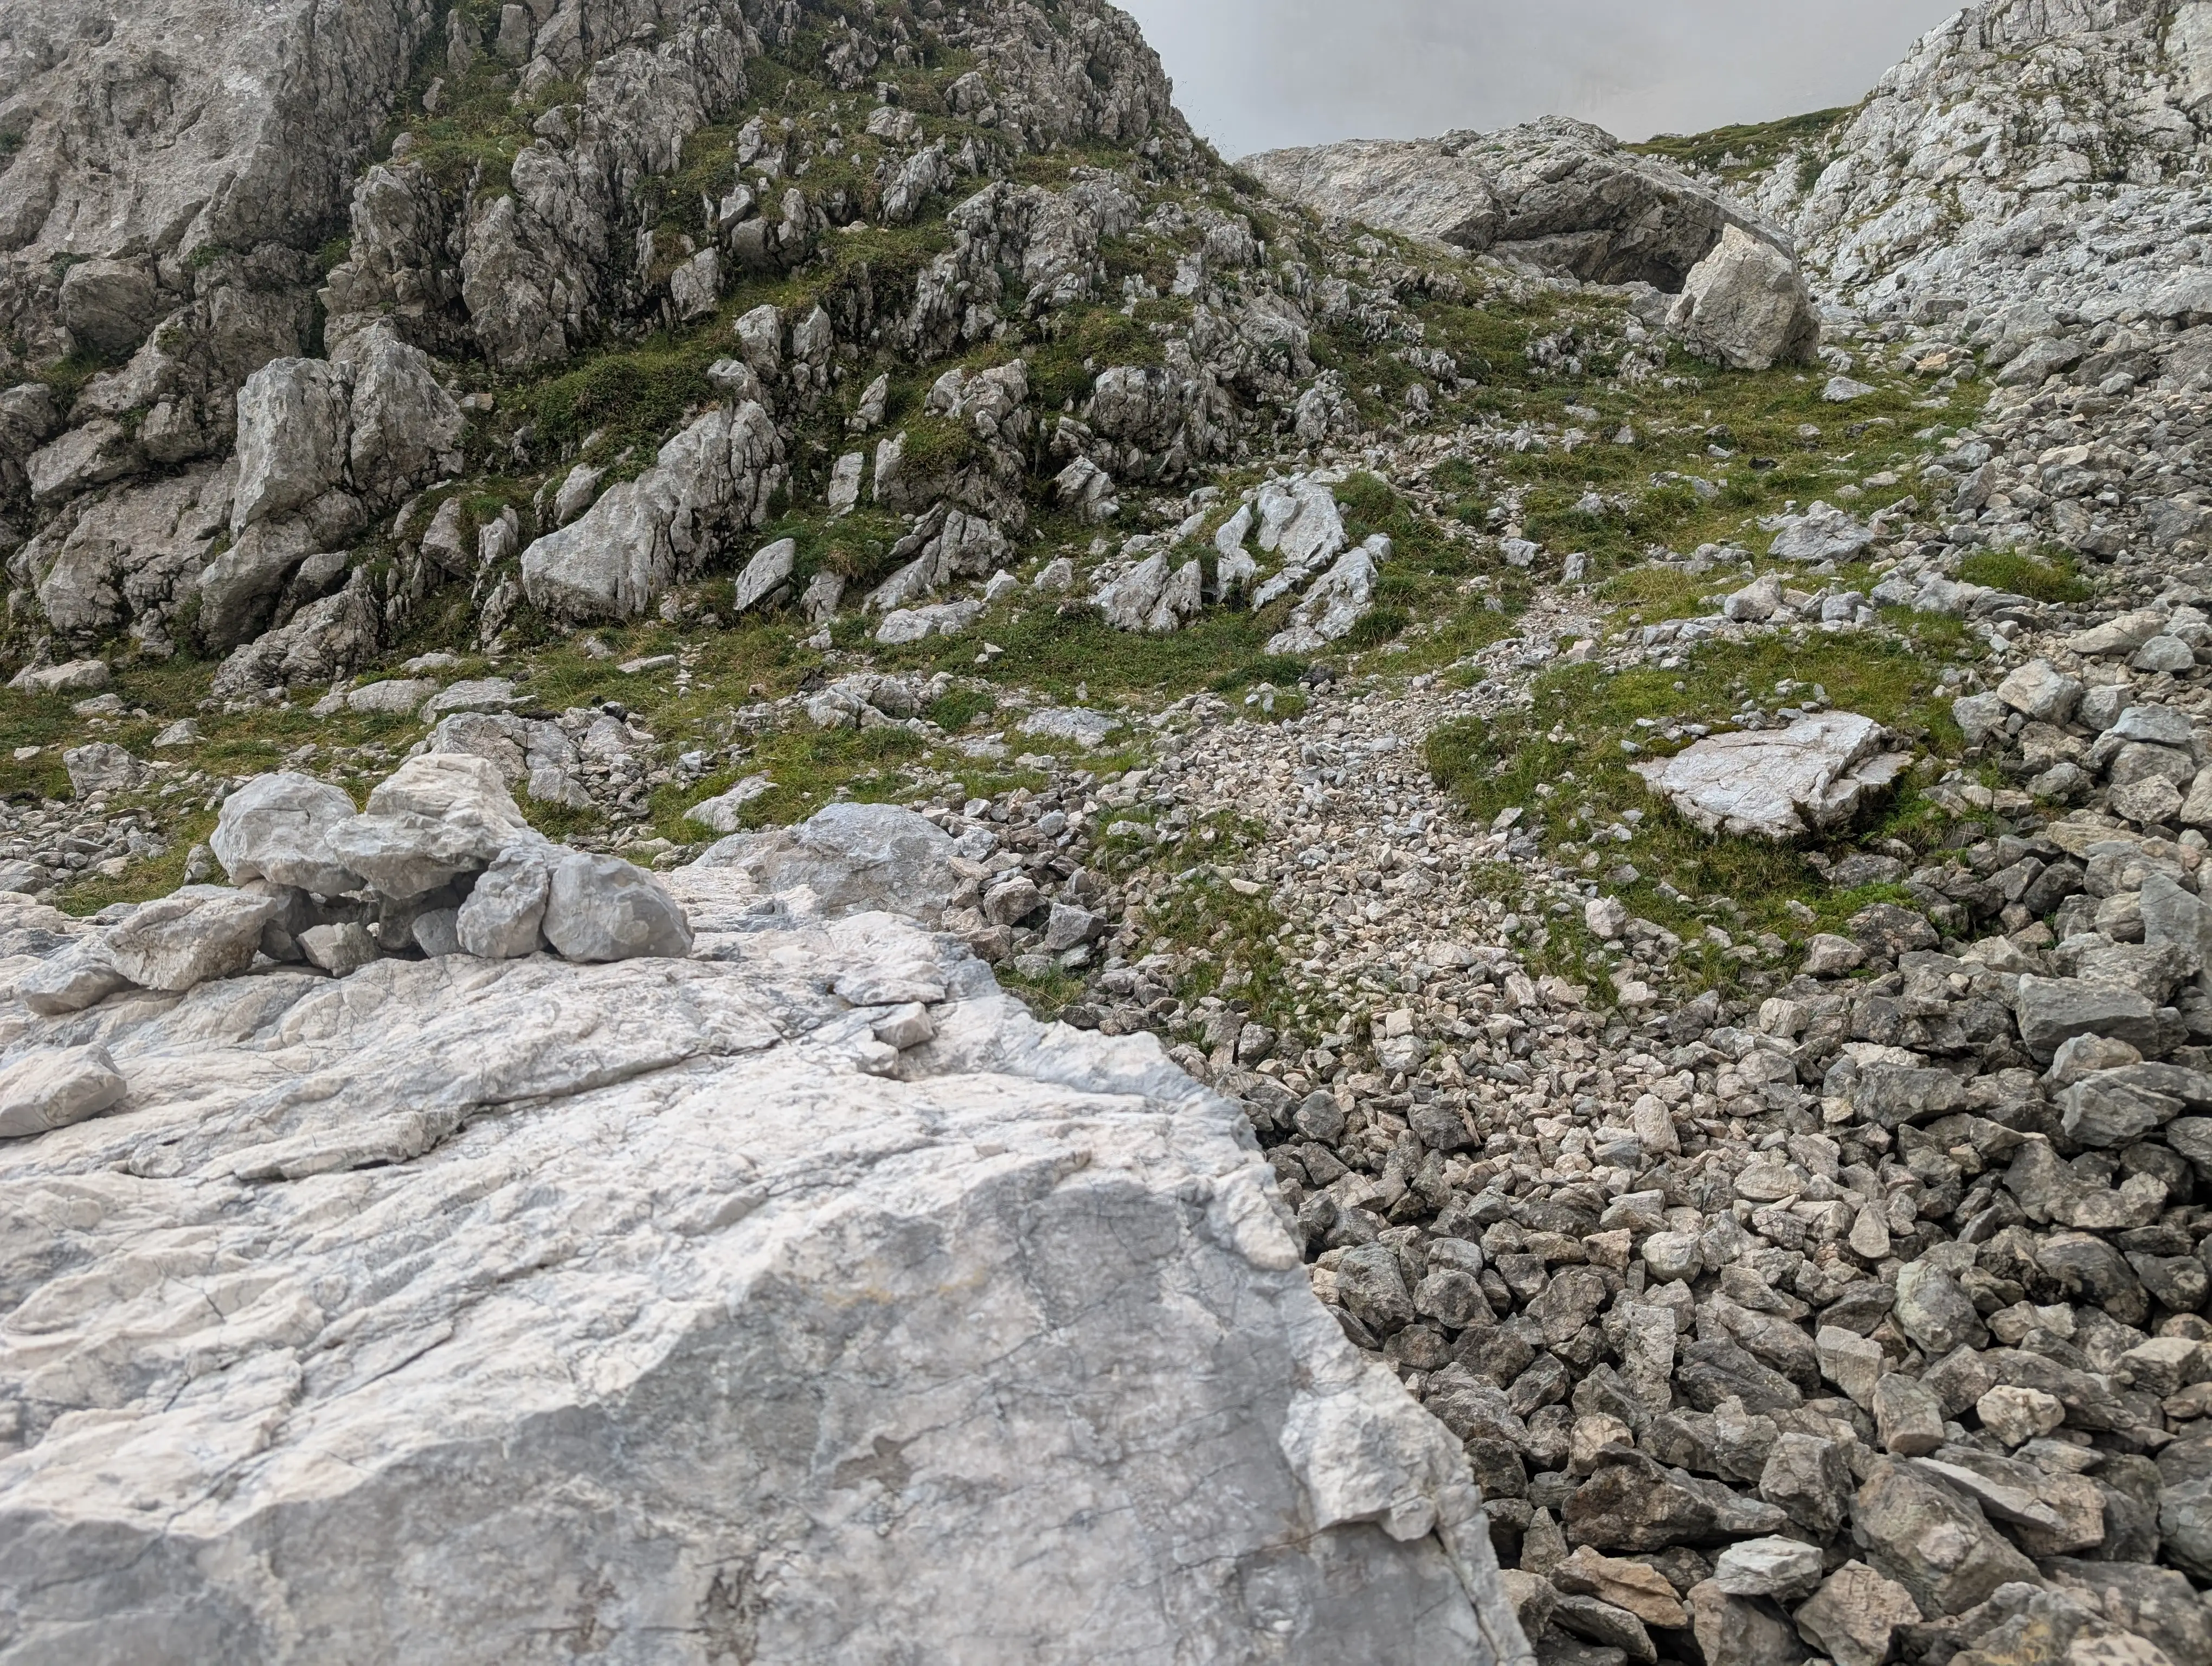 There are some cairns amd indistinct path but walking up with intuition should be enough.
 Platform opening we need to head to enter it, then turn left.
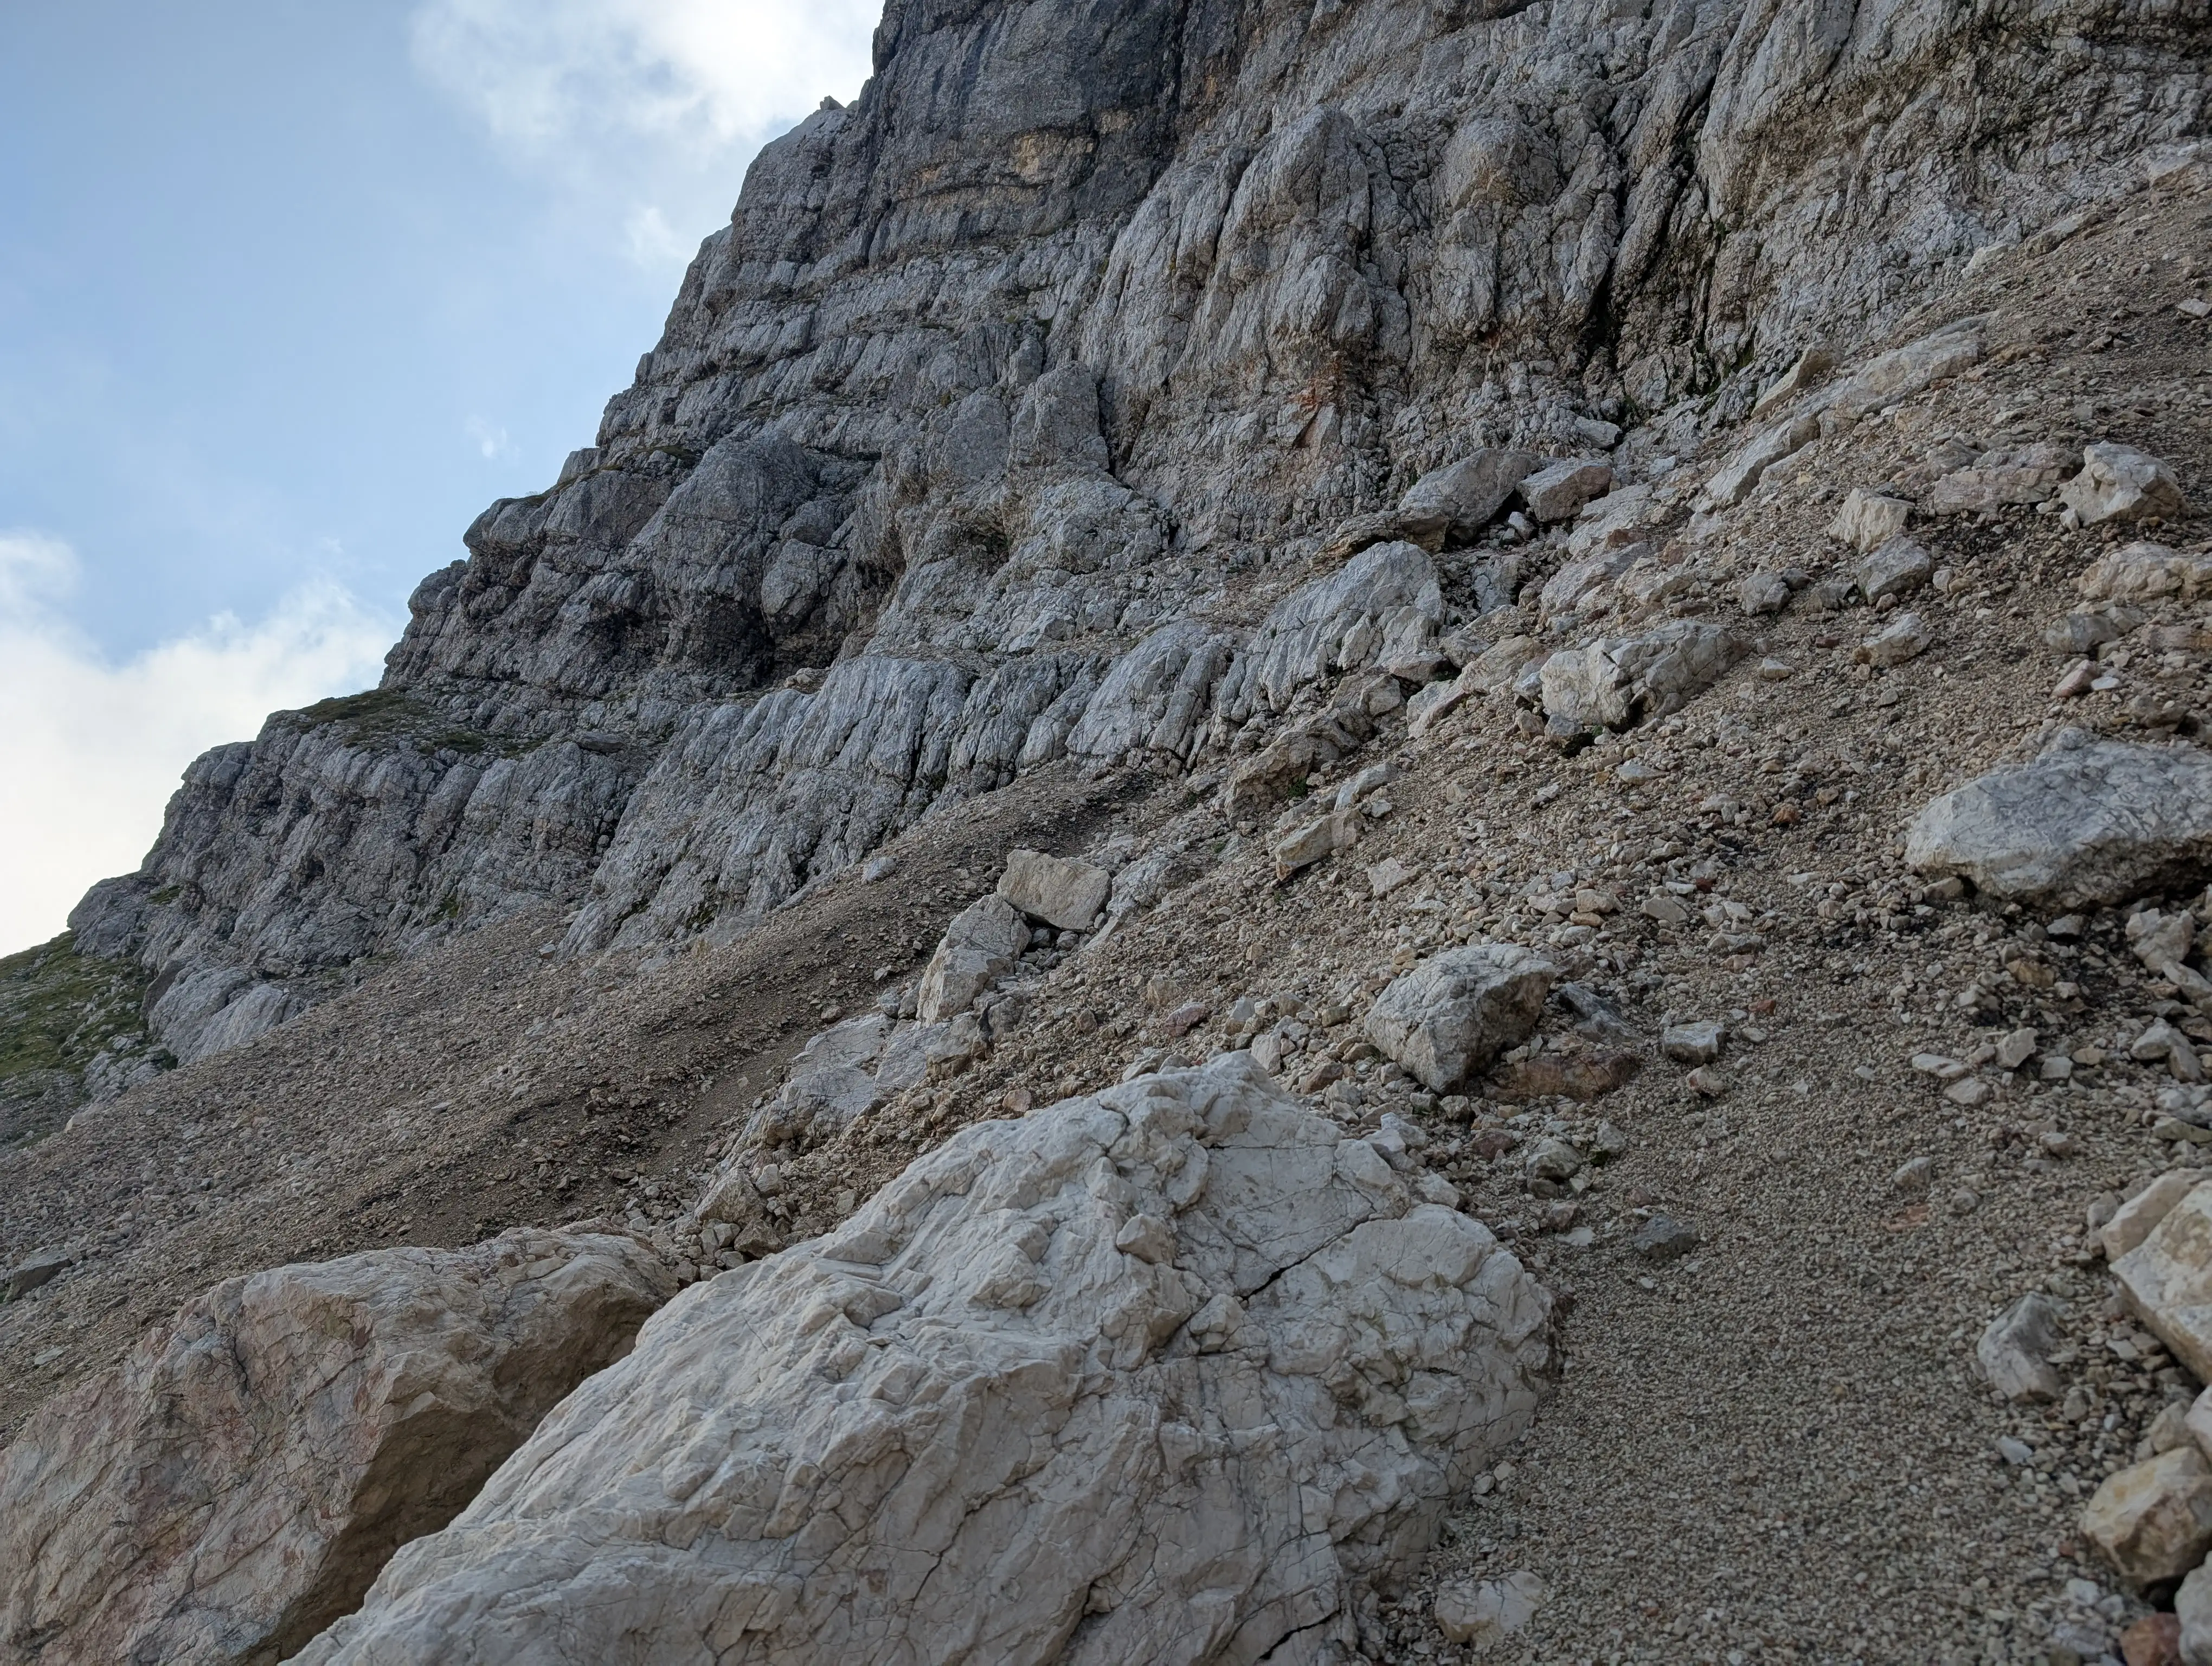 Terrain in the platform. We can either cross it below this rocky ledges or ascend and enter the first distinct ledge that will take us to the start of the climb (grassy ledge visible at the end)
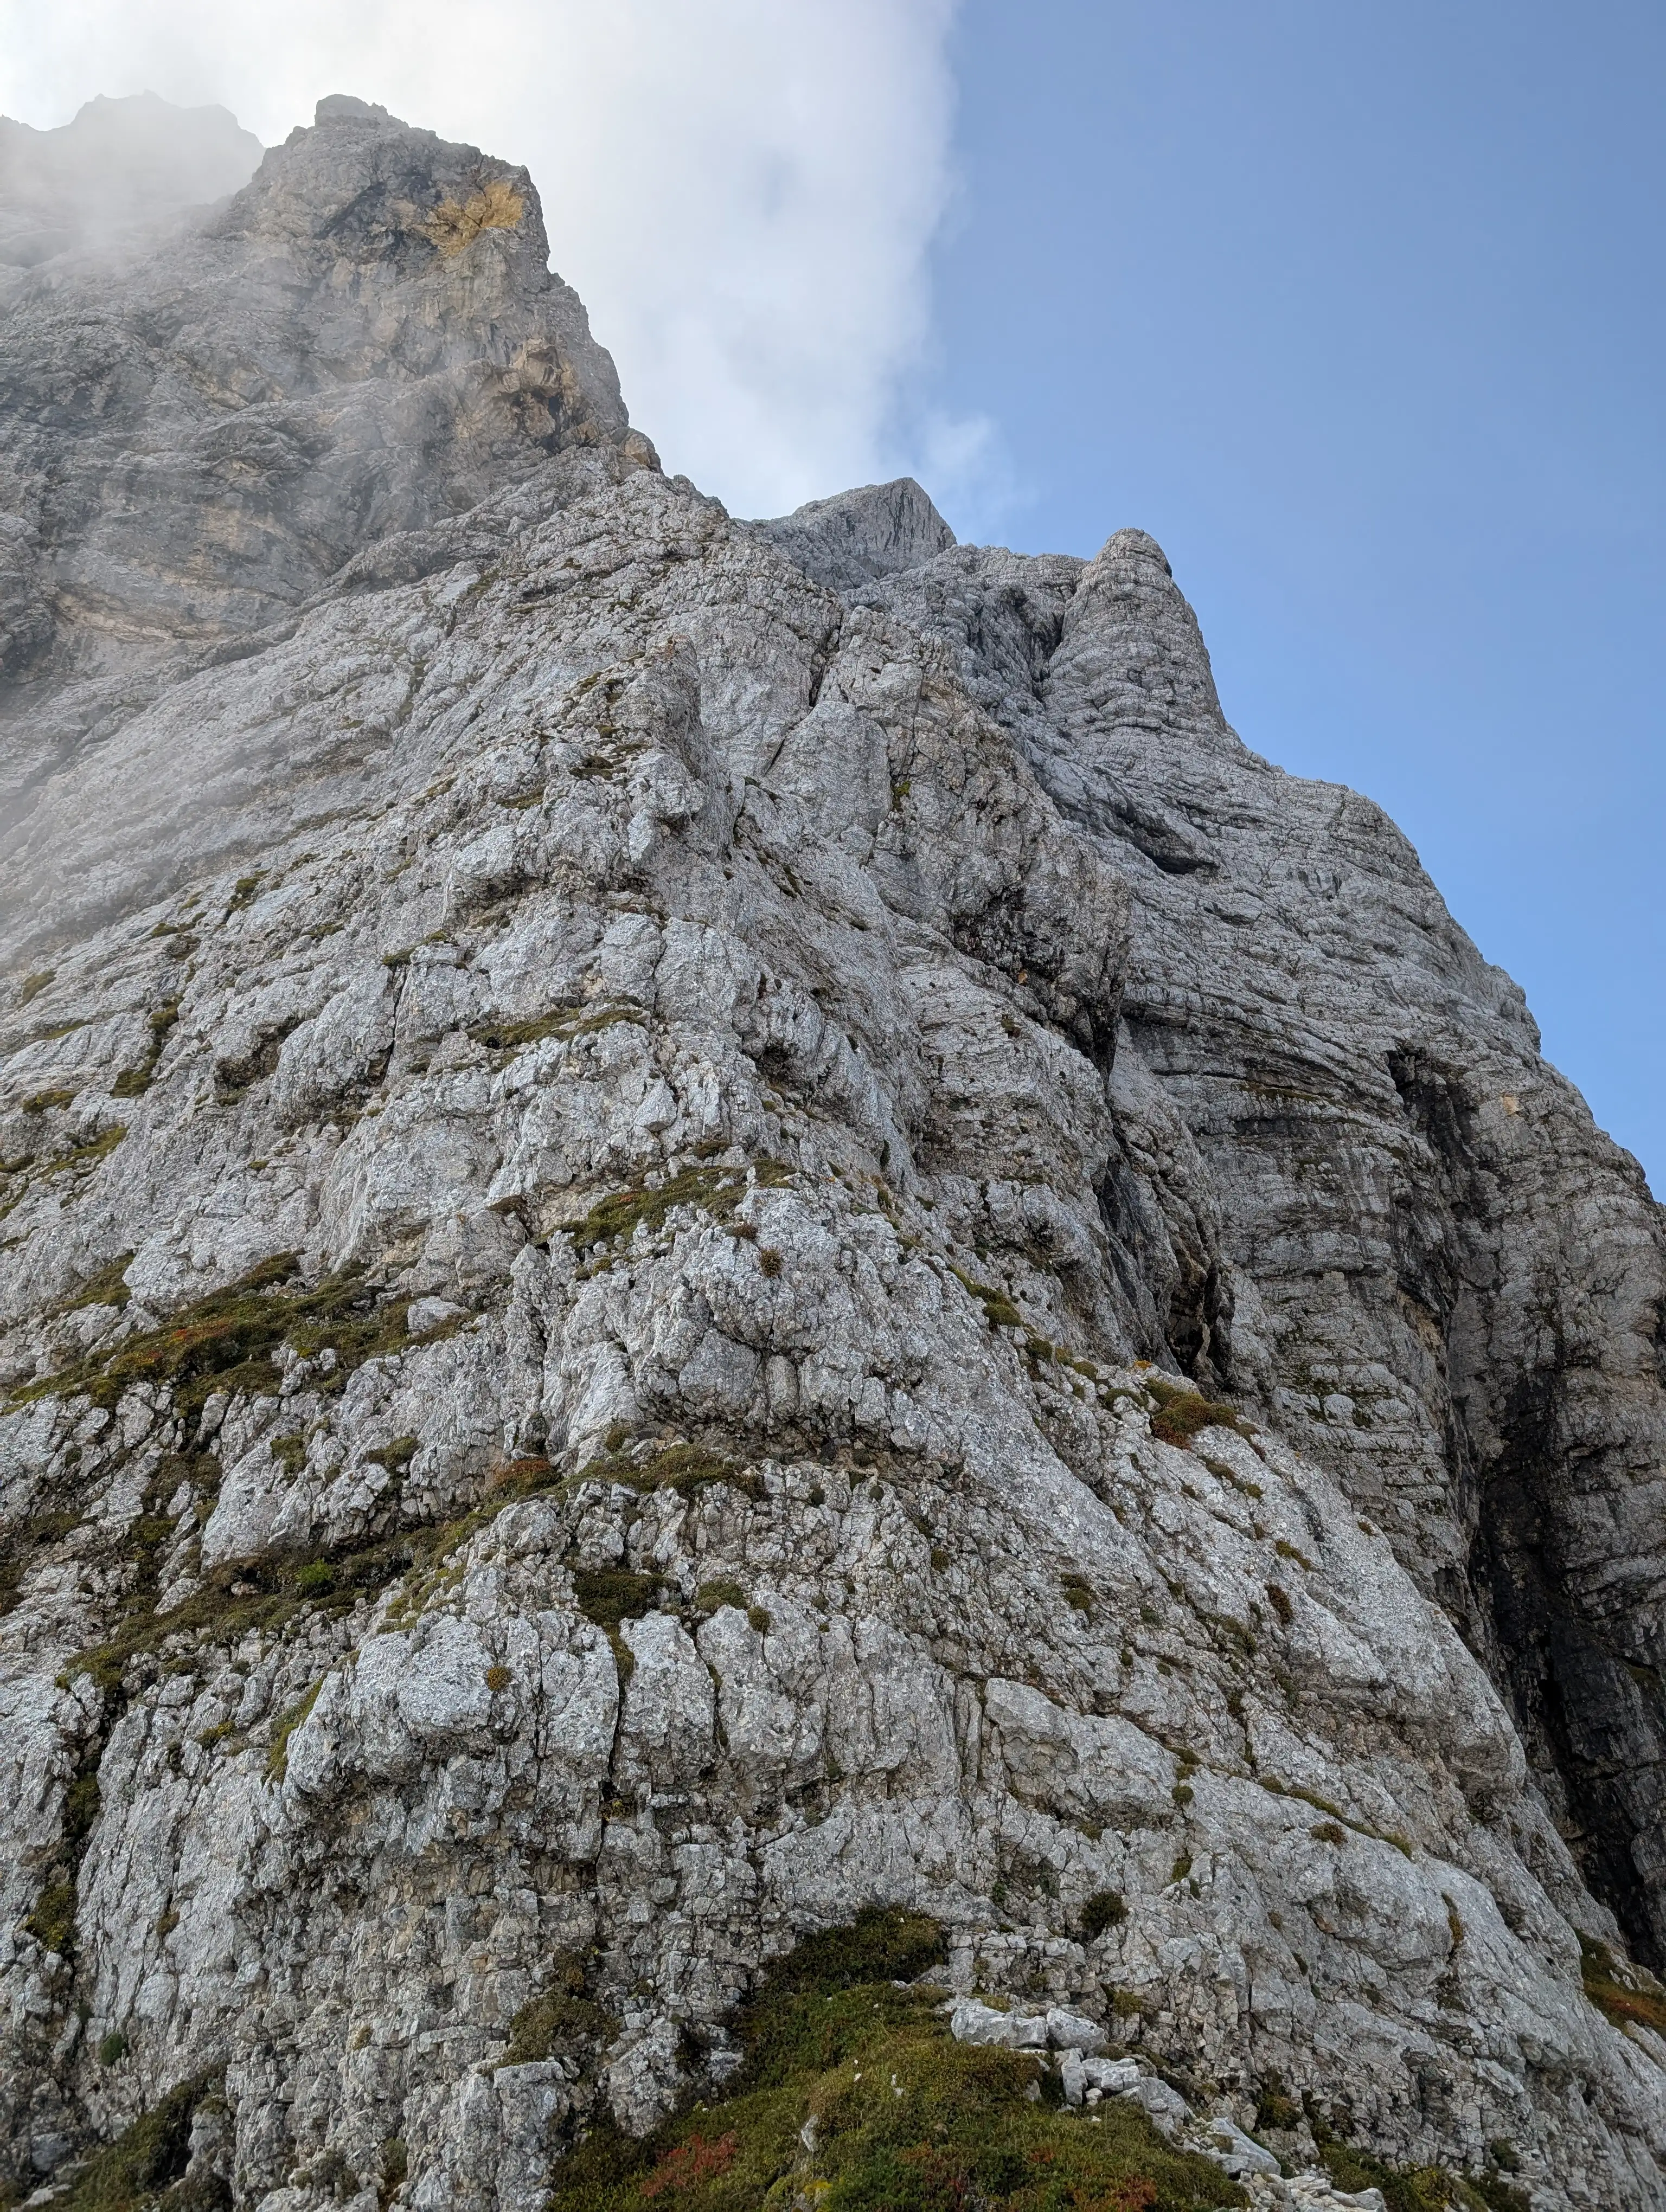 View from the start of the route, pitches 1,2,3 can be seen from here - third pitch finishes under these yellow slabs but a bit to the right. These 3 pitches are fragile and require meticulous hand- and footwork. Thanks to the ridge formation the risk of stones falling from above on belayer is minimised.
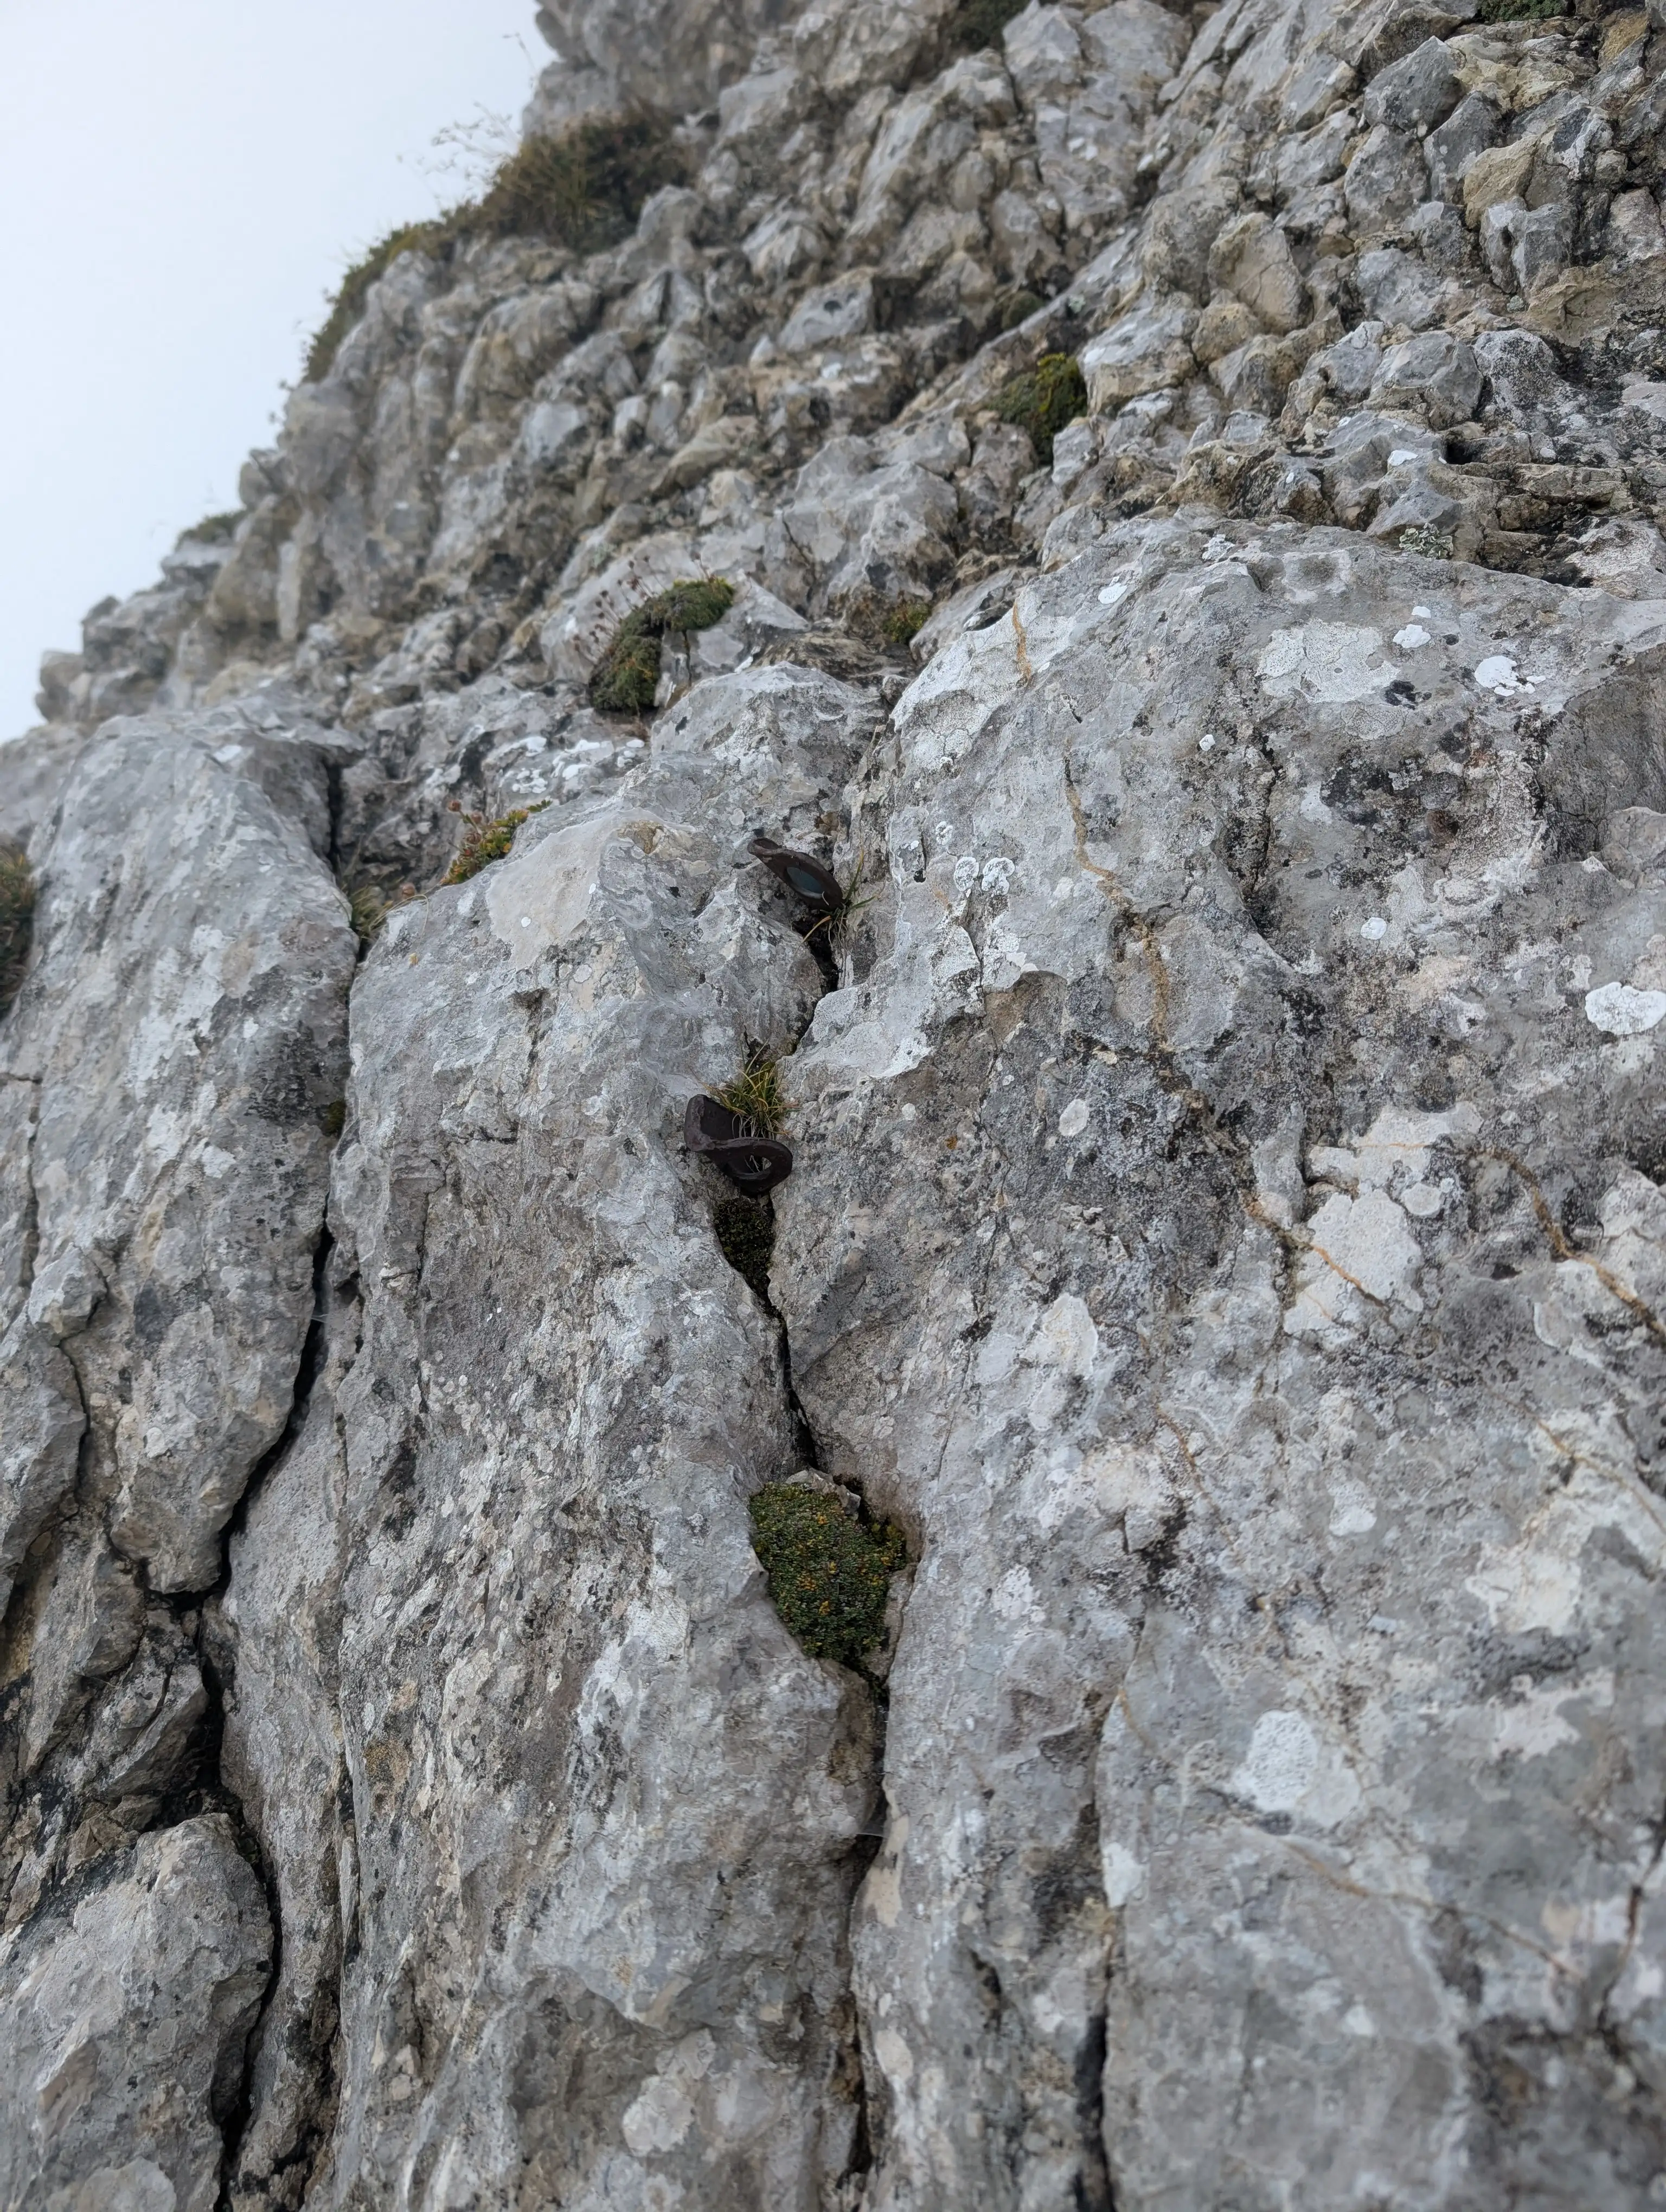 Pittons in the first belay.
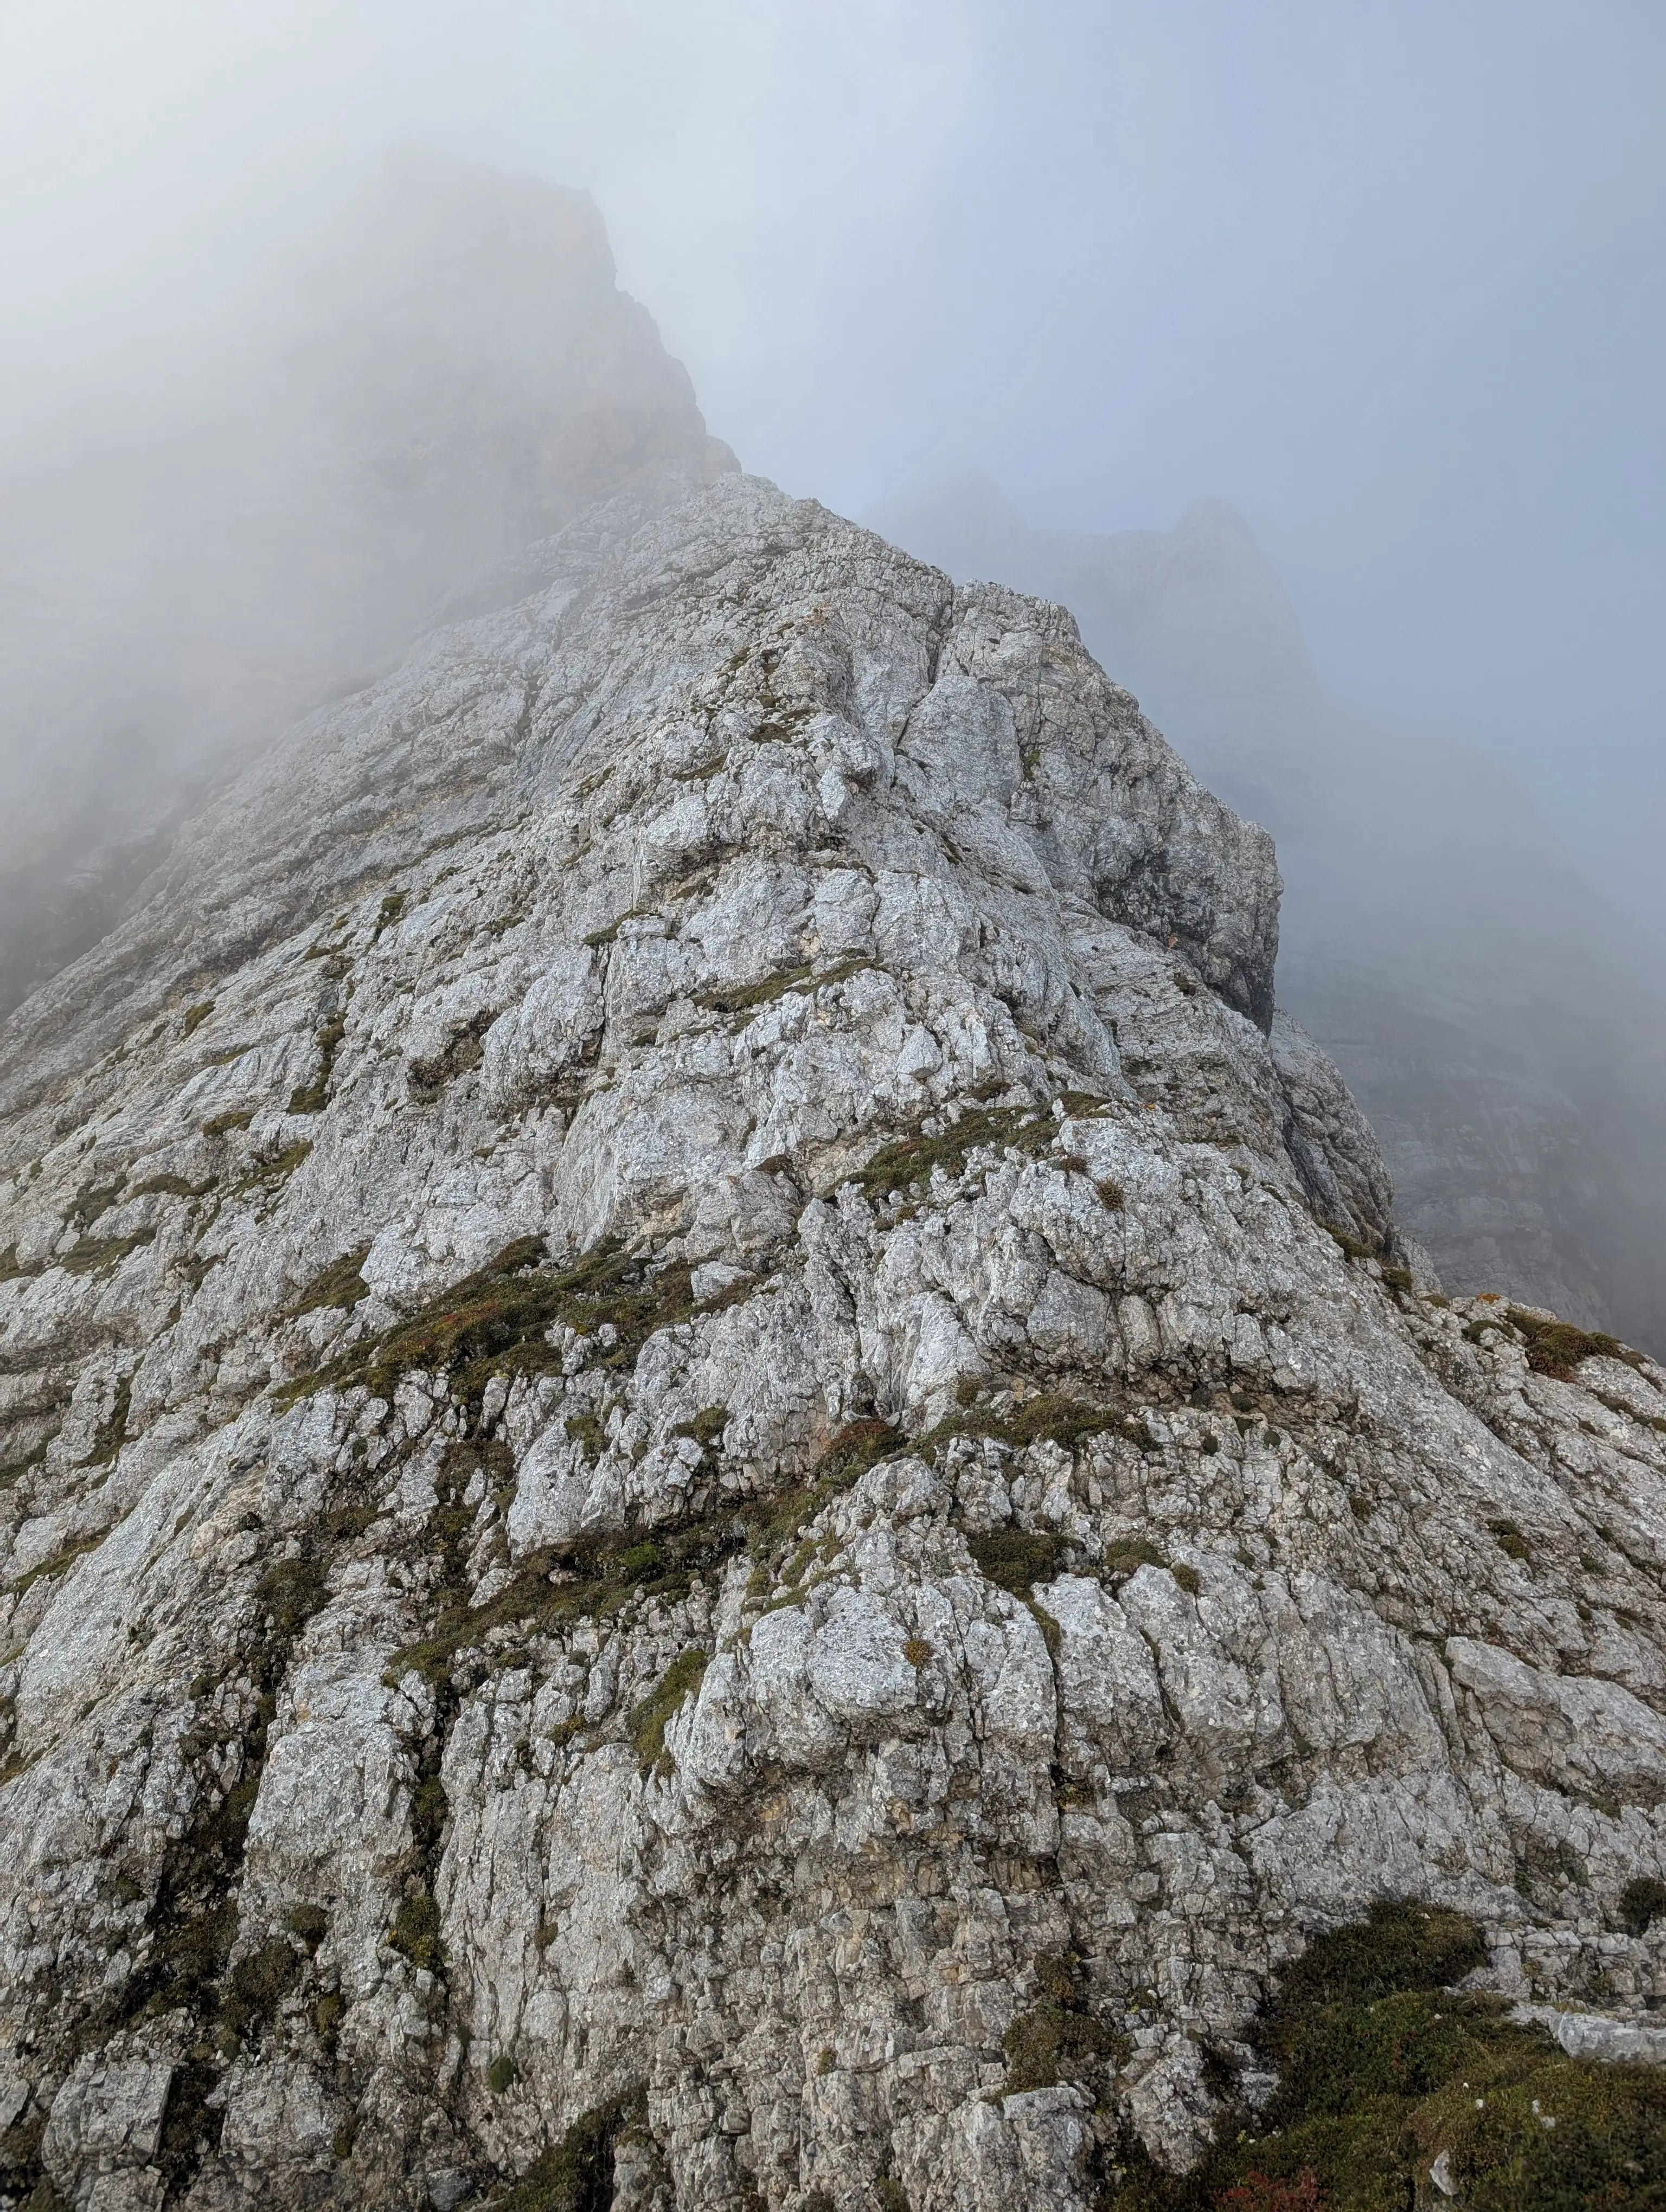 First pitch. Topo said on the right but the rock is better along the edge although maybe slightly more difficult (II+)
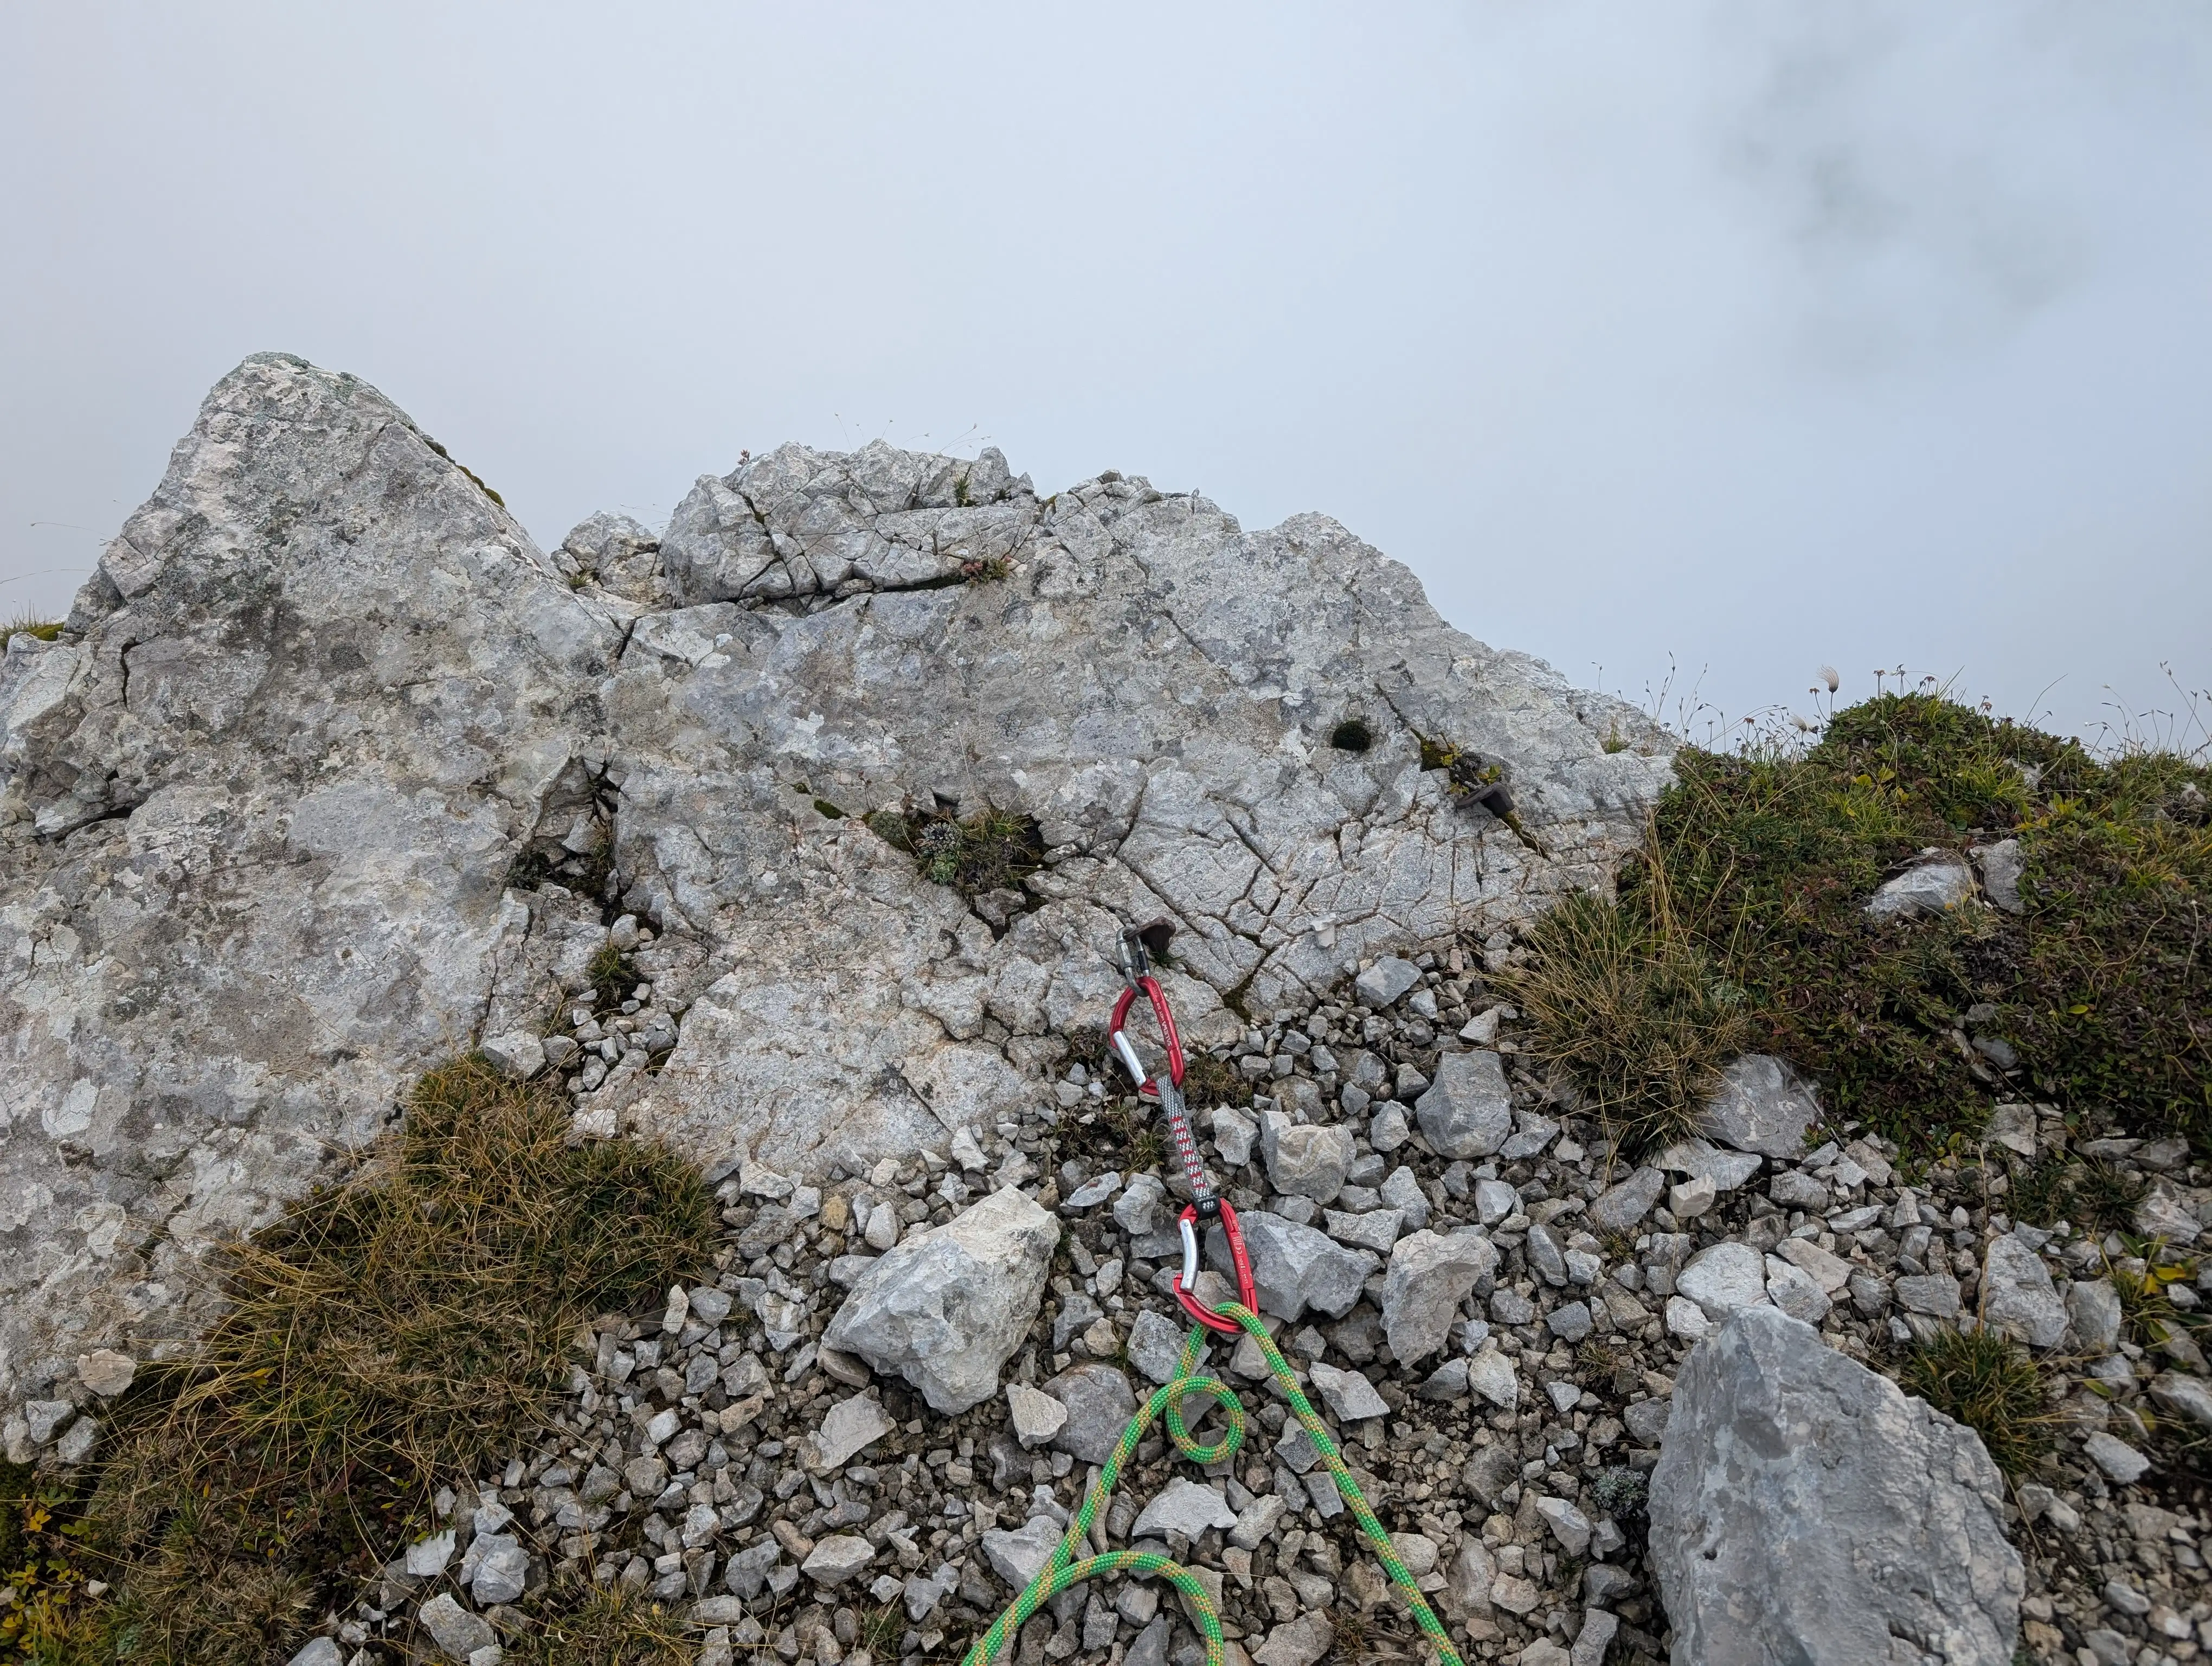 Pittons in the slab, no need to worry for side pull if first climber drops ;-)
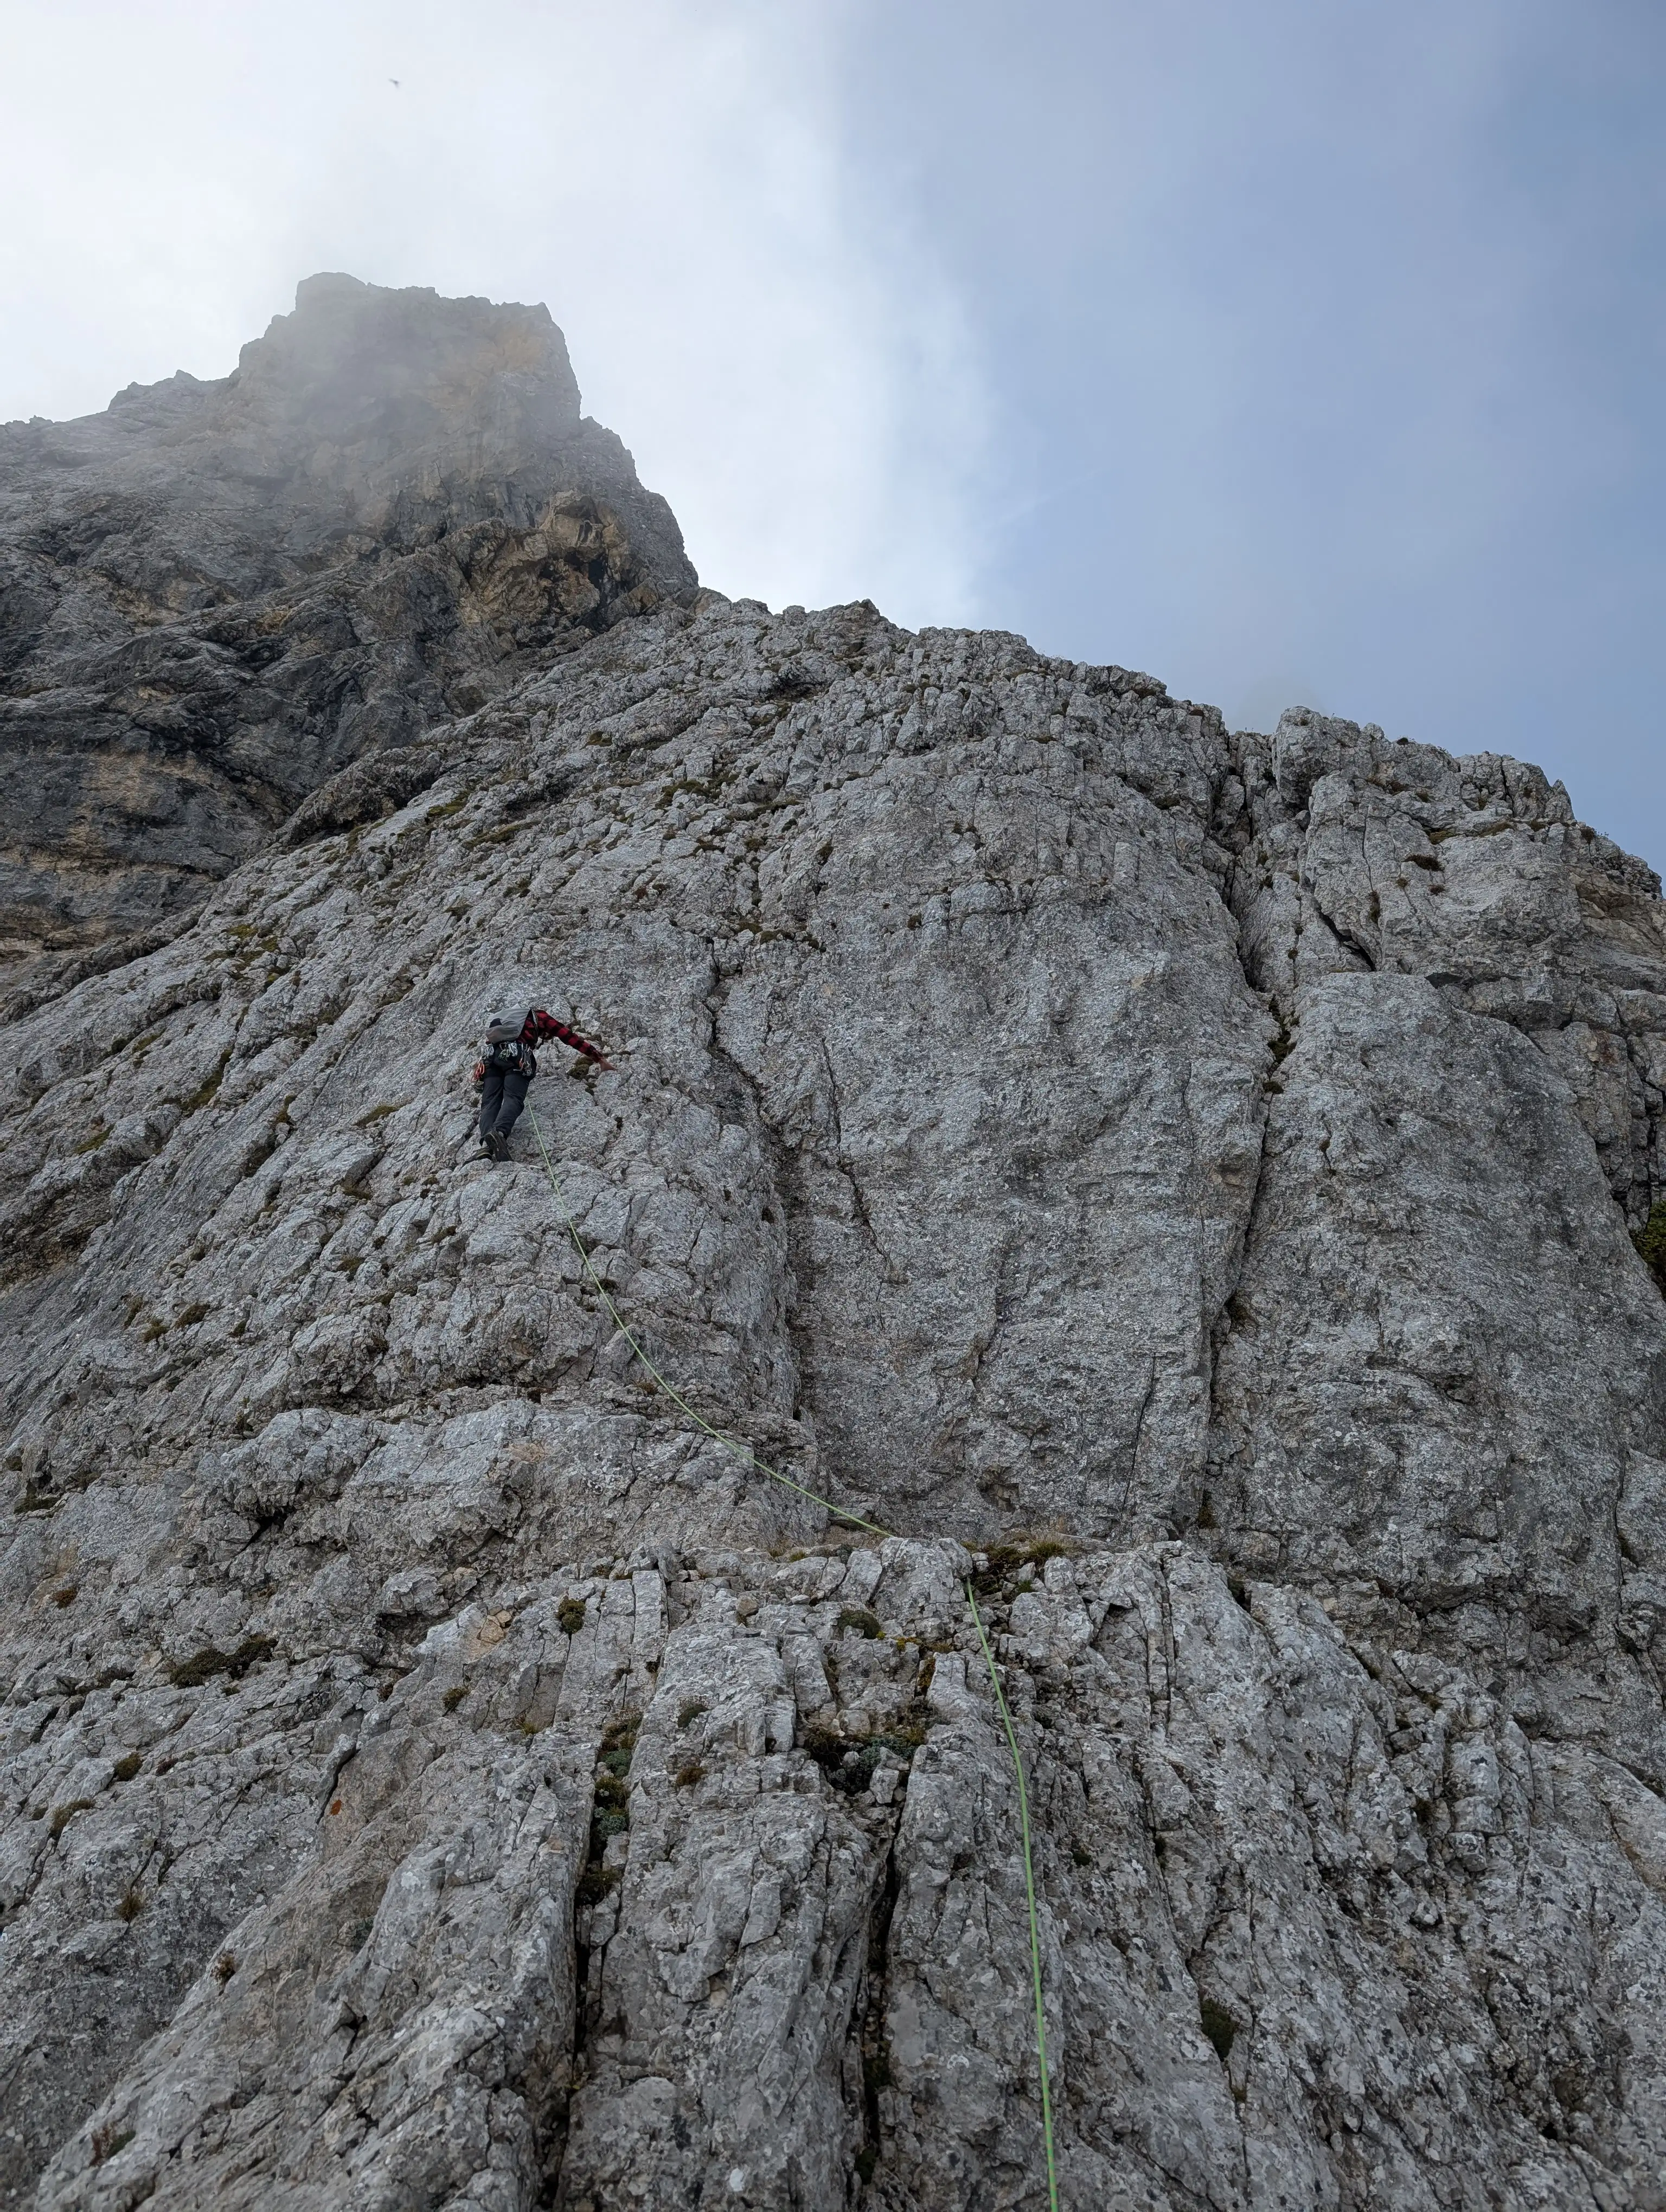 Second pitch, exposed and bit fragile spot. Pitton is just overhead.
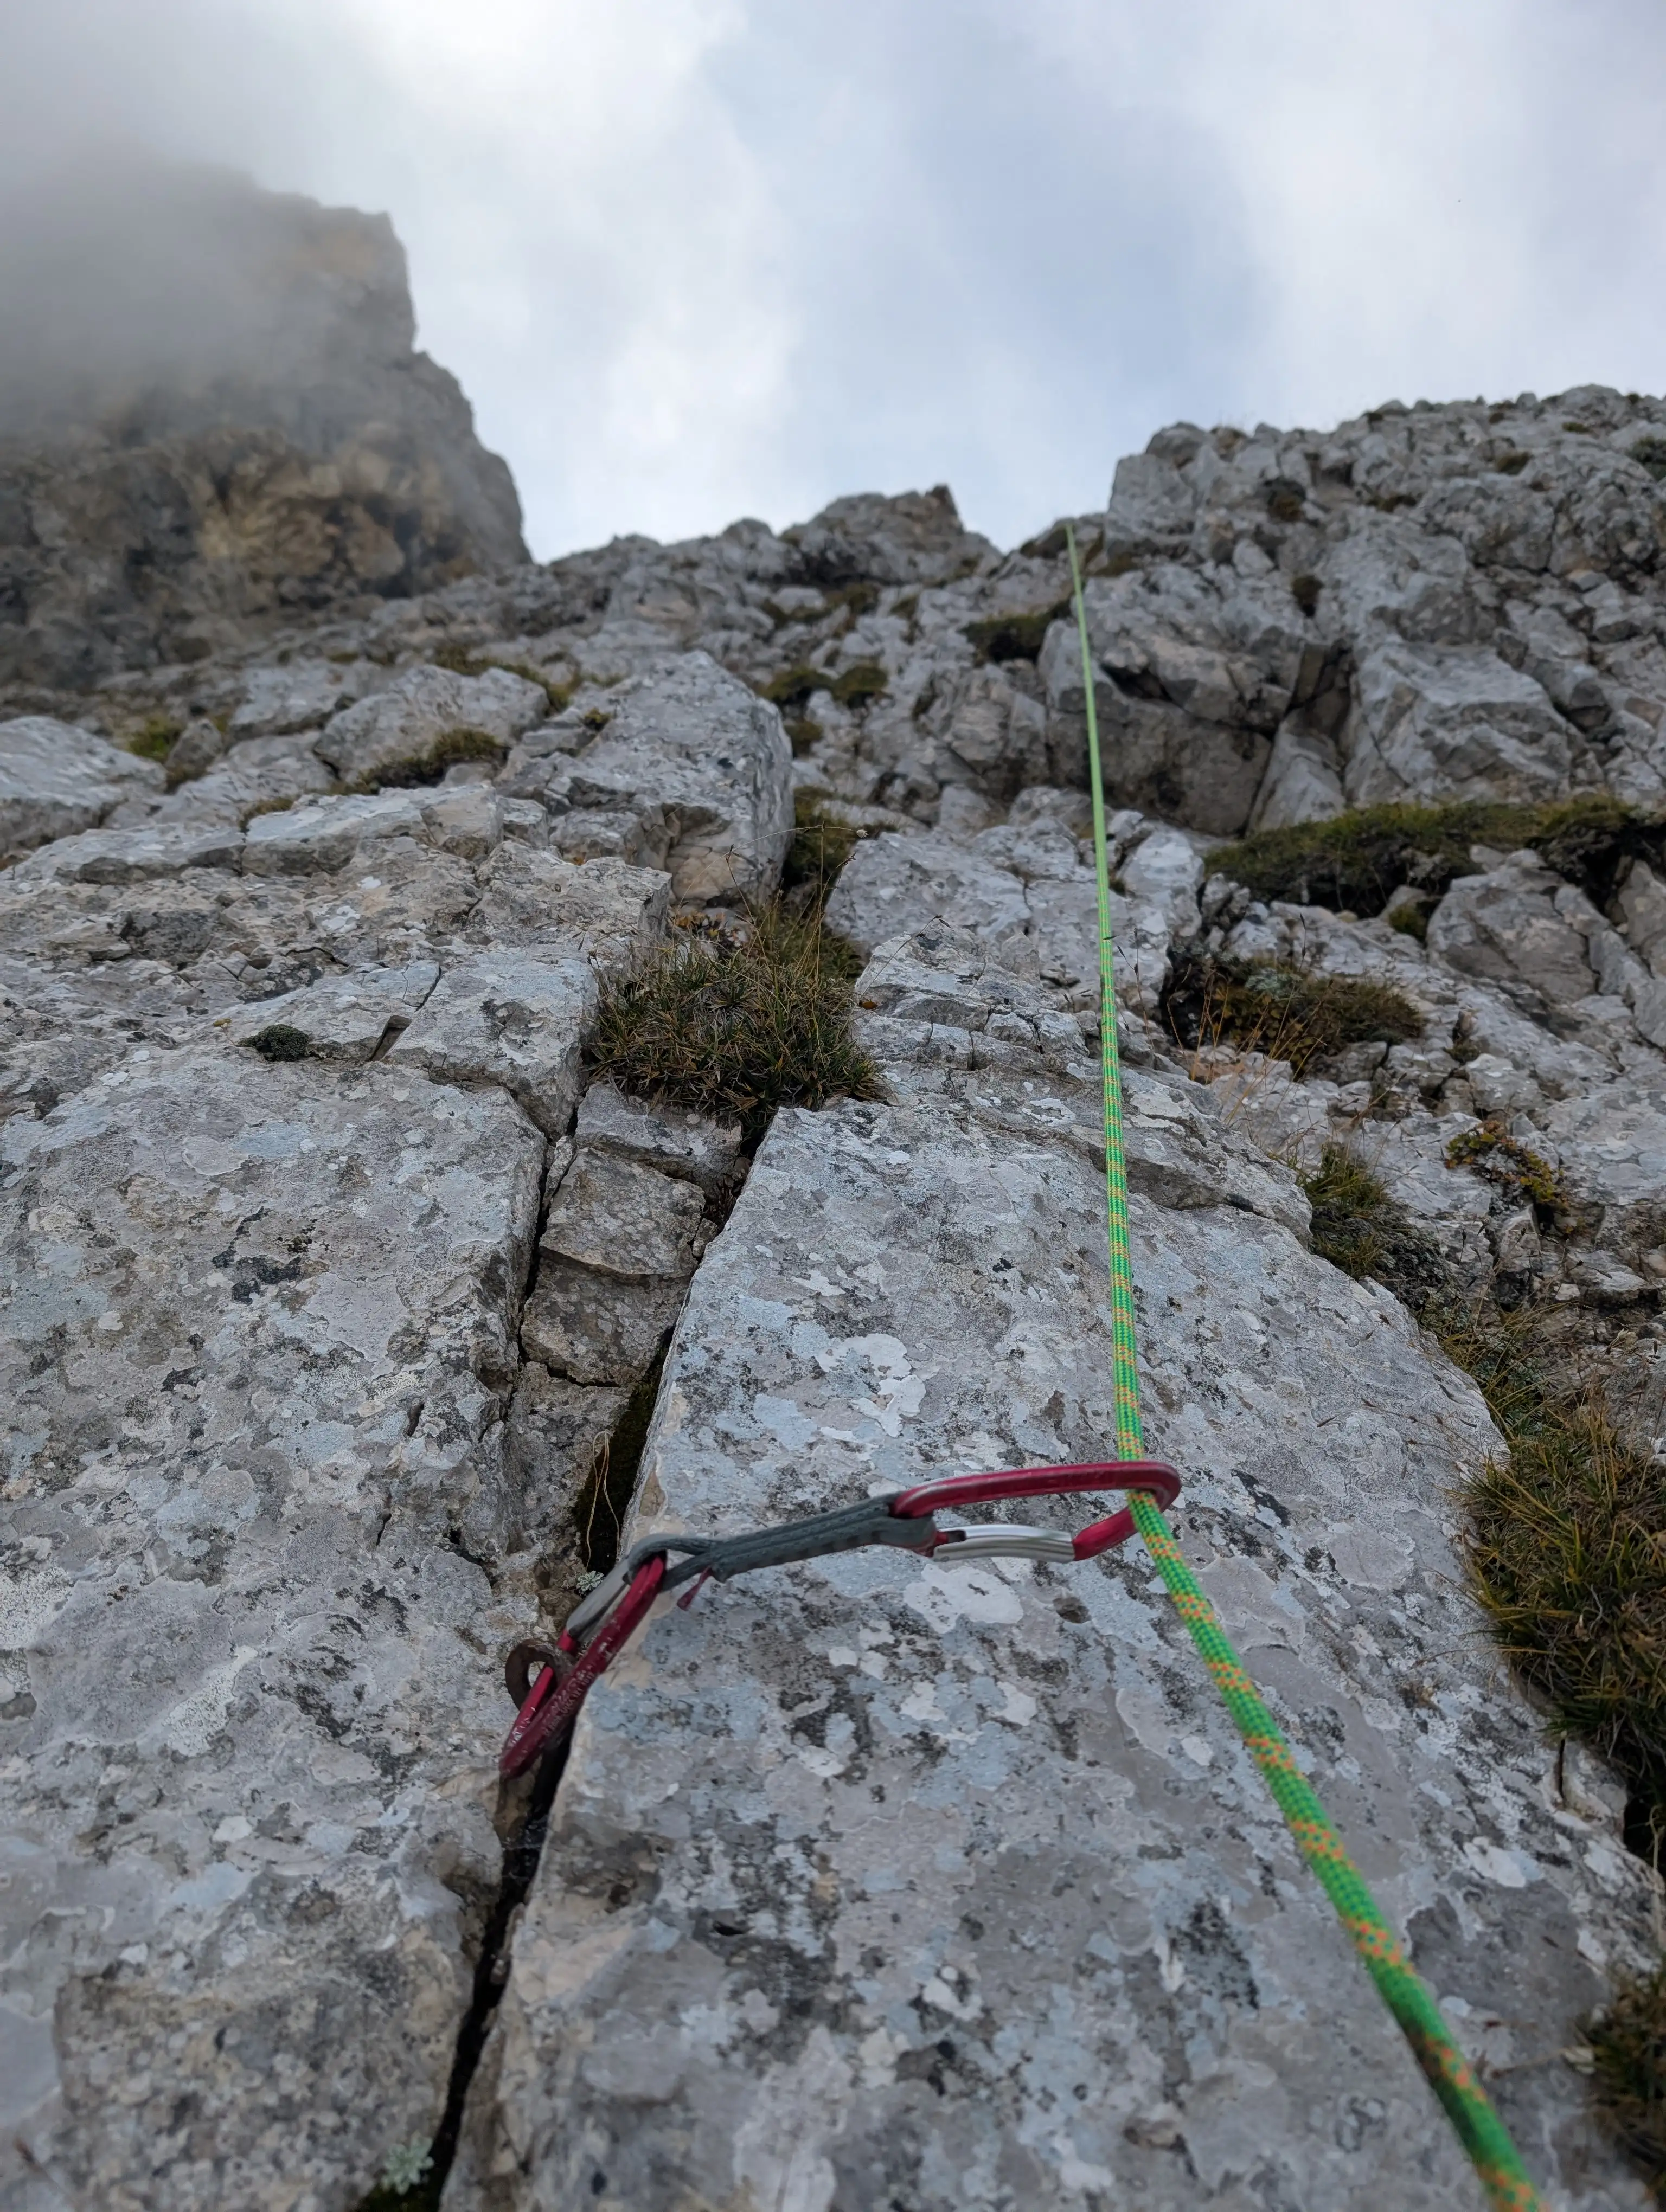 This one helps a lot because options for own protection are very limited.
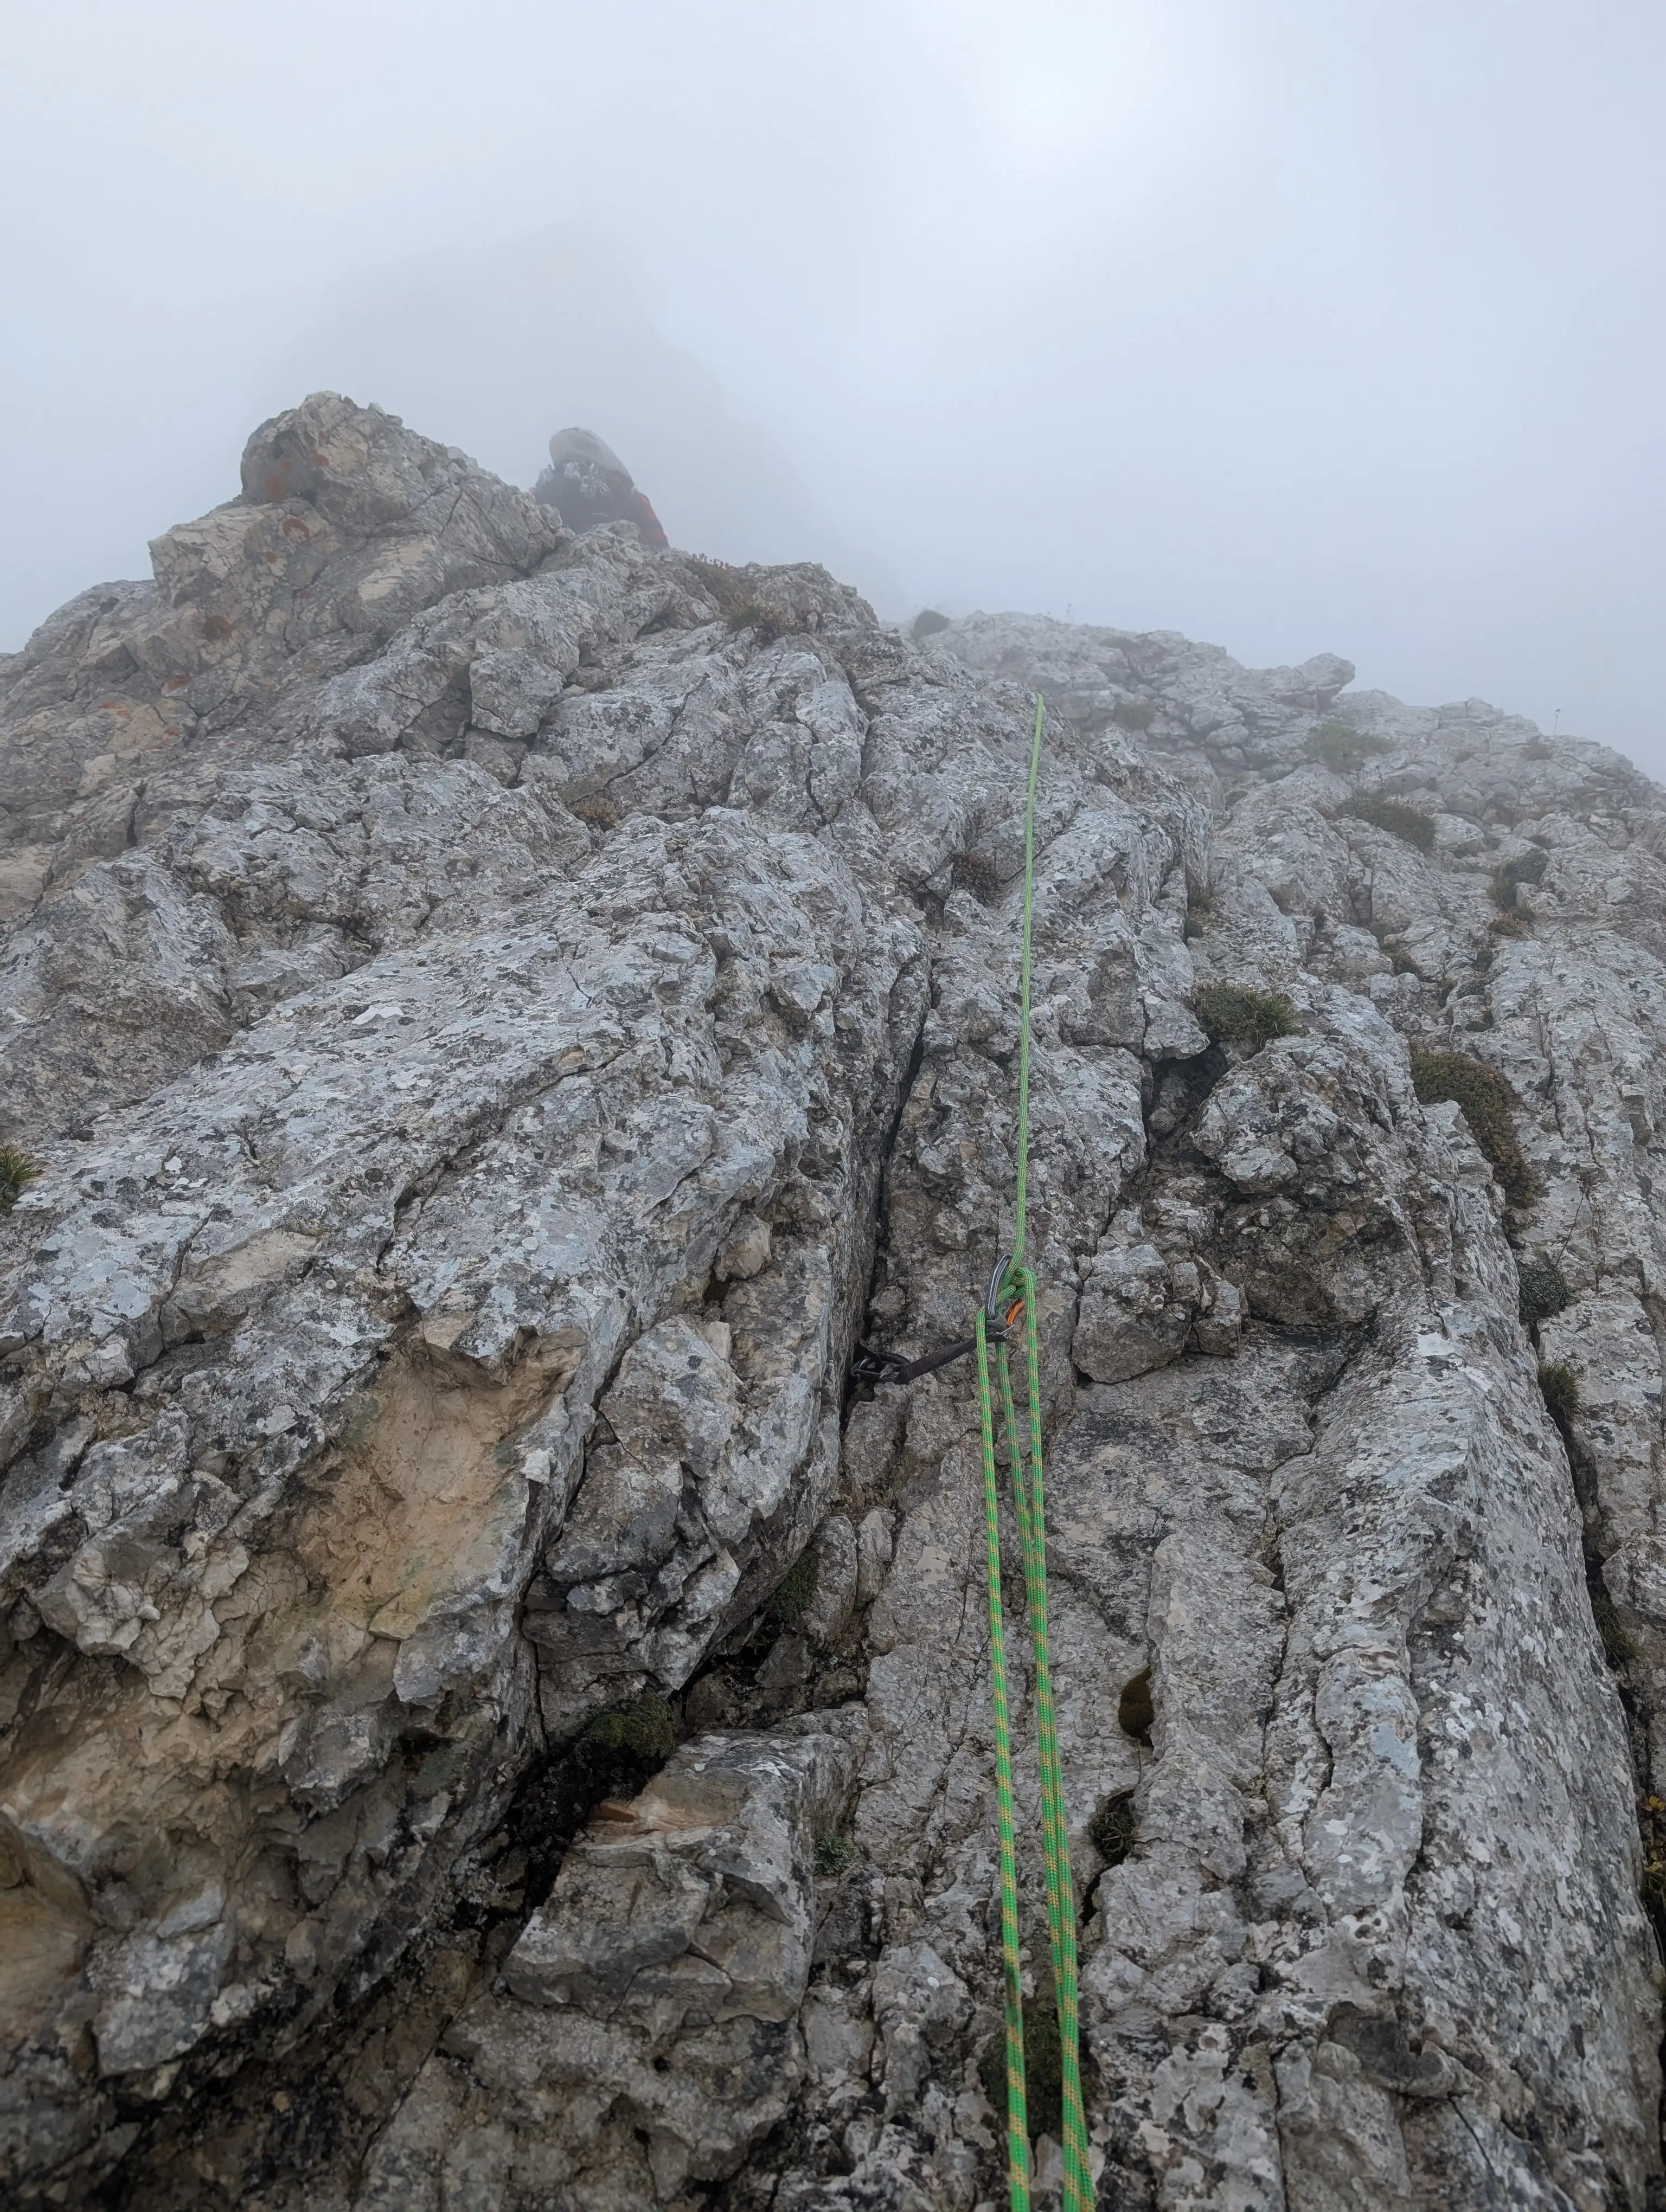 Last pitton before the third belay. We initially thought that is the actual belay, continue 5 meters up and you will get there.
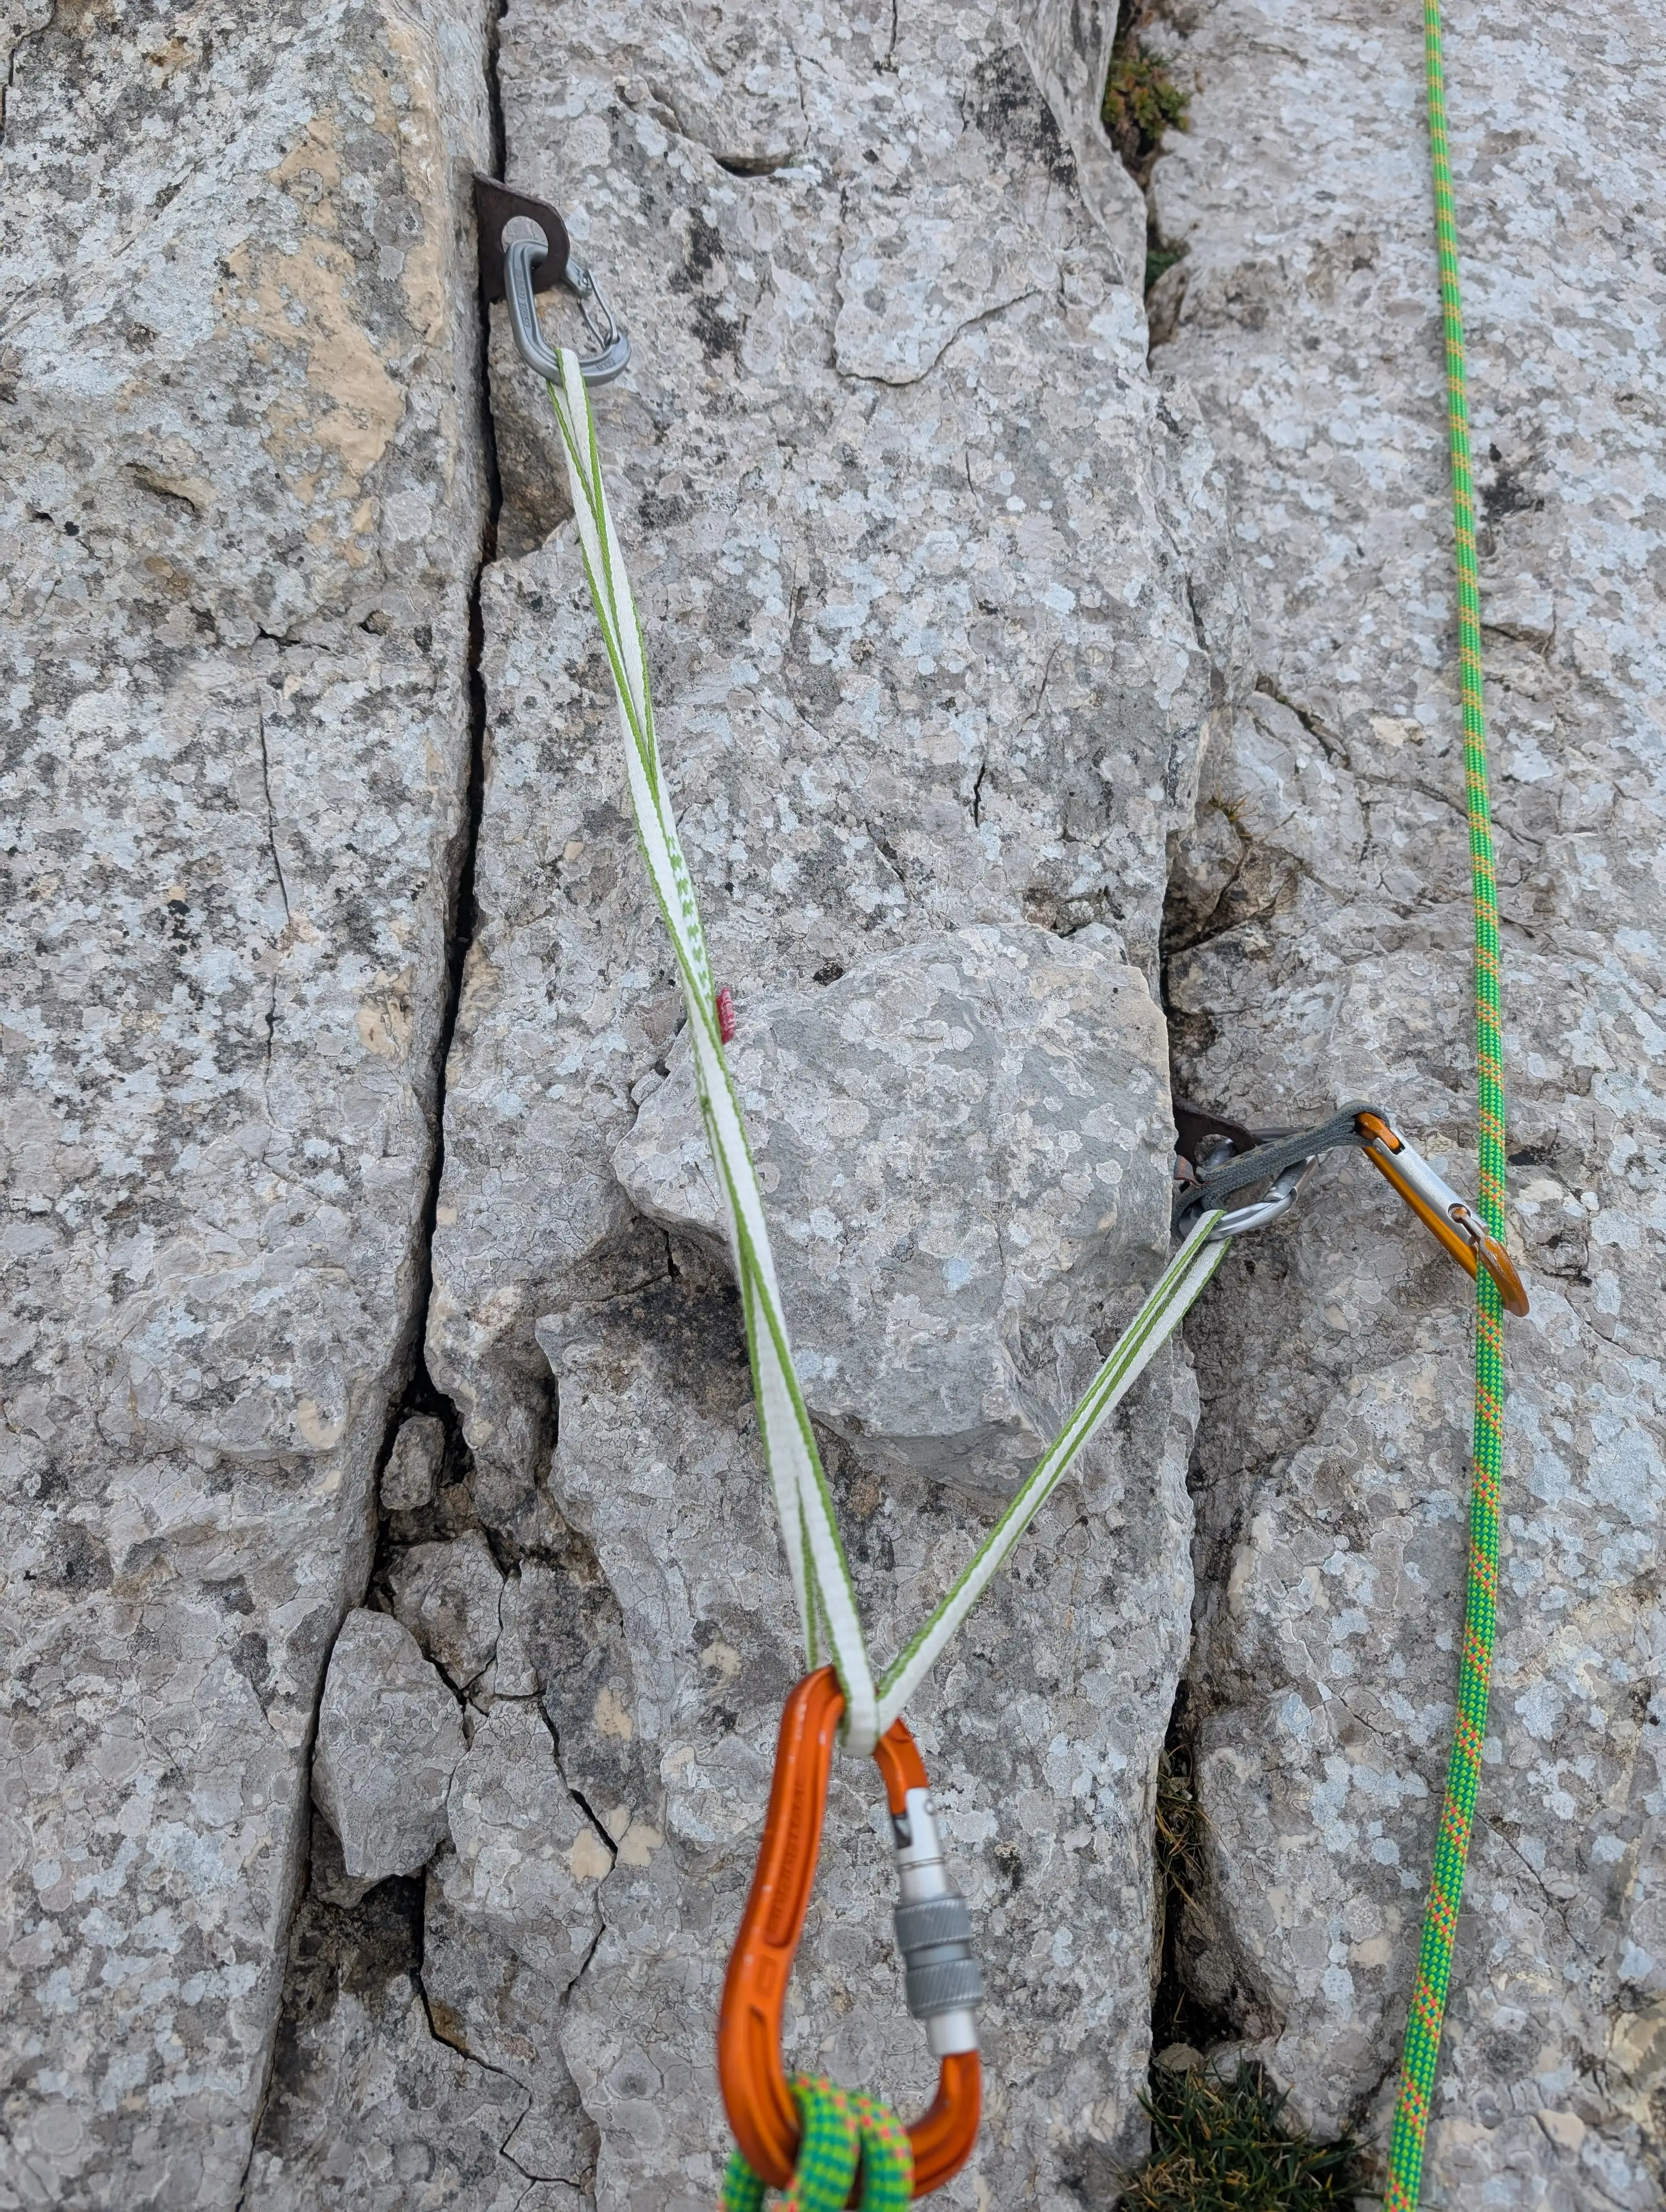 Third belay, pretty comfy.
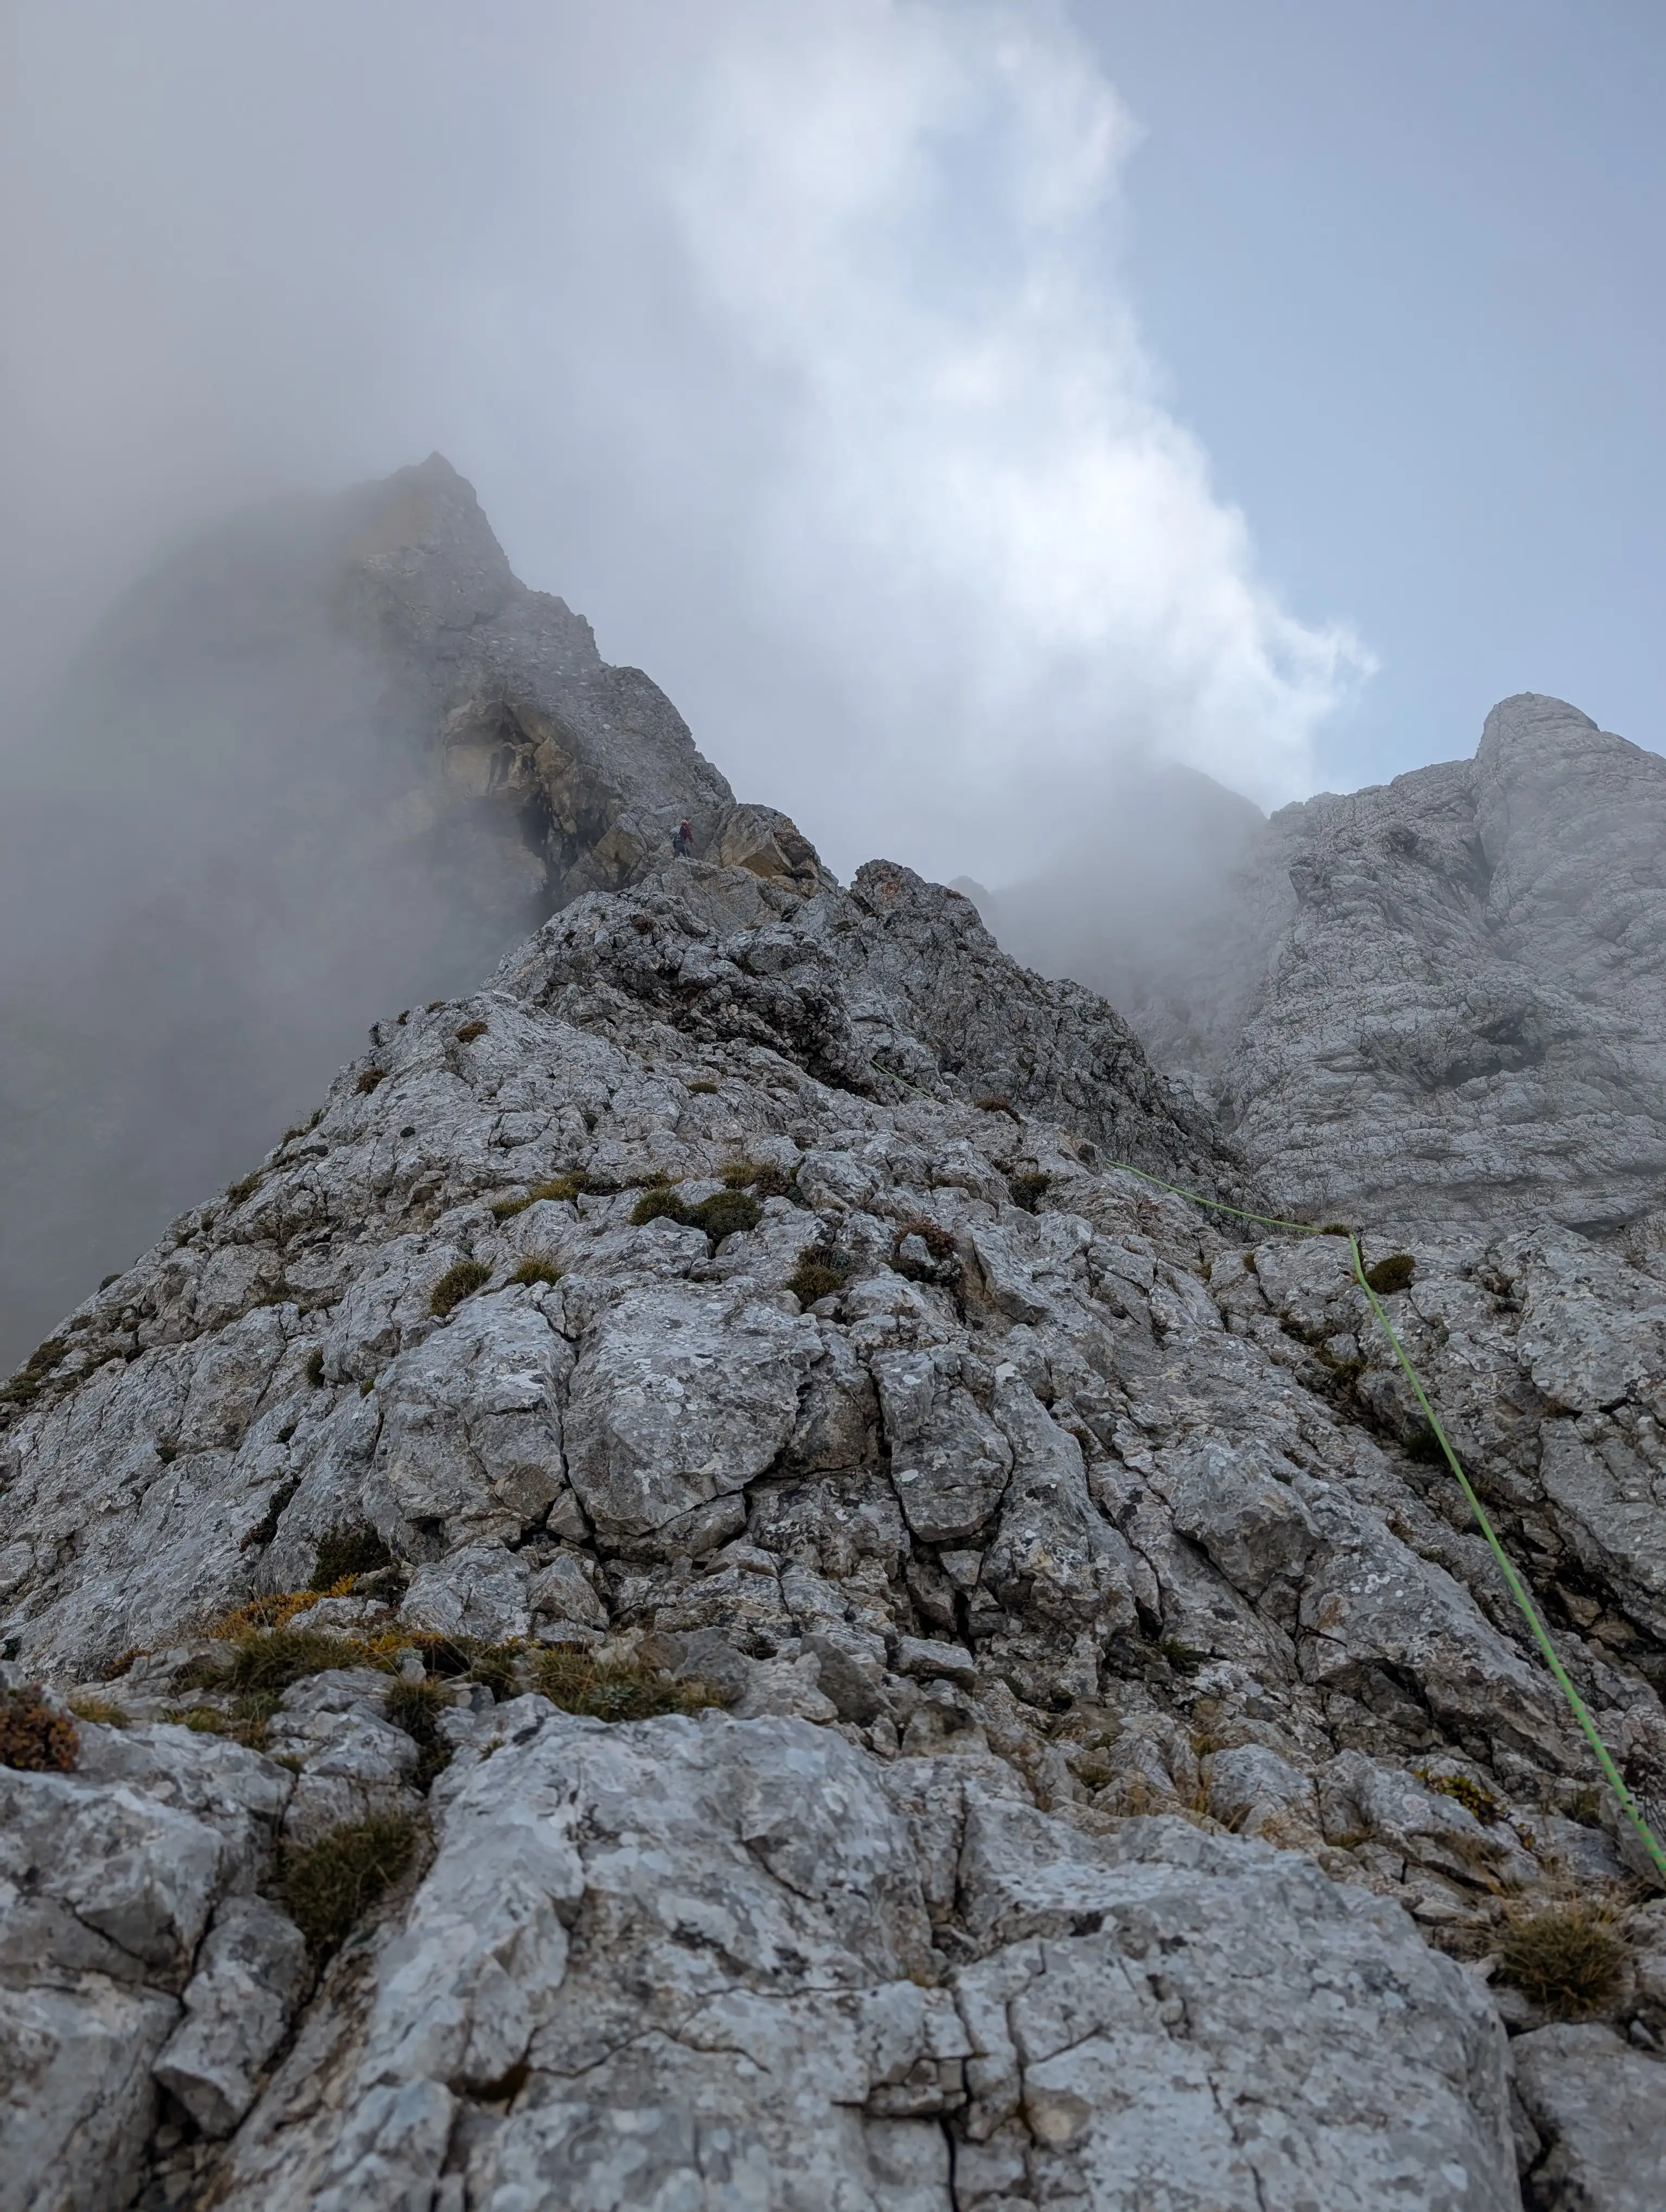 Terrain in third pitch, general direction is that triangular yellow overhanging rock.
 Not sure if part of the original route because of probable rockfall, here we need to climb on the left and then traverse and climb down along that ledge where the rope runs.
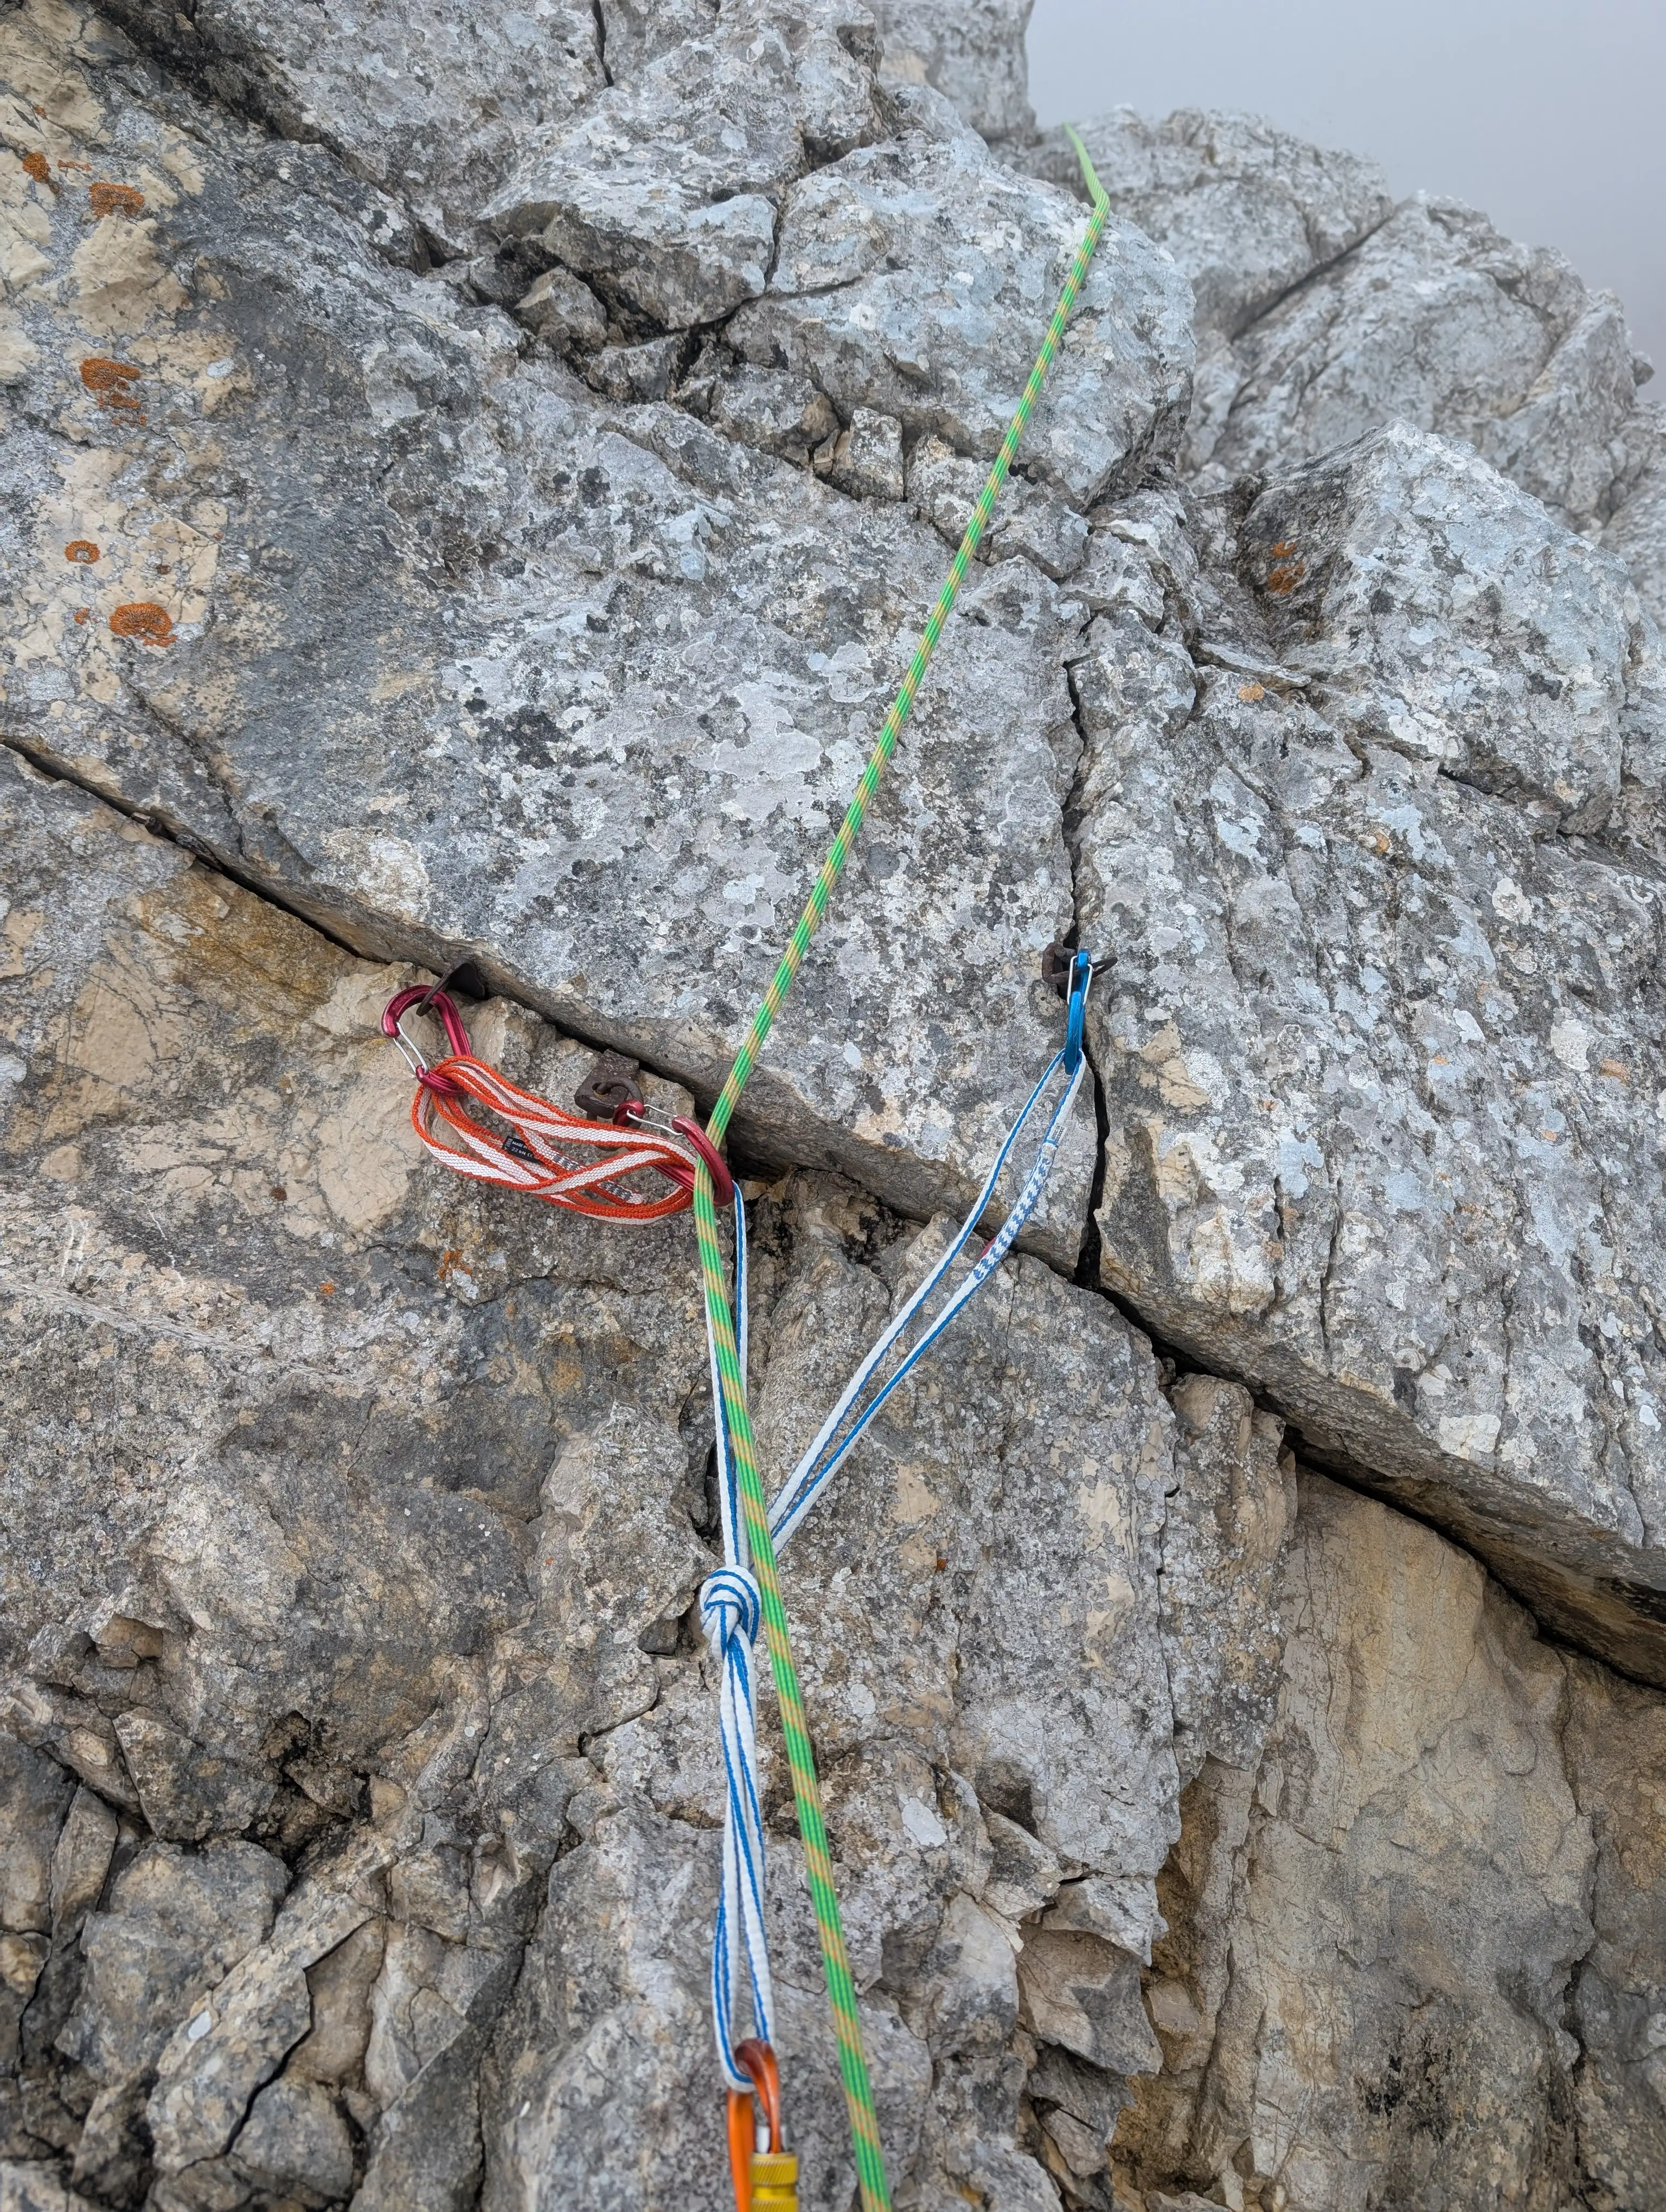 Here the oldest pittons on the route but at least there are 3. Climbing that threshold is more manageable from the right side.
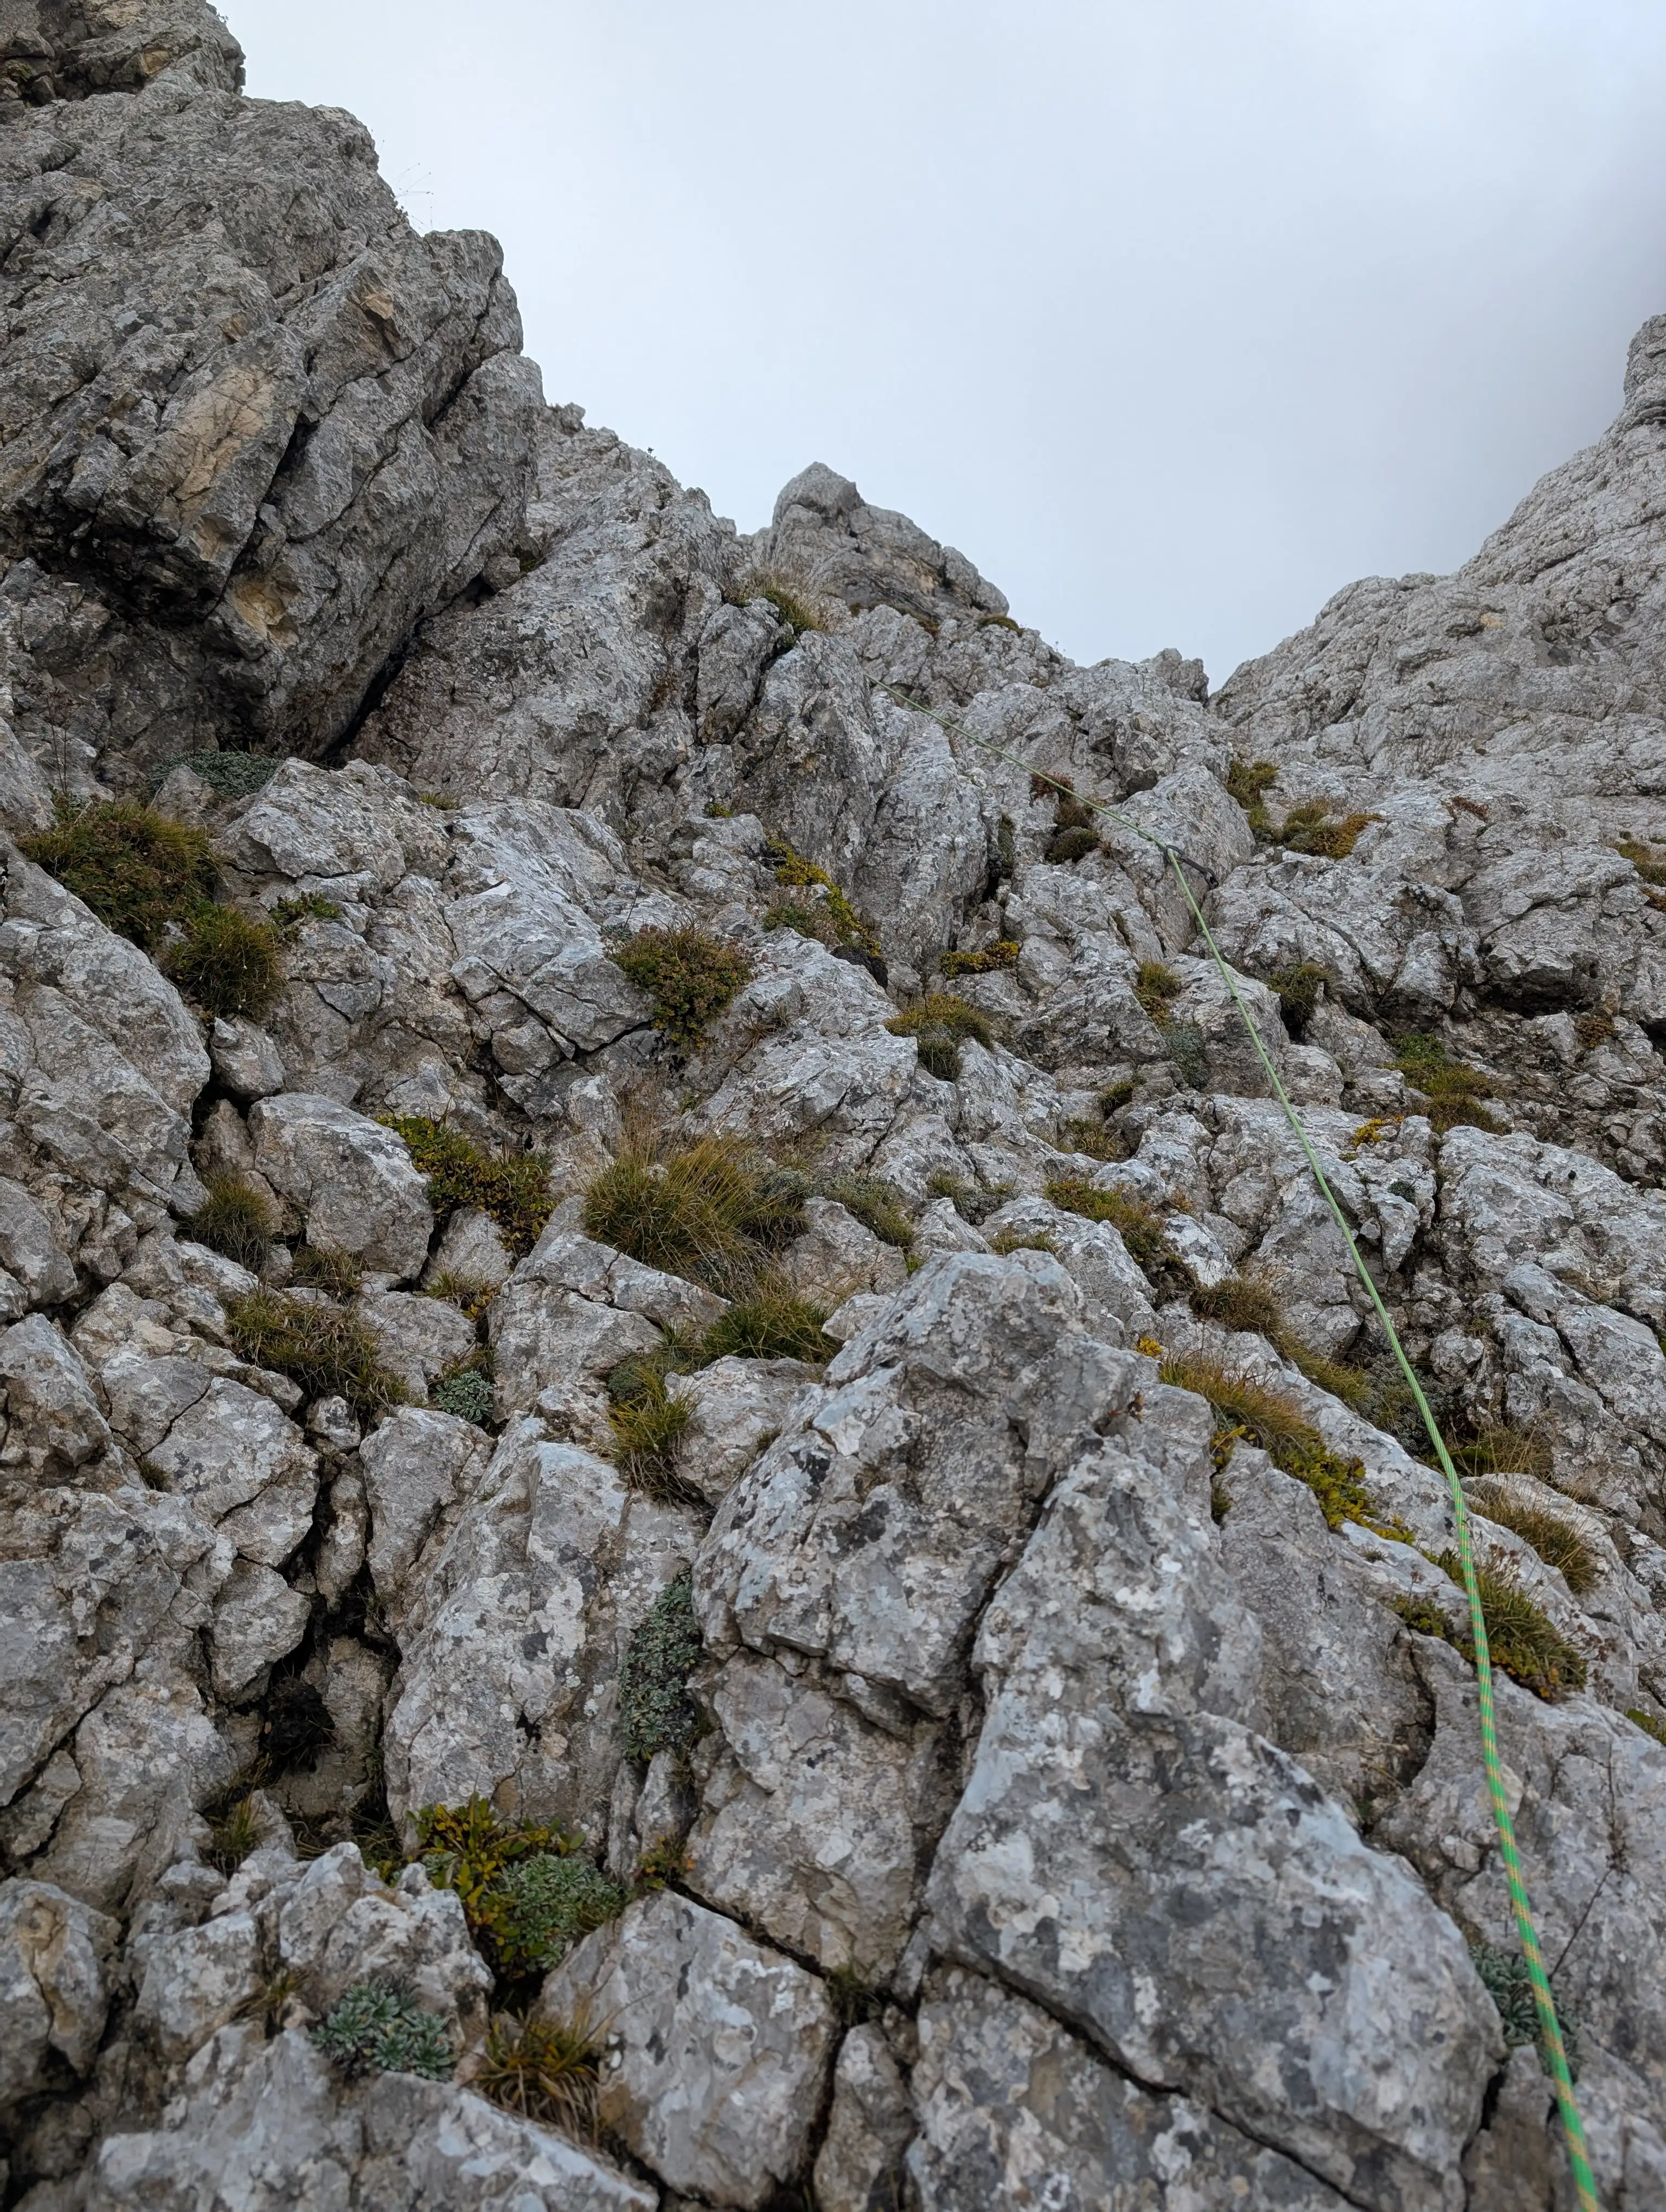 Terrain in the fourth pitch. According to original topo, we should have a belay here somewhere. However there is only one pitton holding that quickdraw.
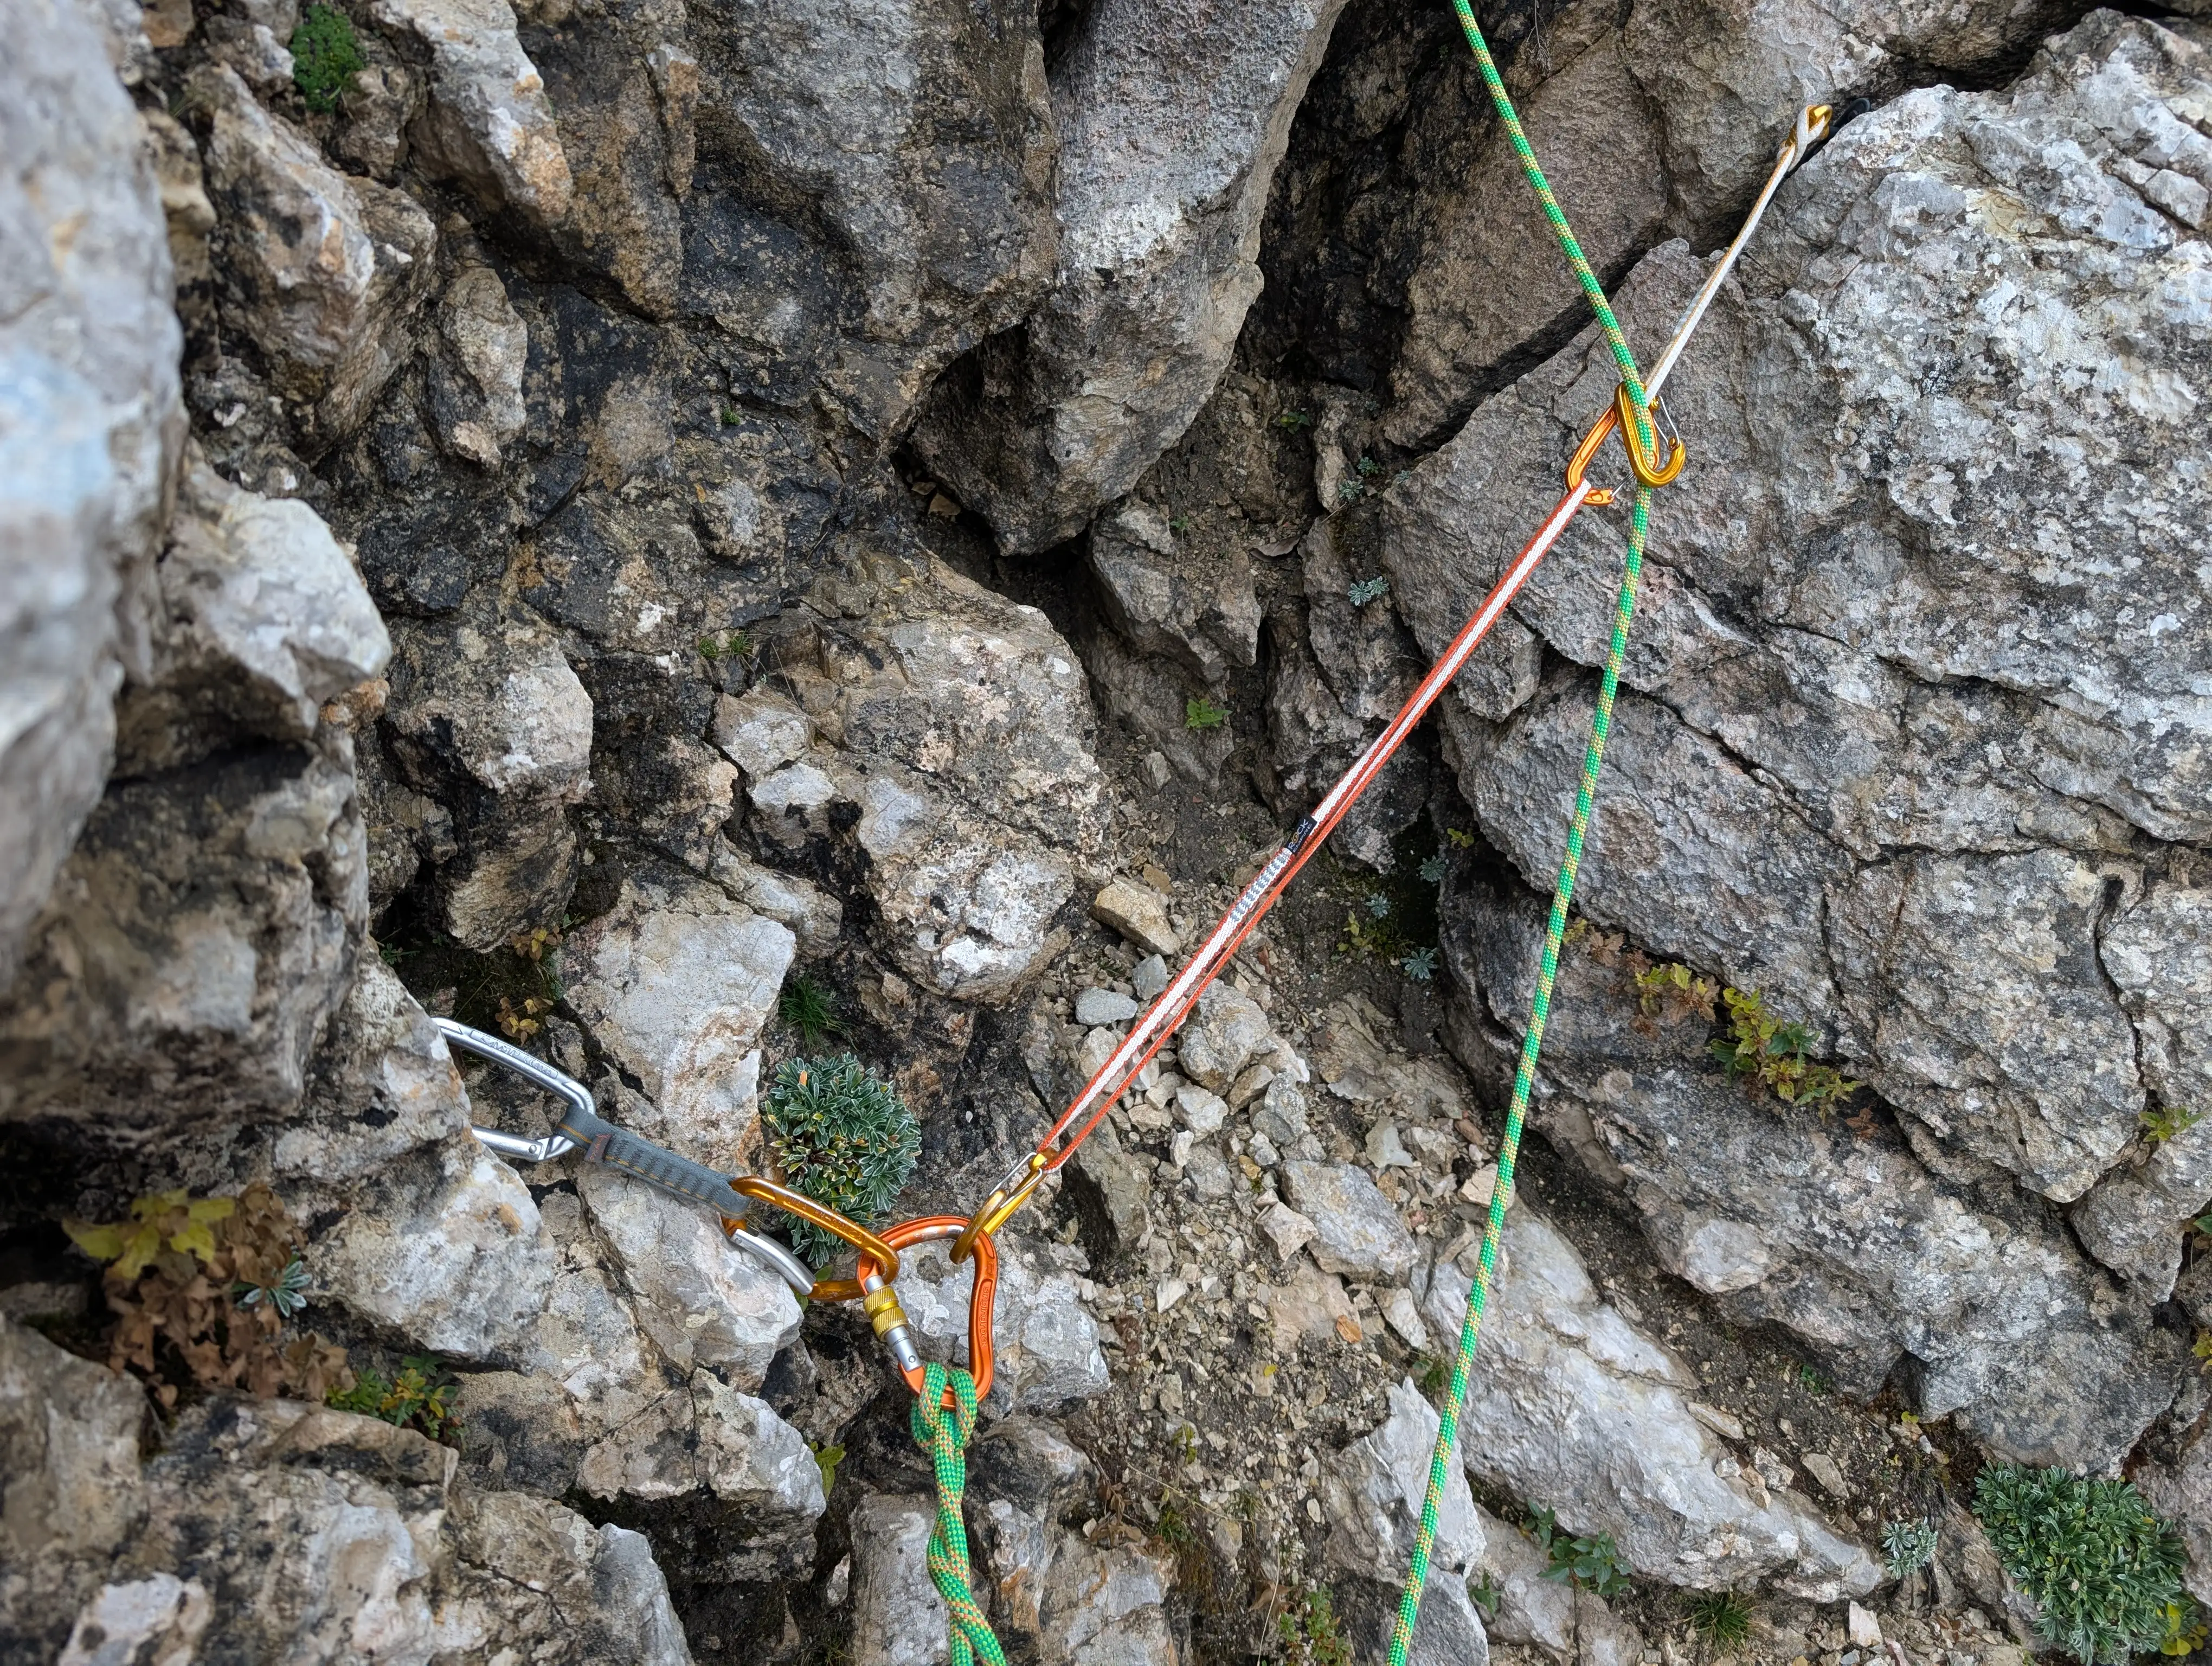 Foot of the chimney, start of the pitch no. 5. Additional gear is needed to setup the belay. When belaying - keep on the left side of the chimney (safer from rocks)
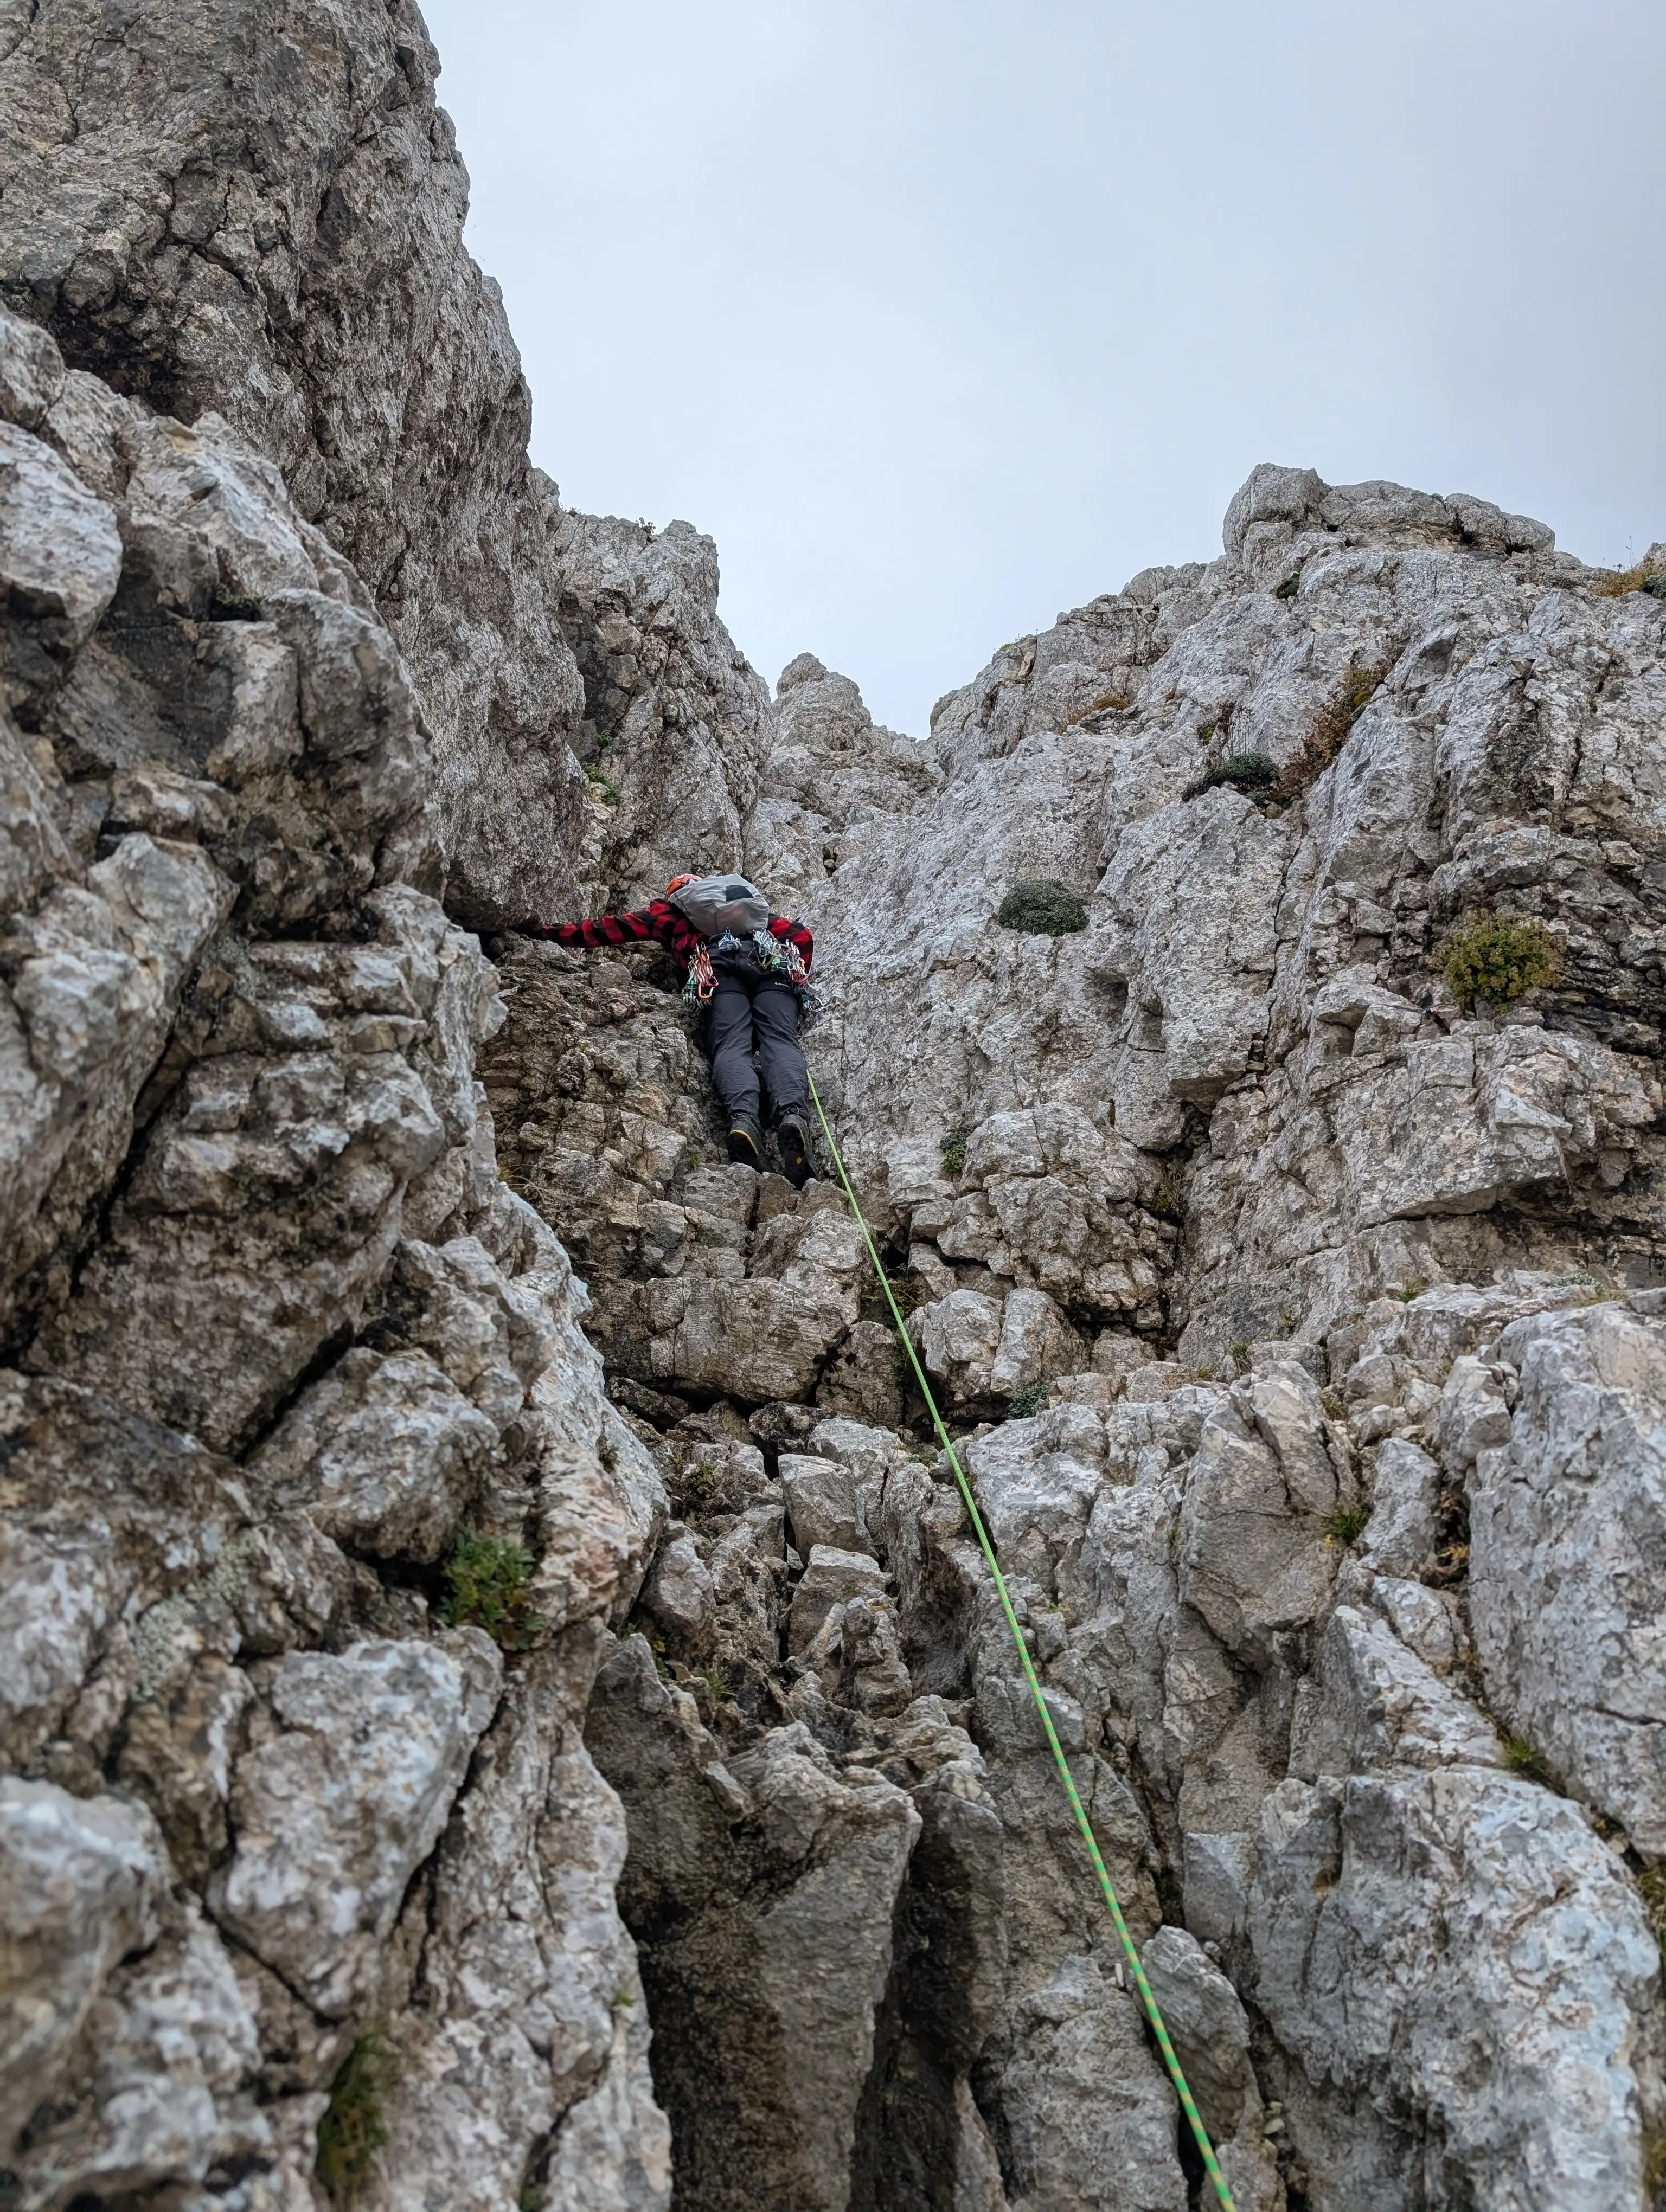 Chimney part of the climb, nothing really special.
 Back on the ridge again, best part of the climb begins soon!
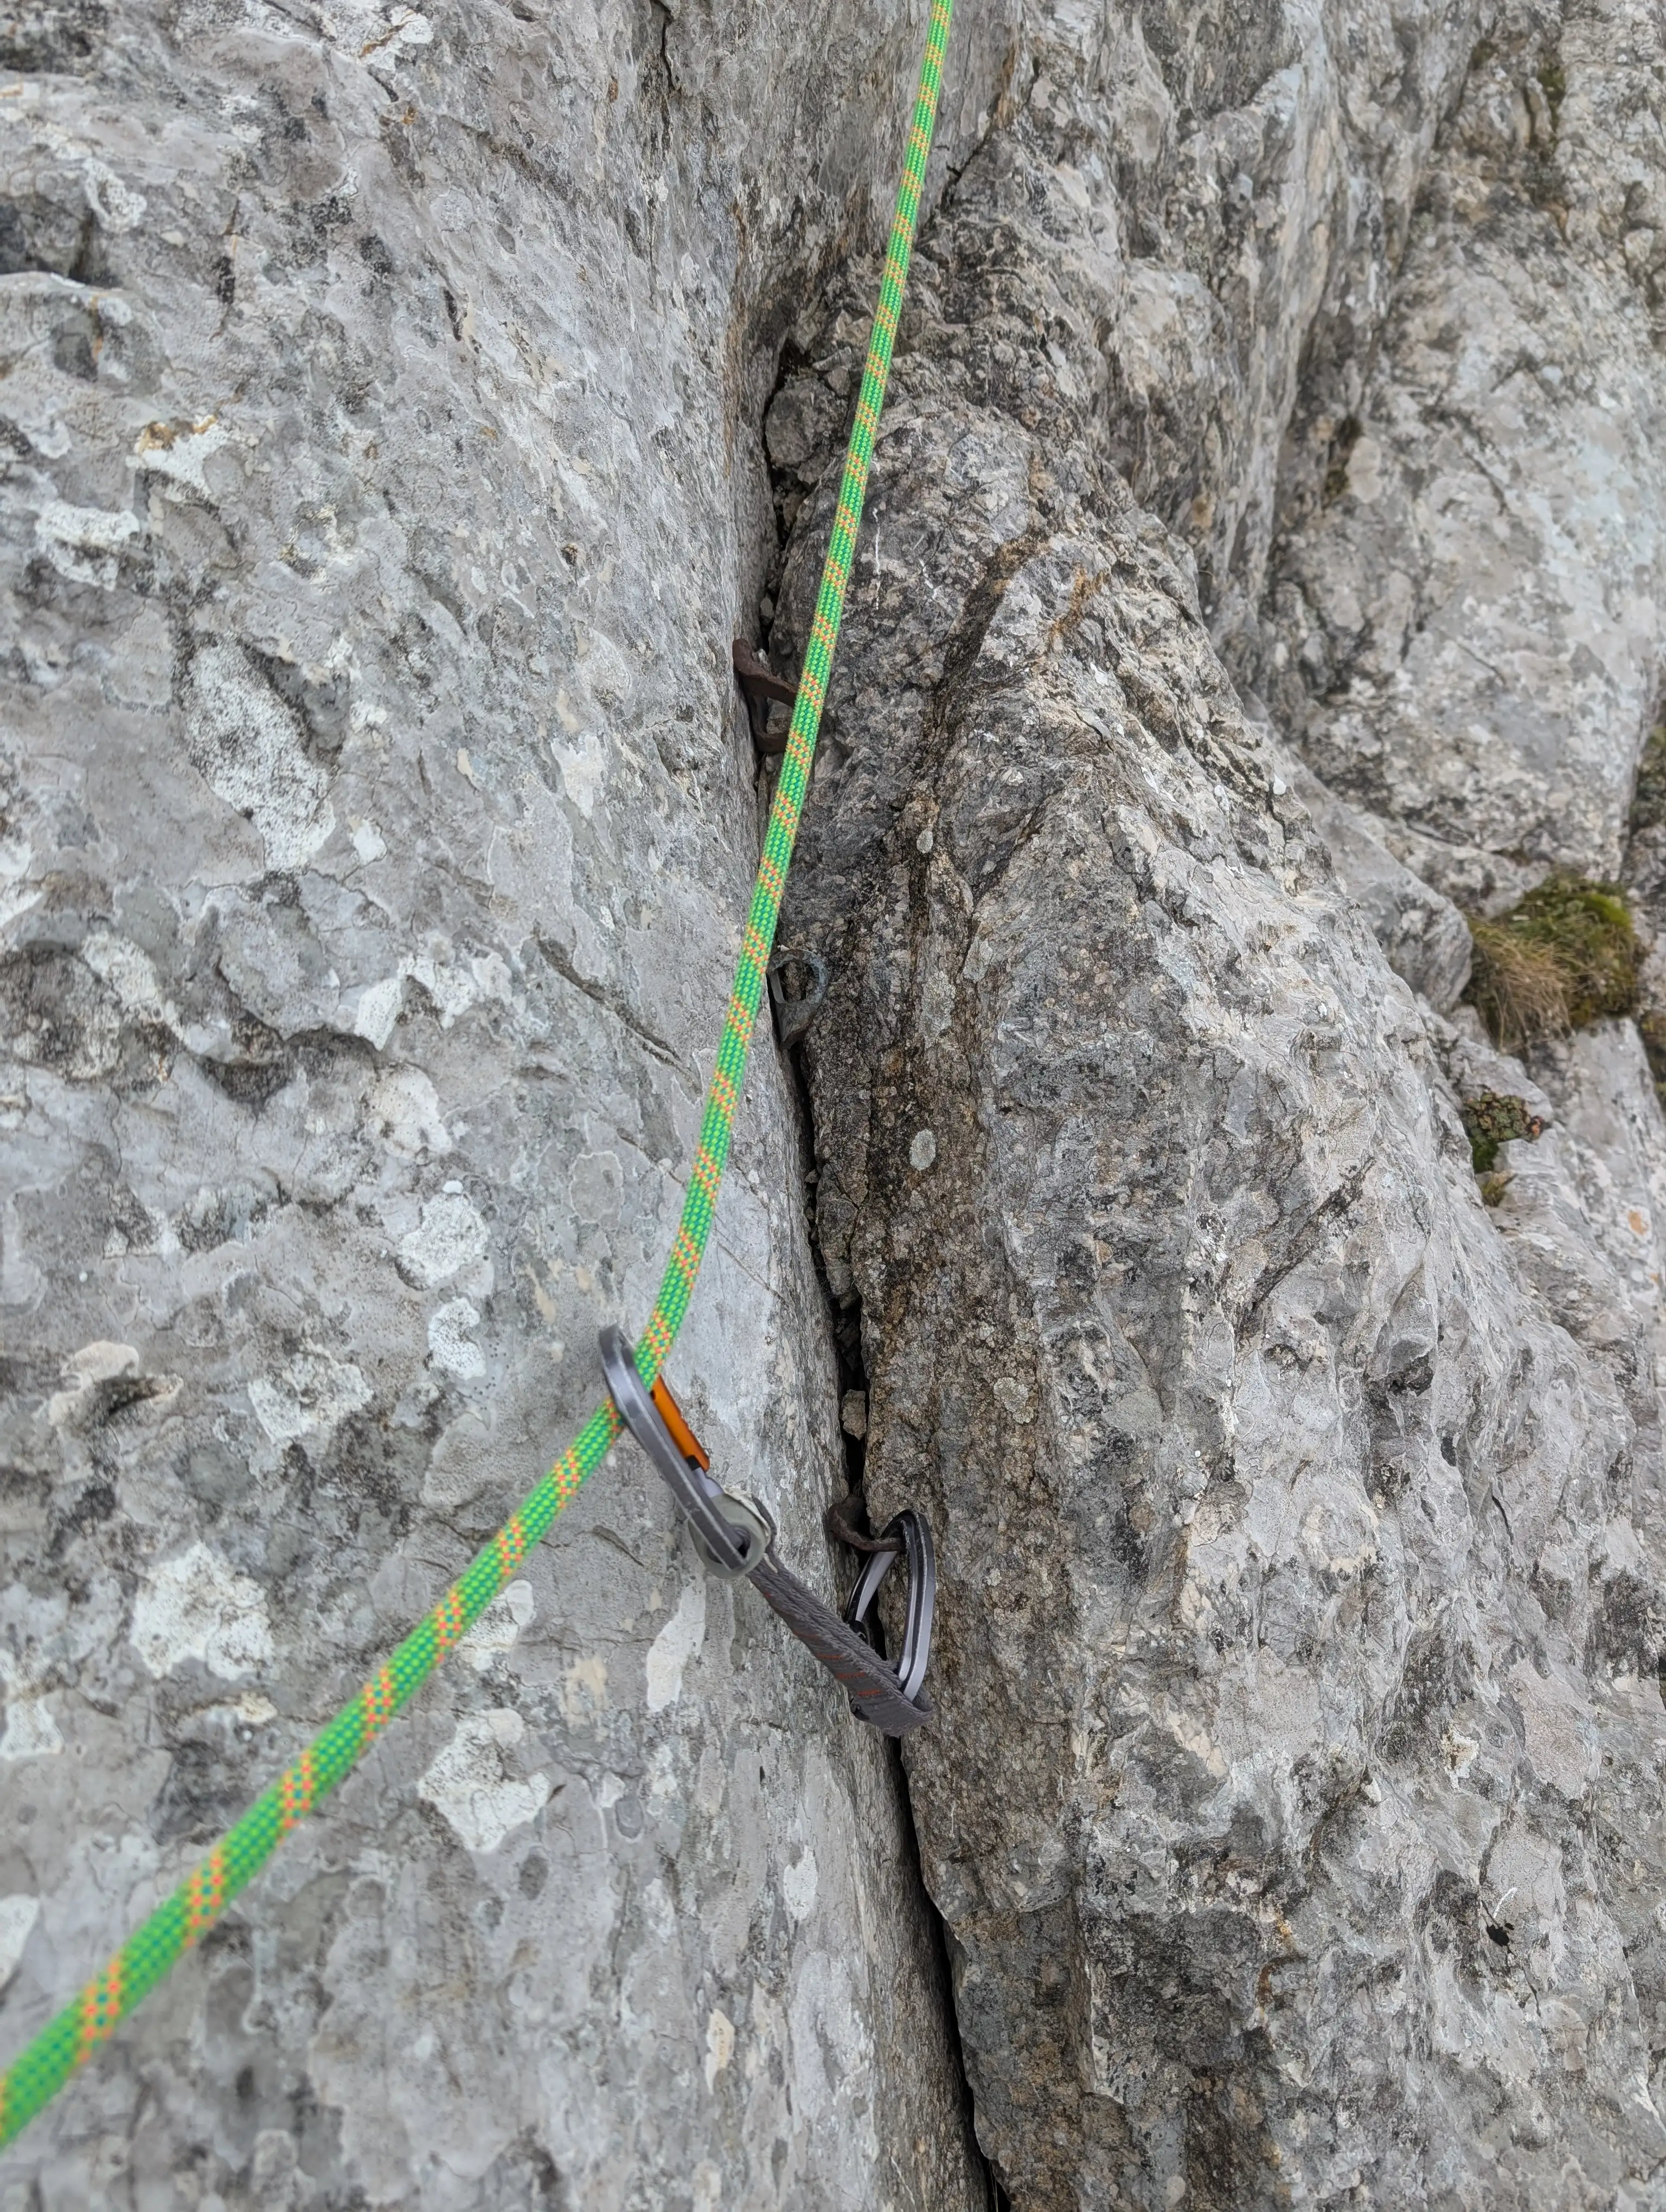 Once again 3 pittons for maximum safety in the sixth belay.
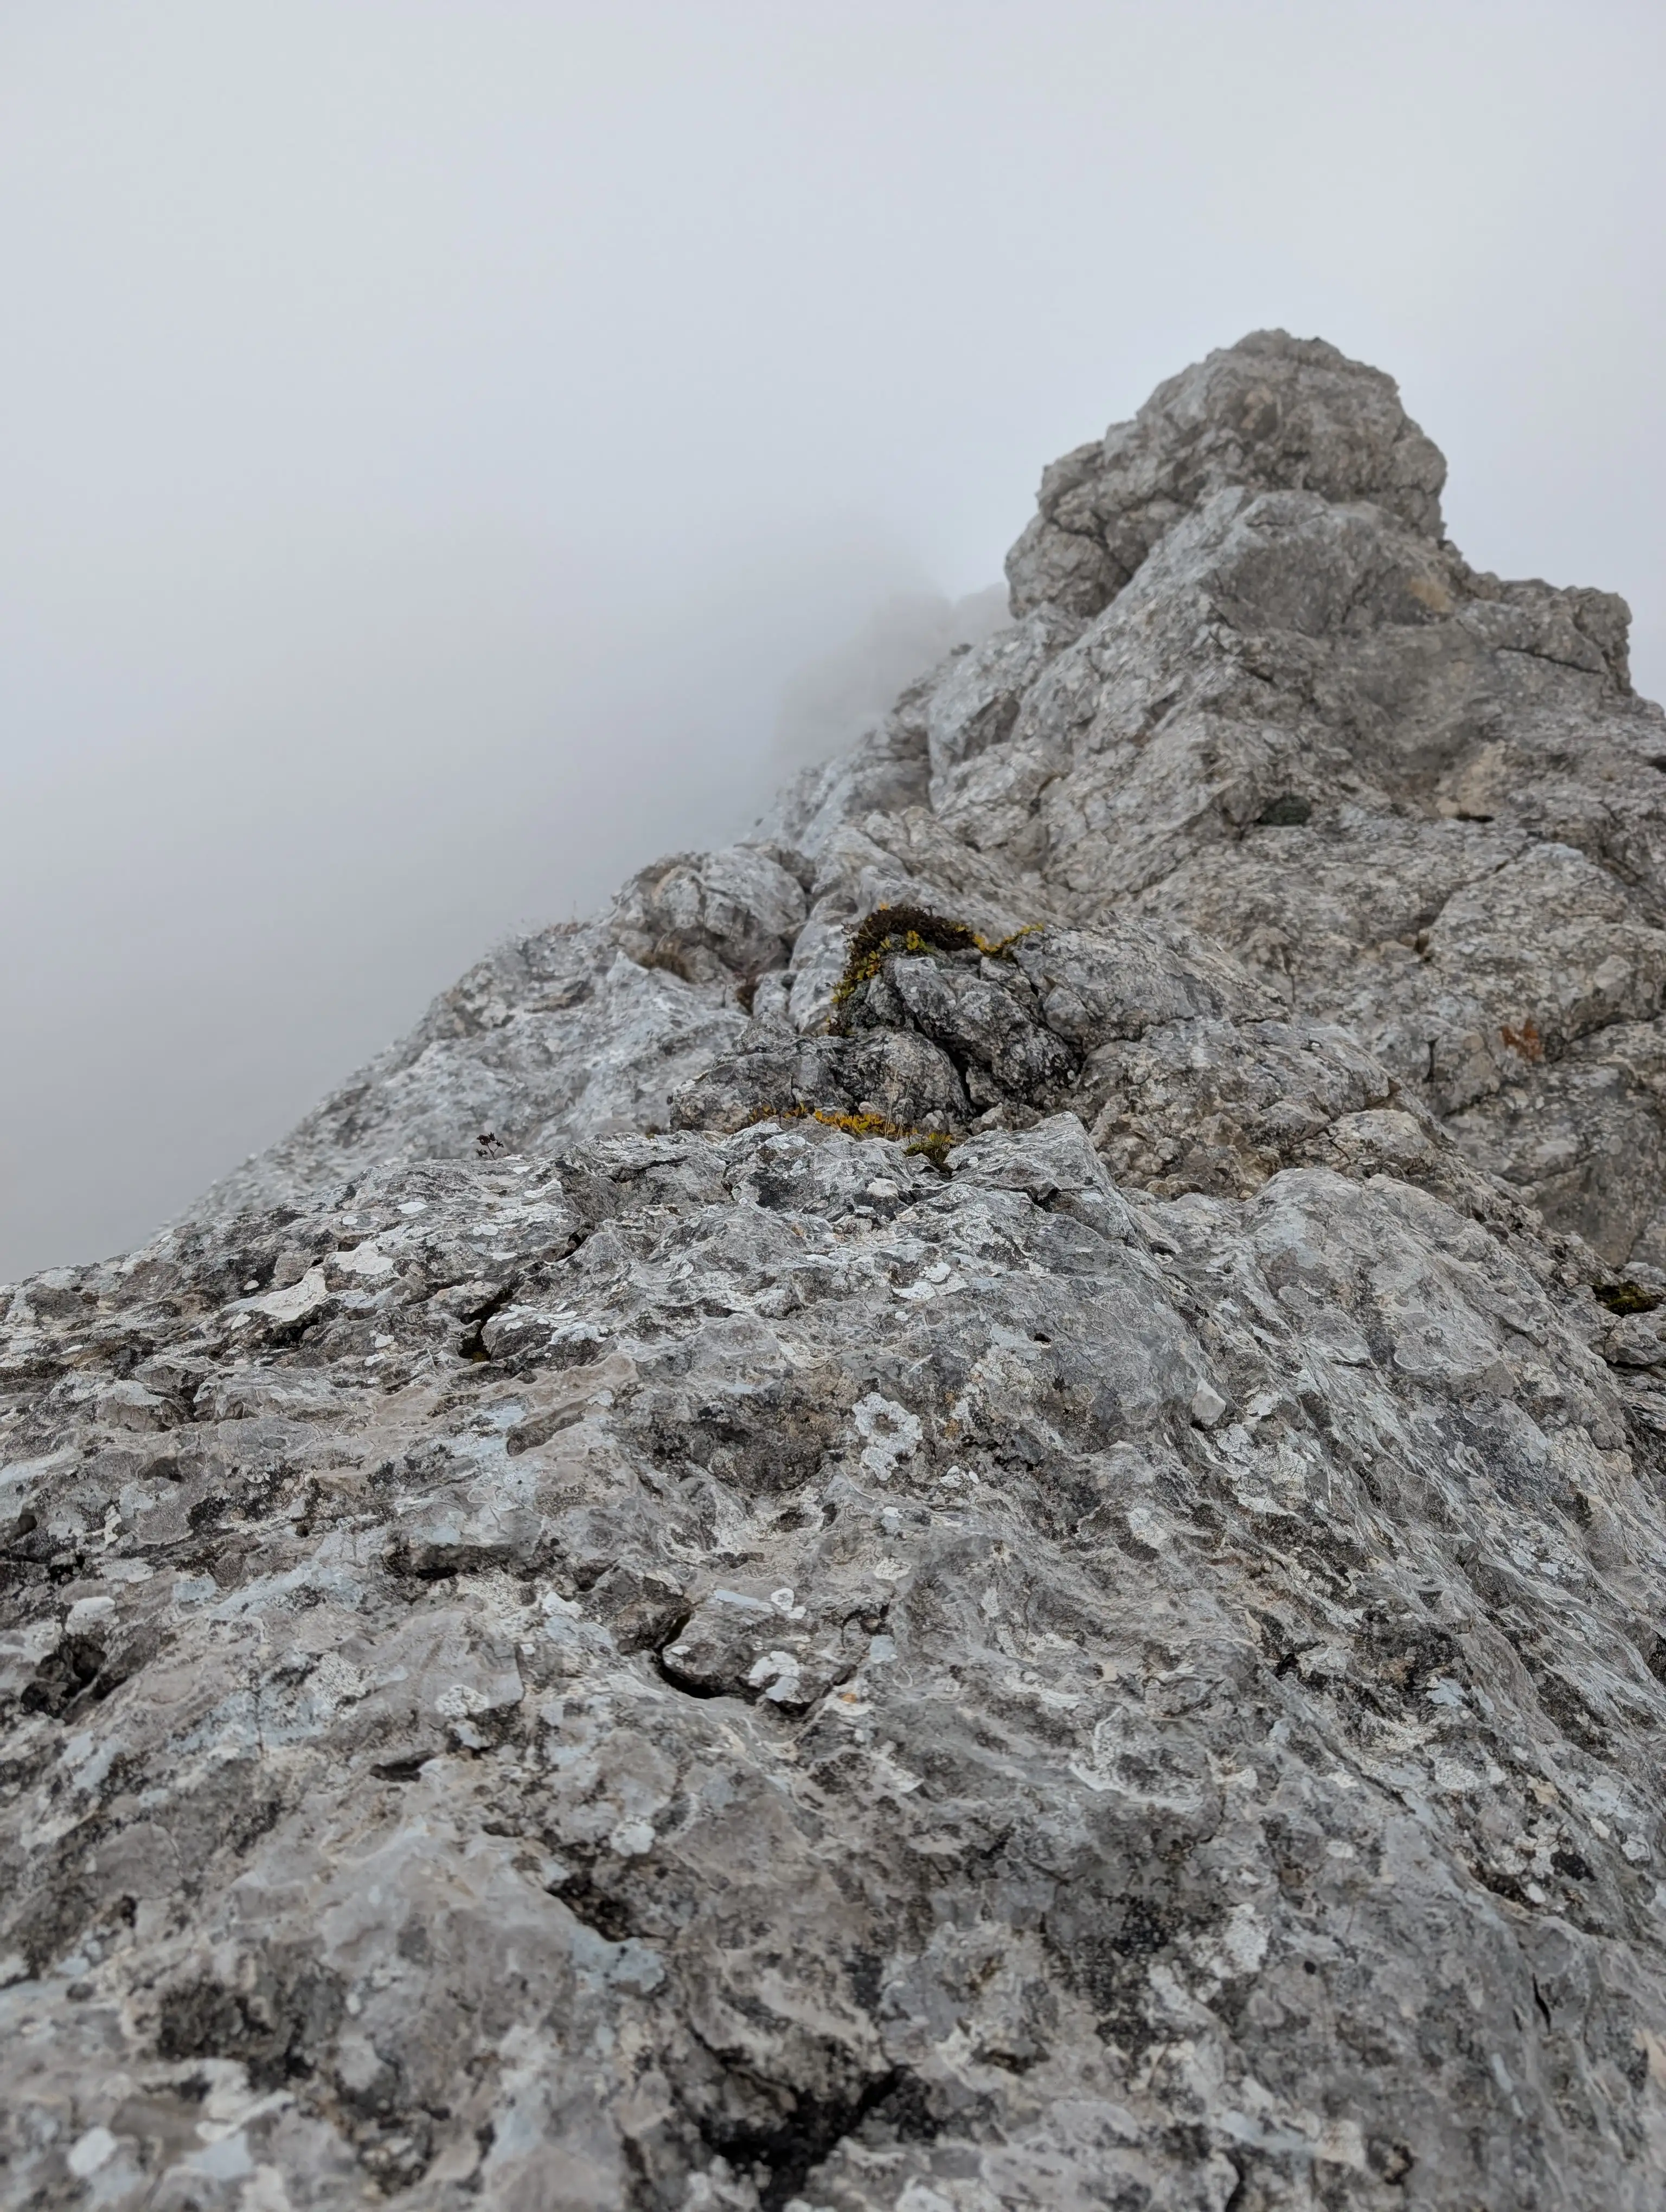 Terrain of the sixth pitch.
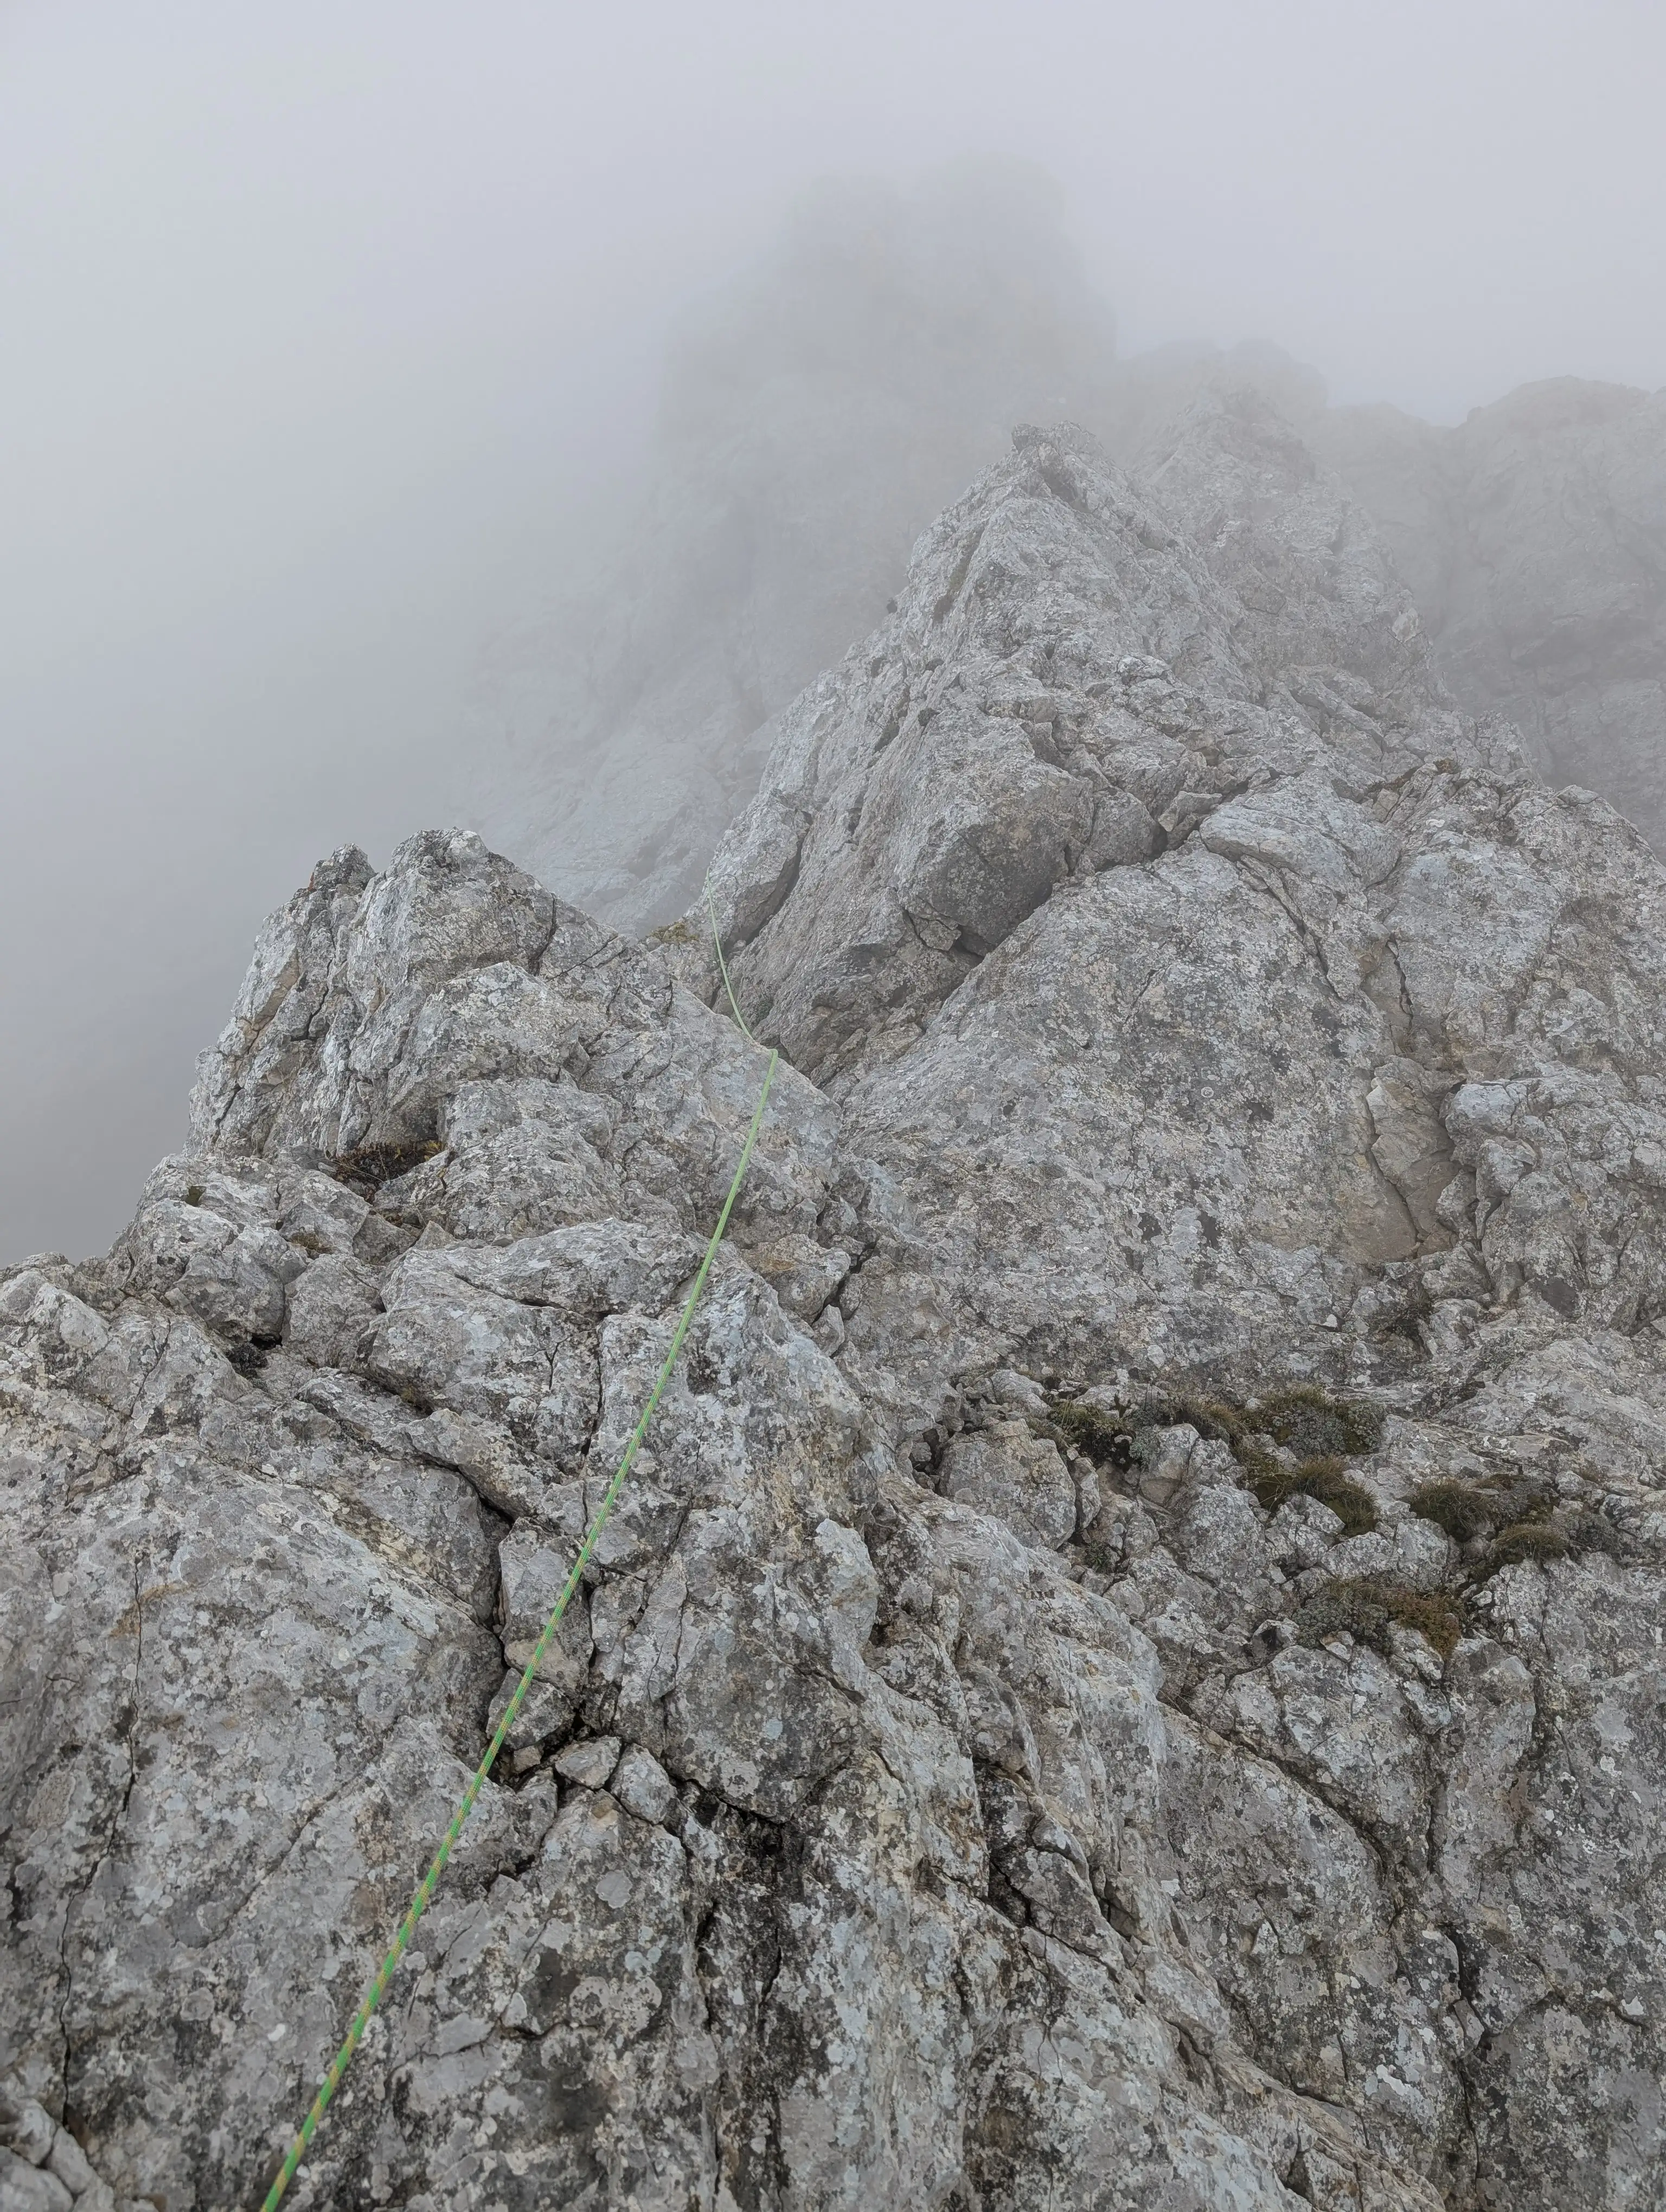 Many variants are possible, on both ends and the edge. Left one seemed most approachable but is also most exposed. Rock quality is good.
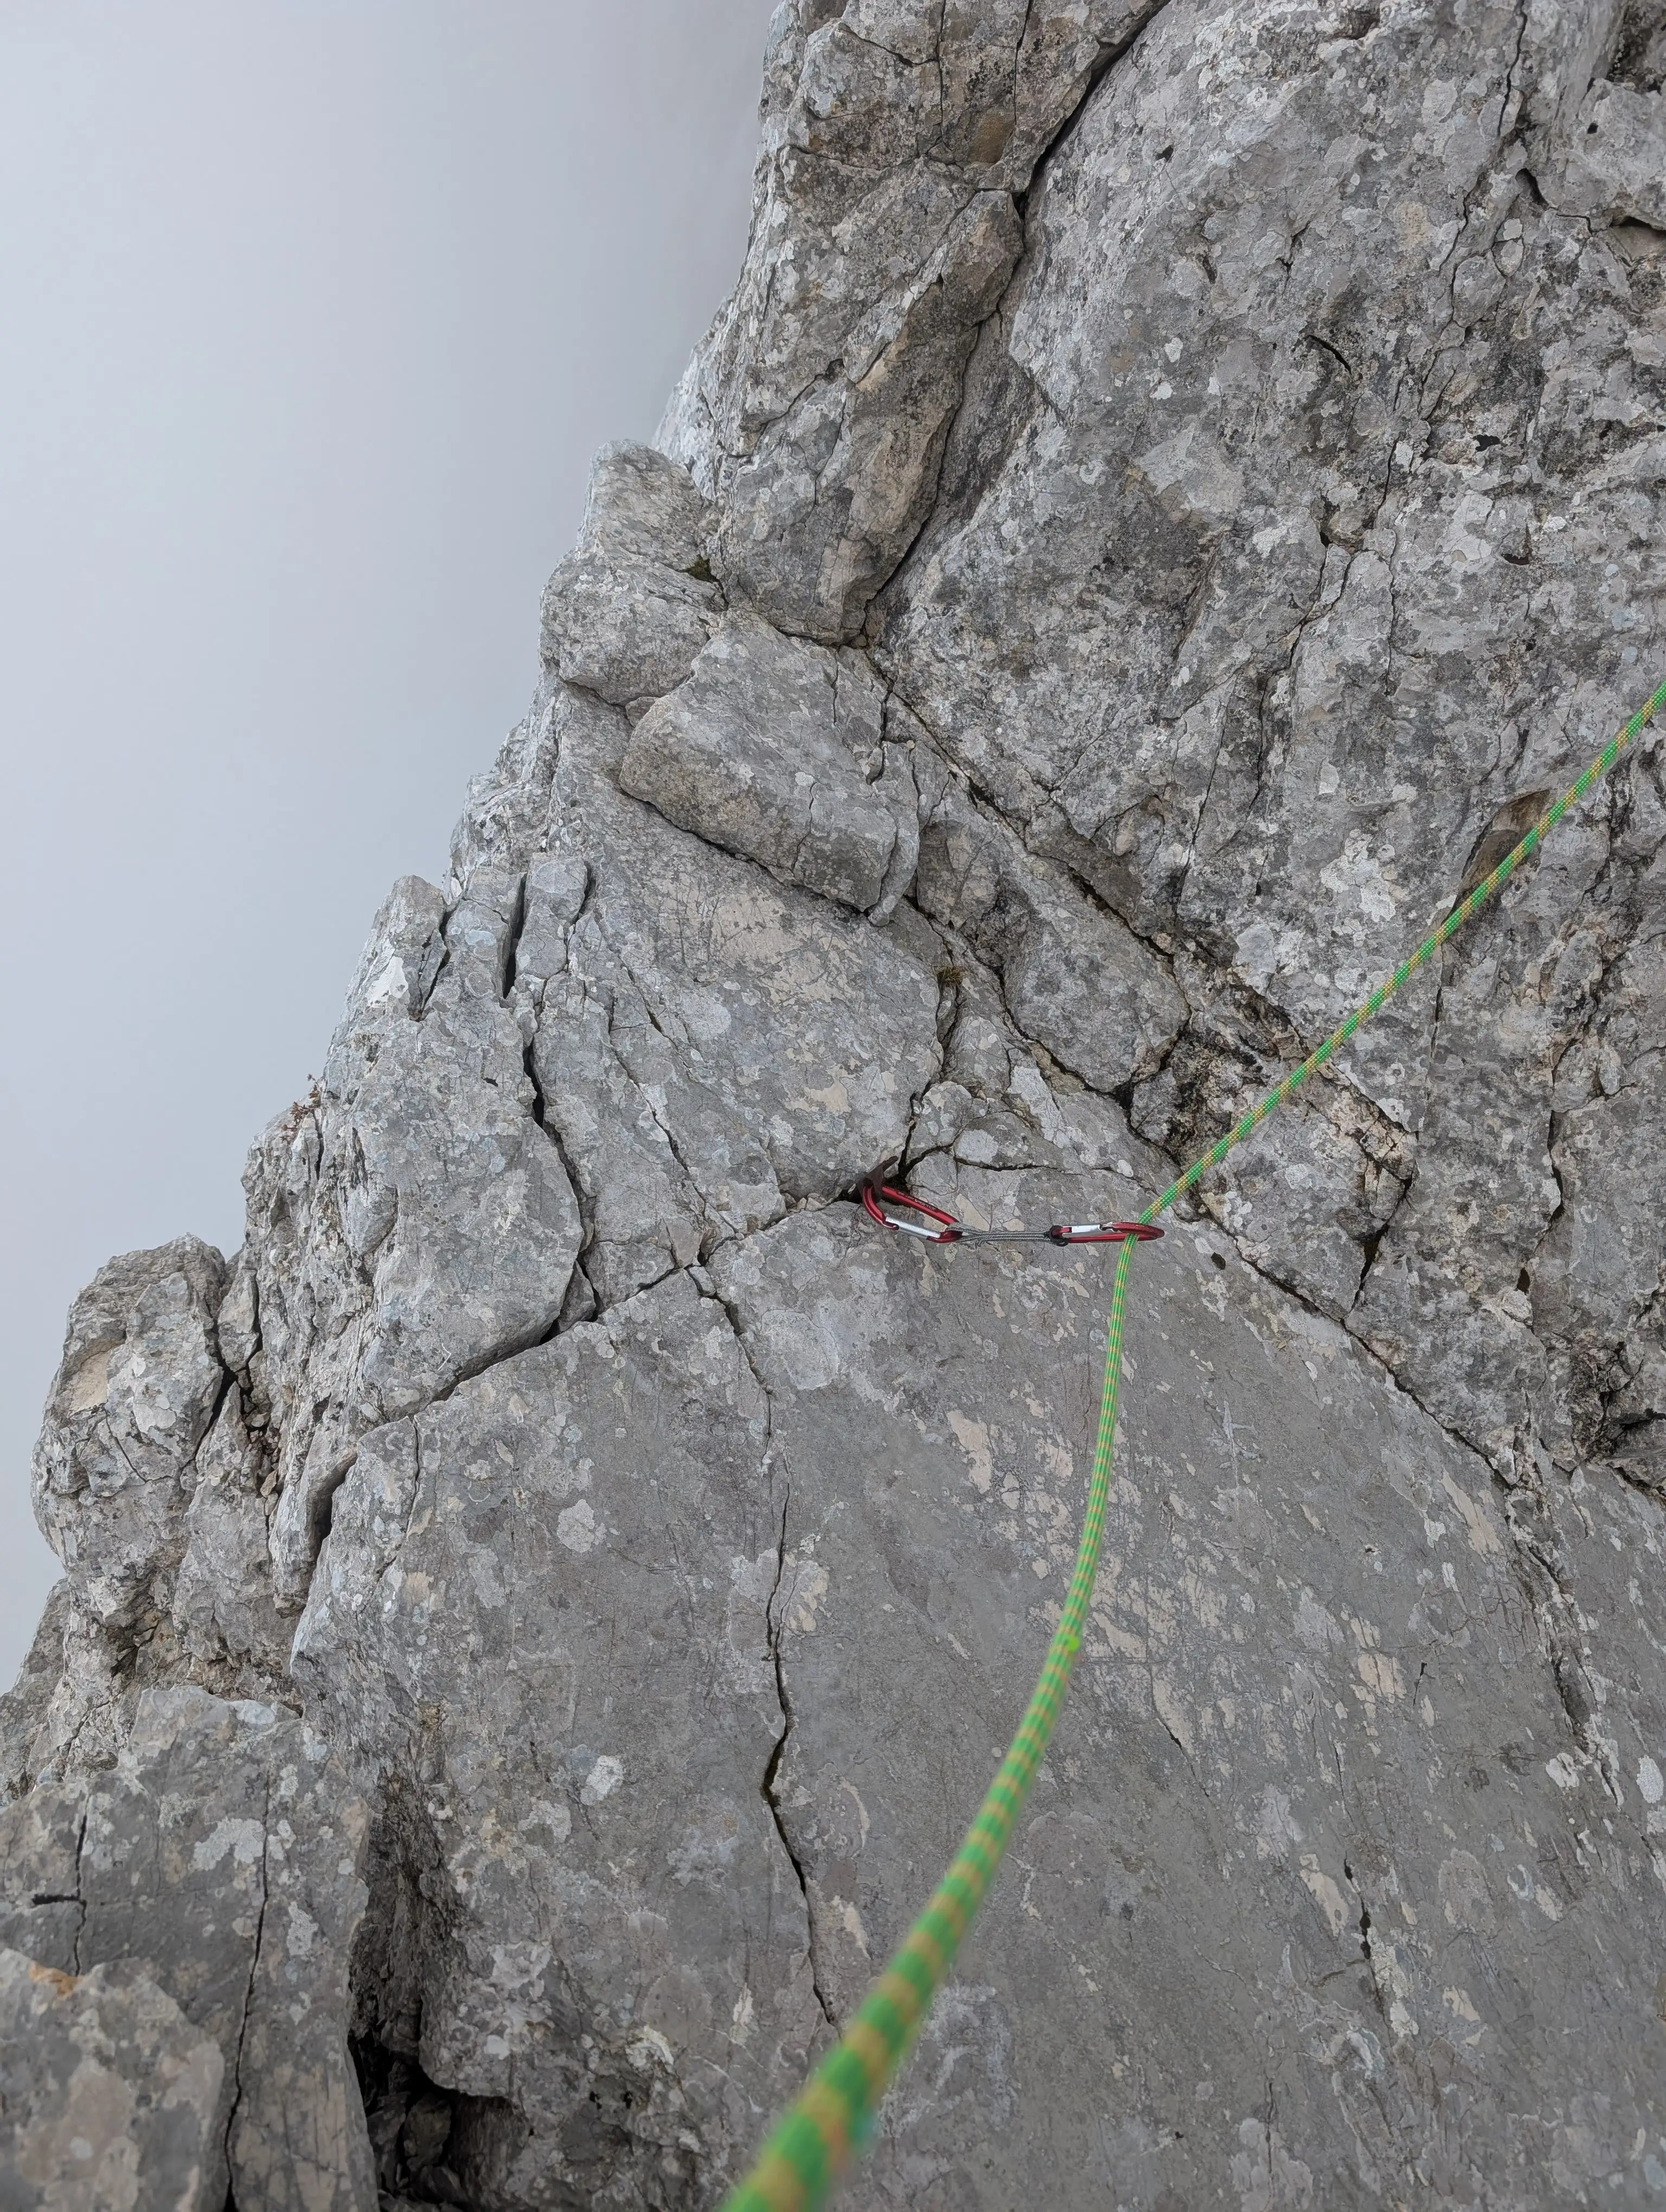 Look everywhere for pittons and you shall find them!
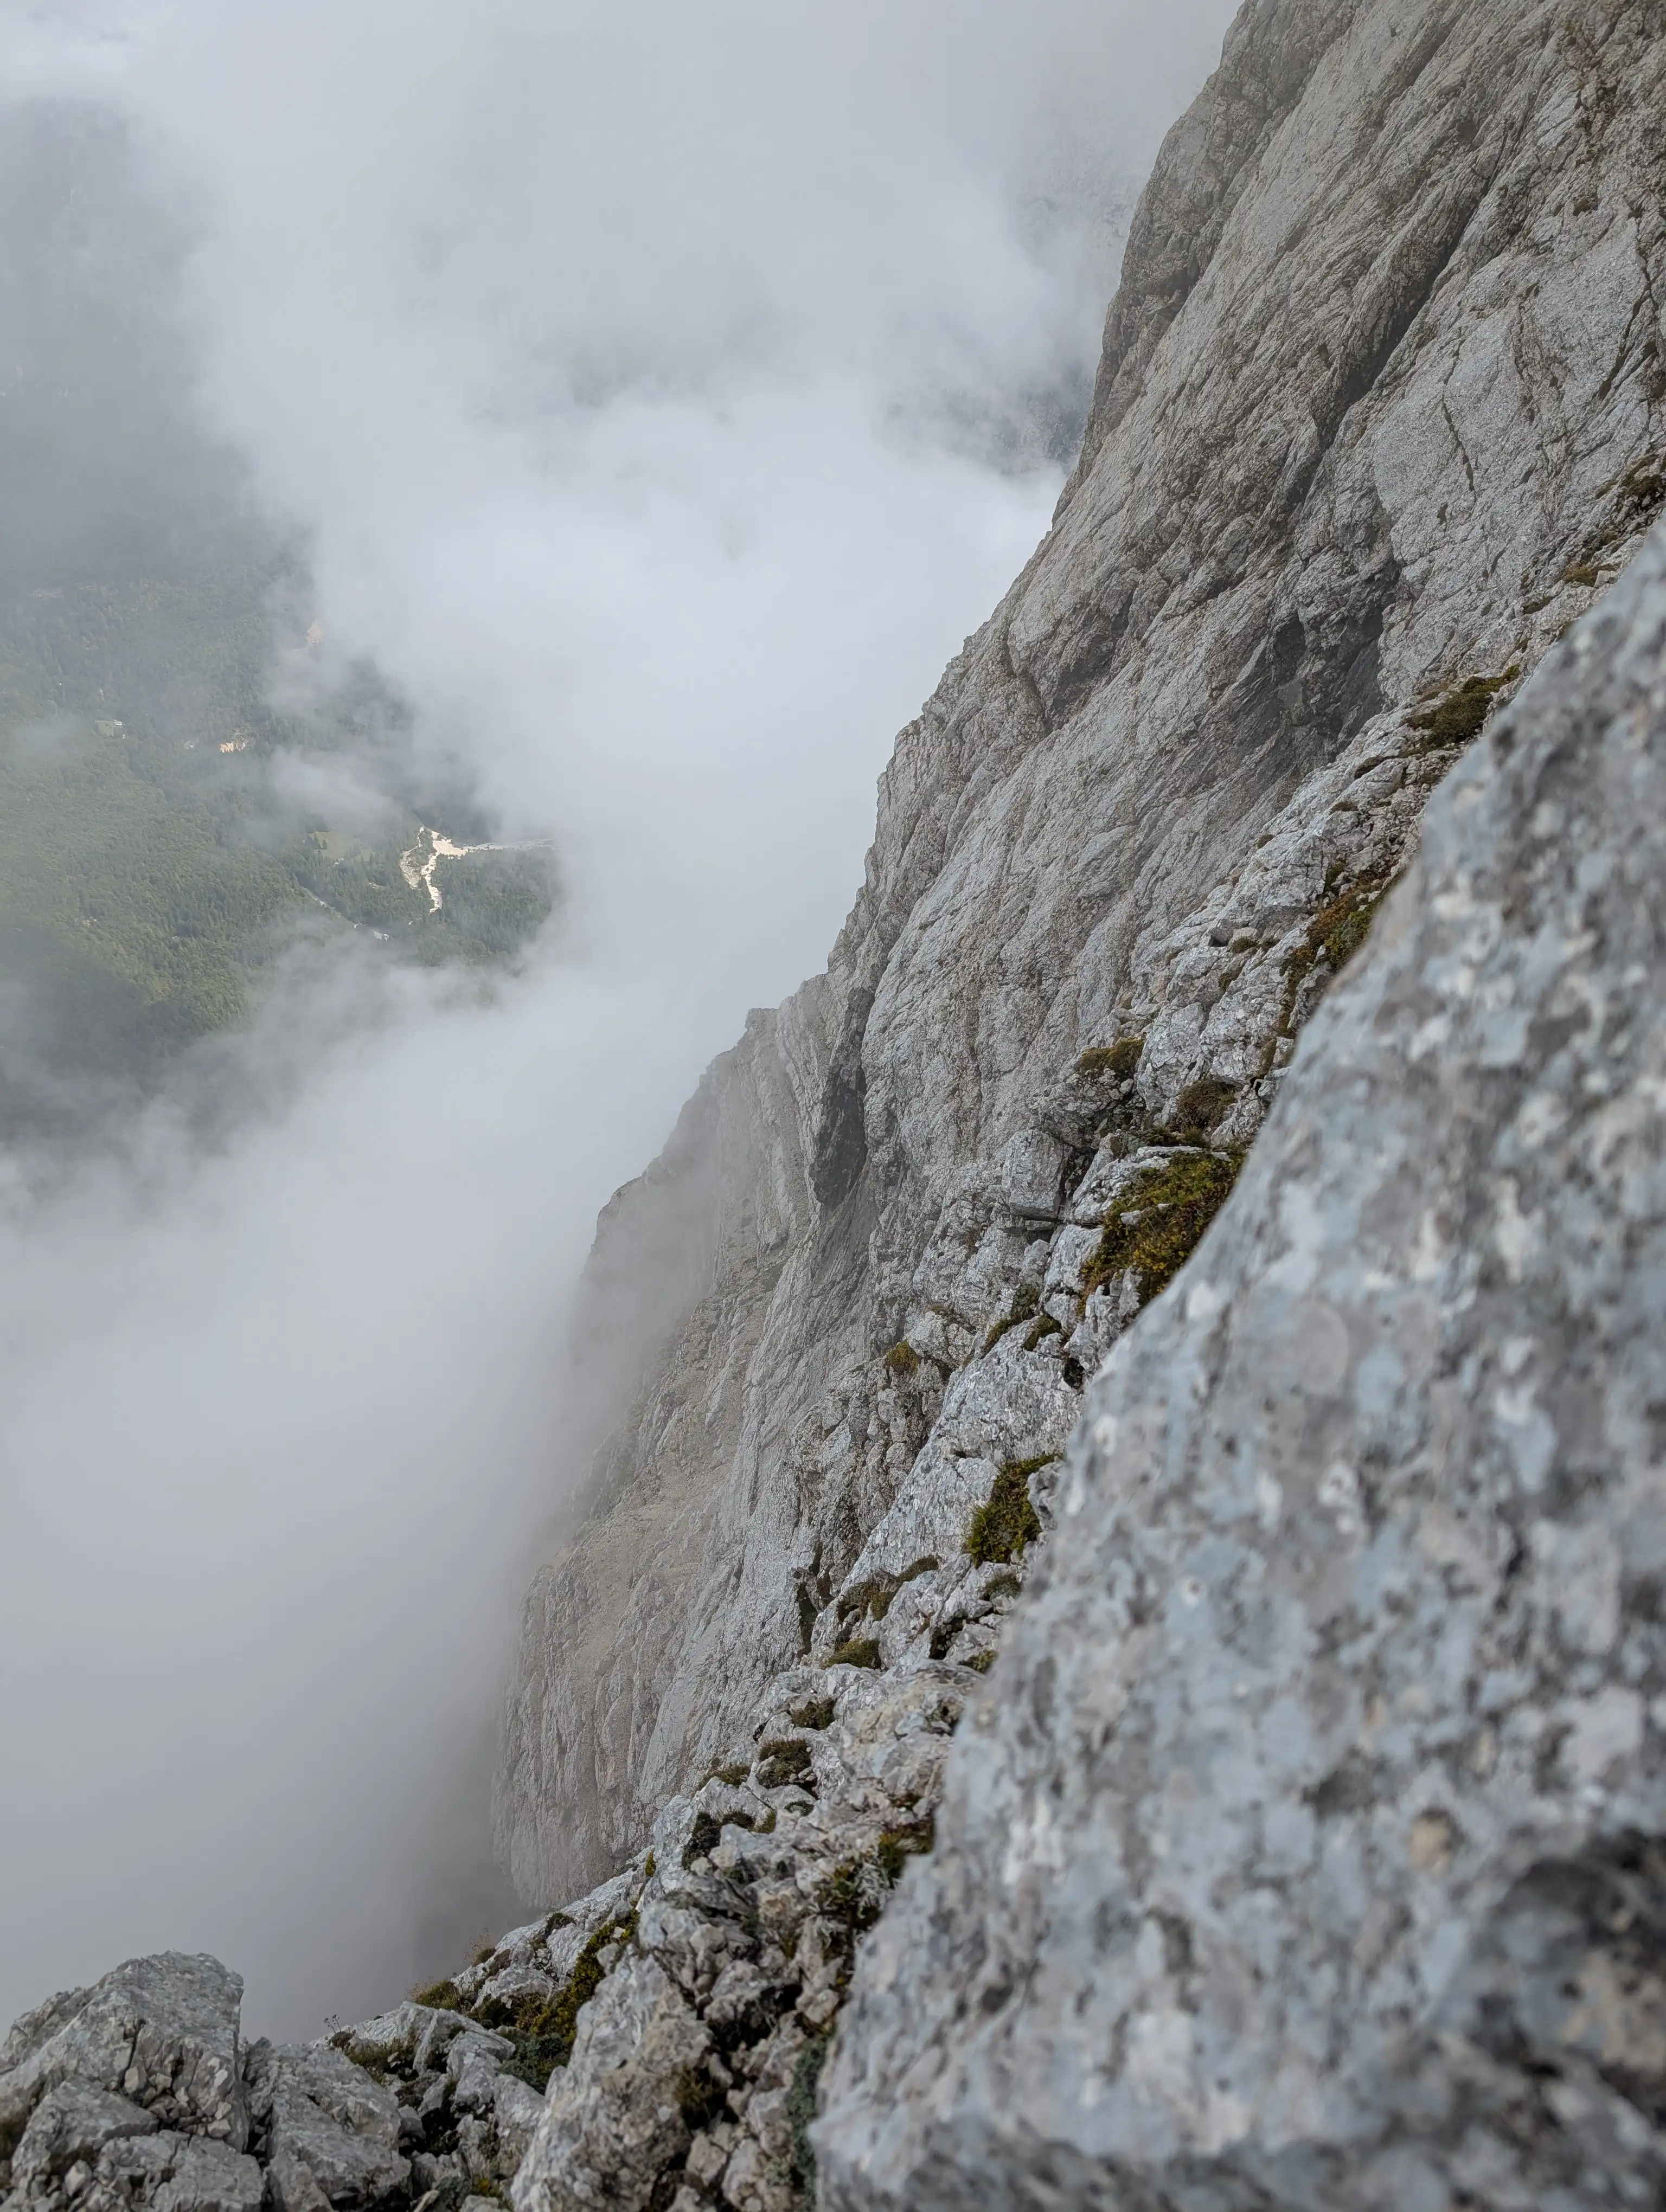 We can practice our self-control with a bit of air underneath.
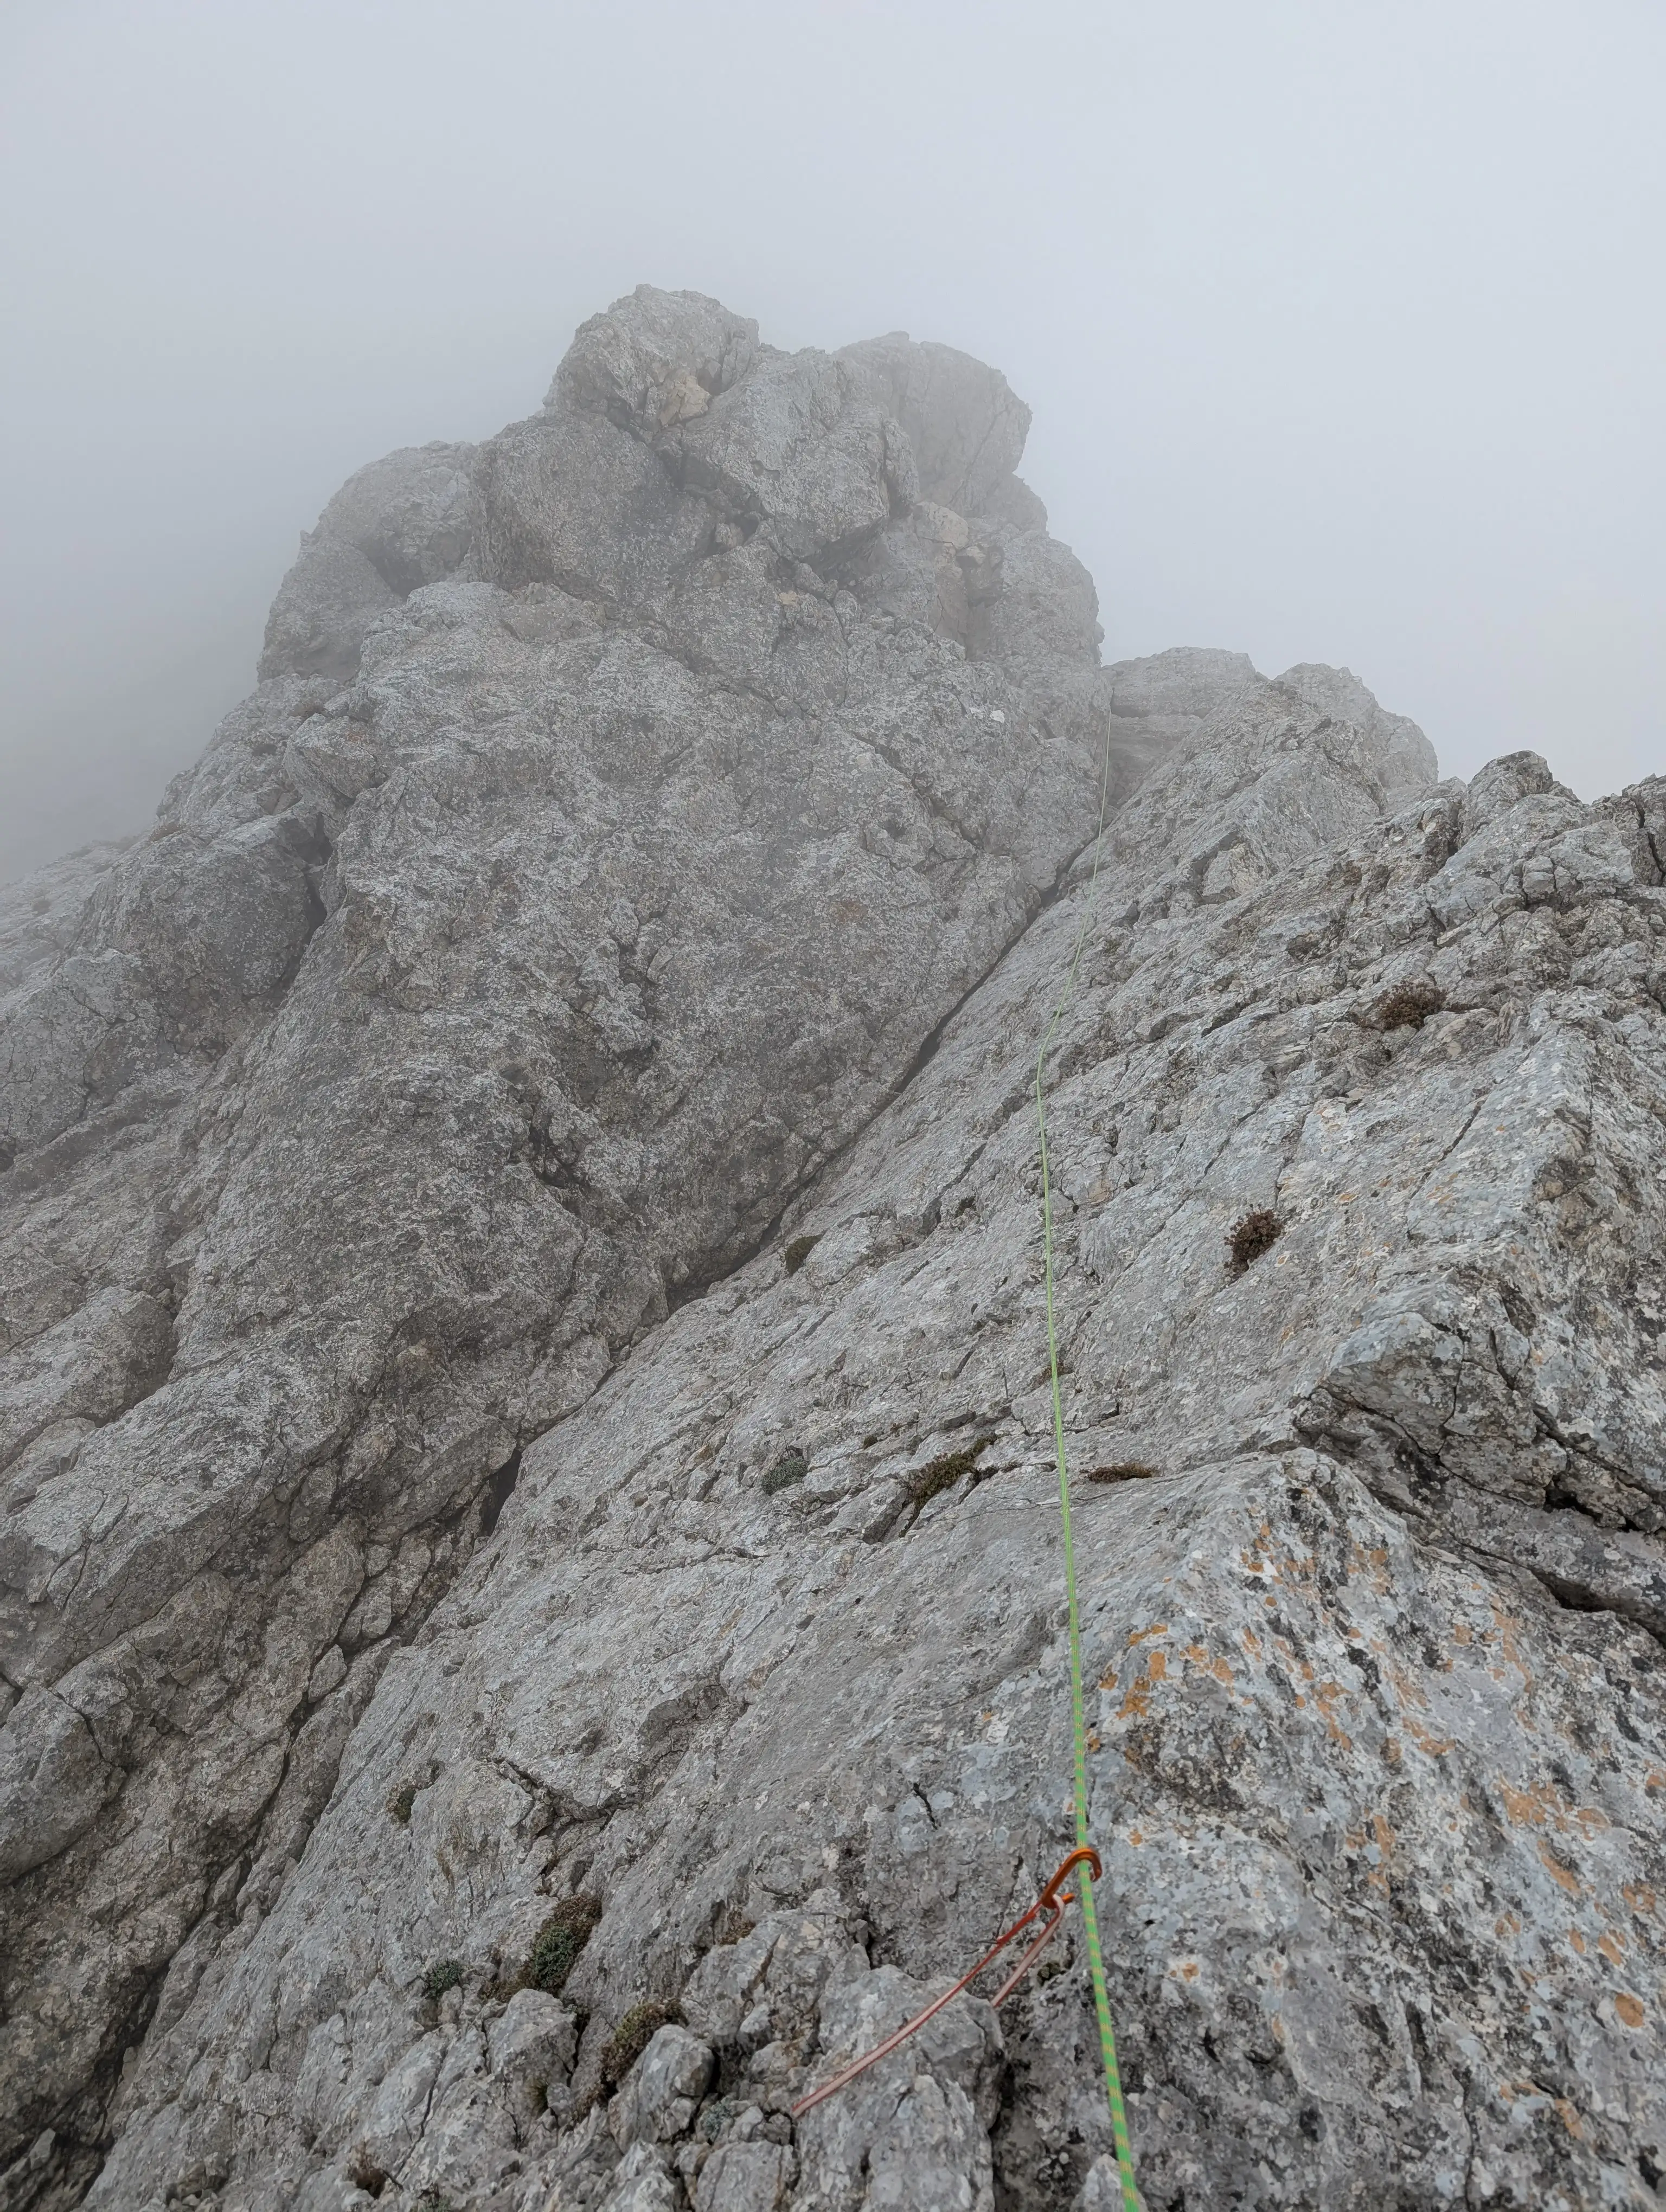 Last strechtes of airy ridge. Where the rope dissapears a nice short chimney awaits us.
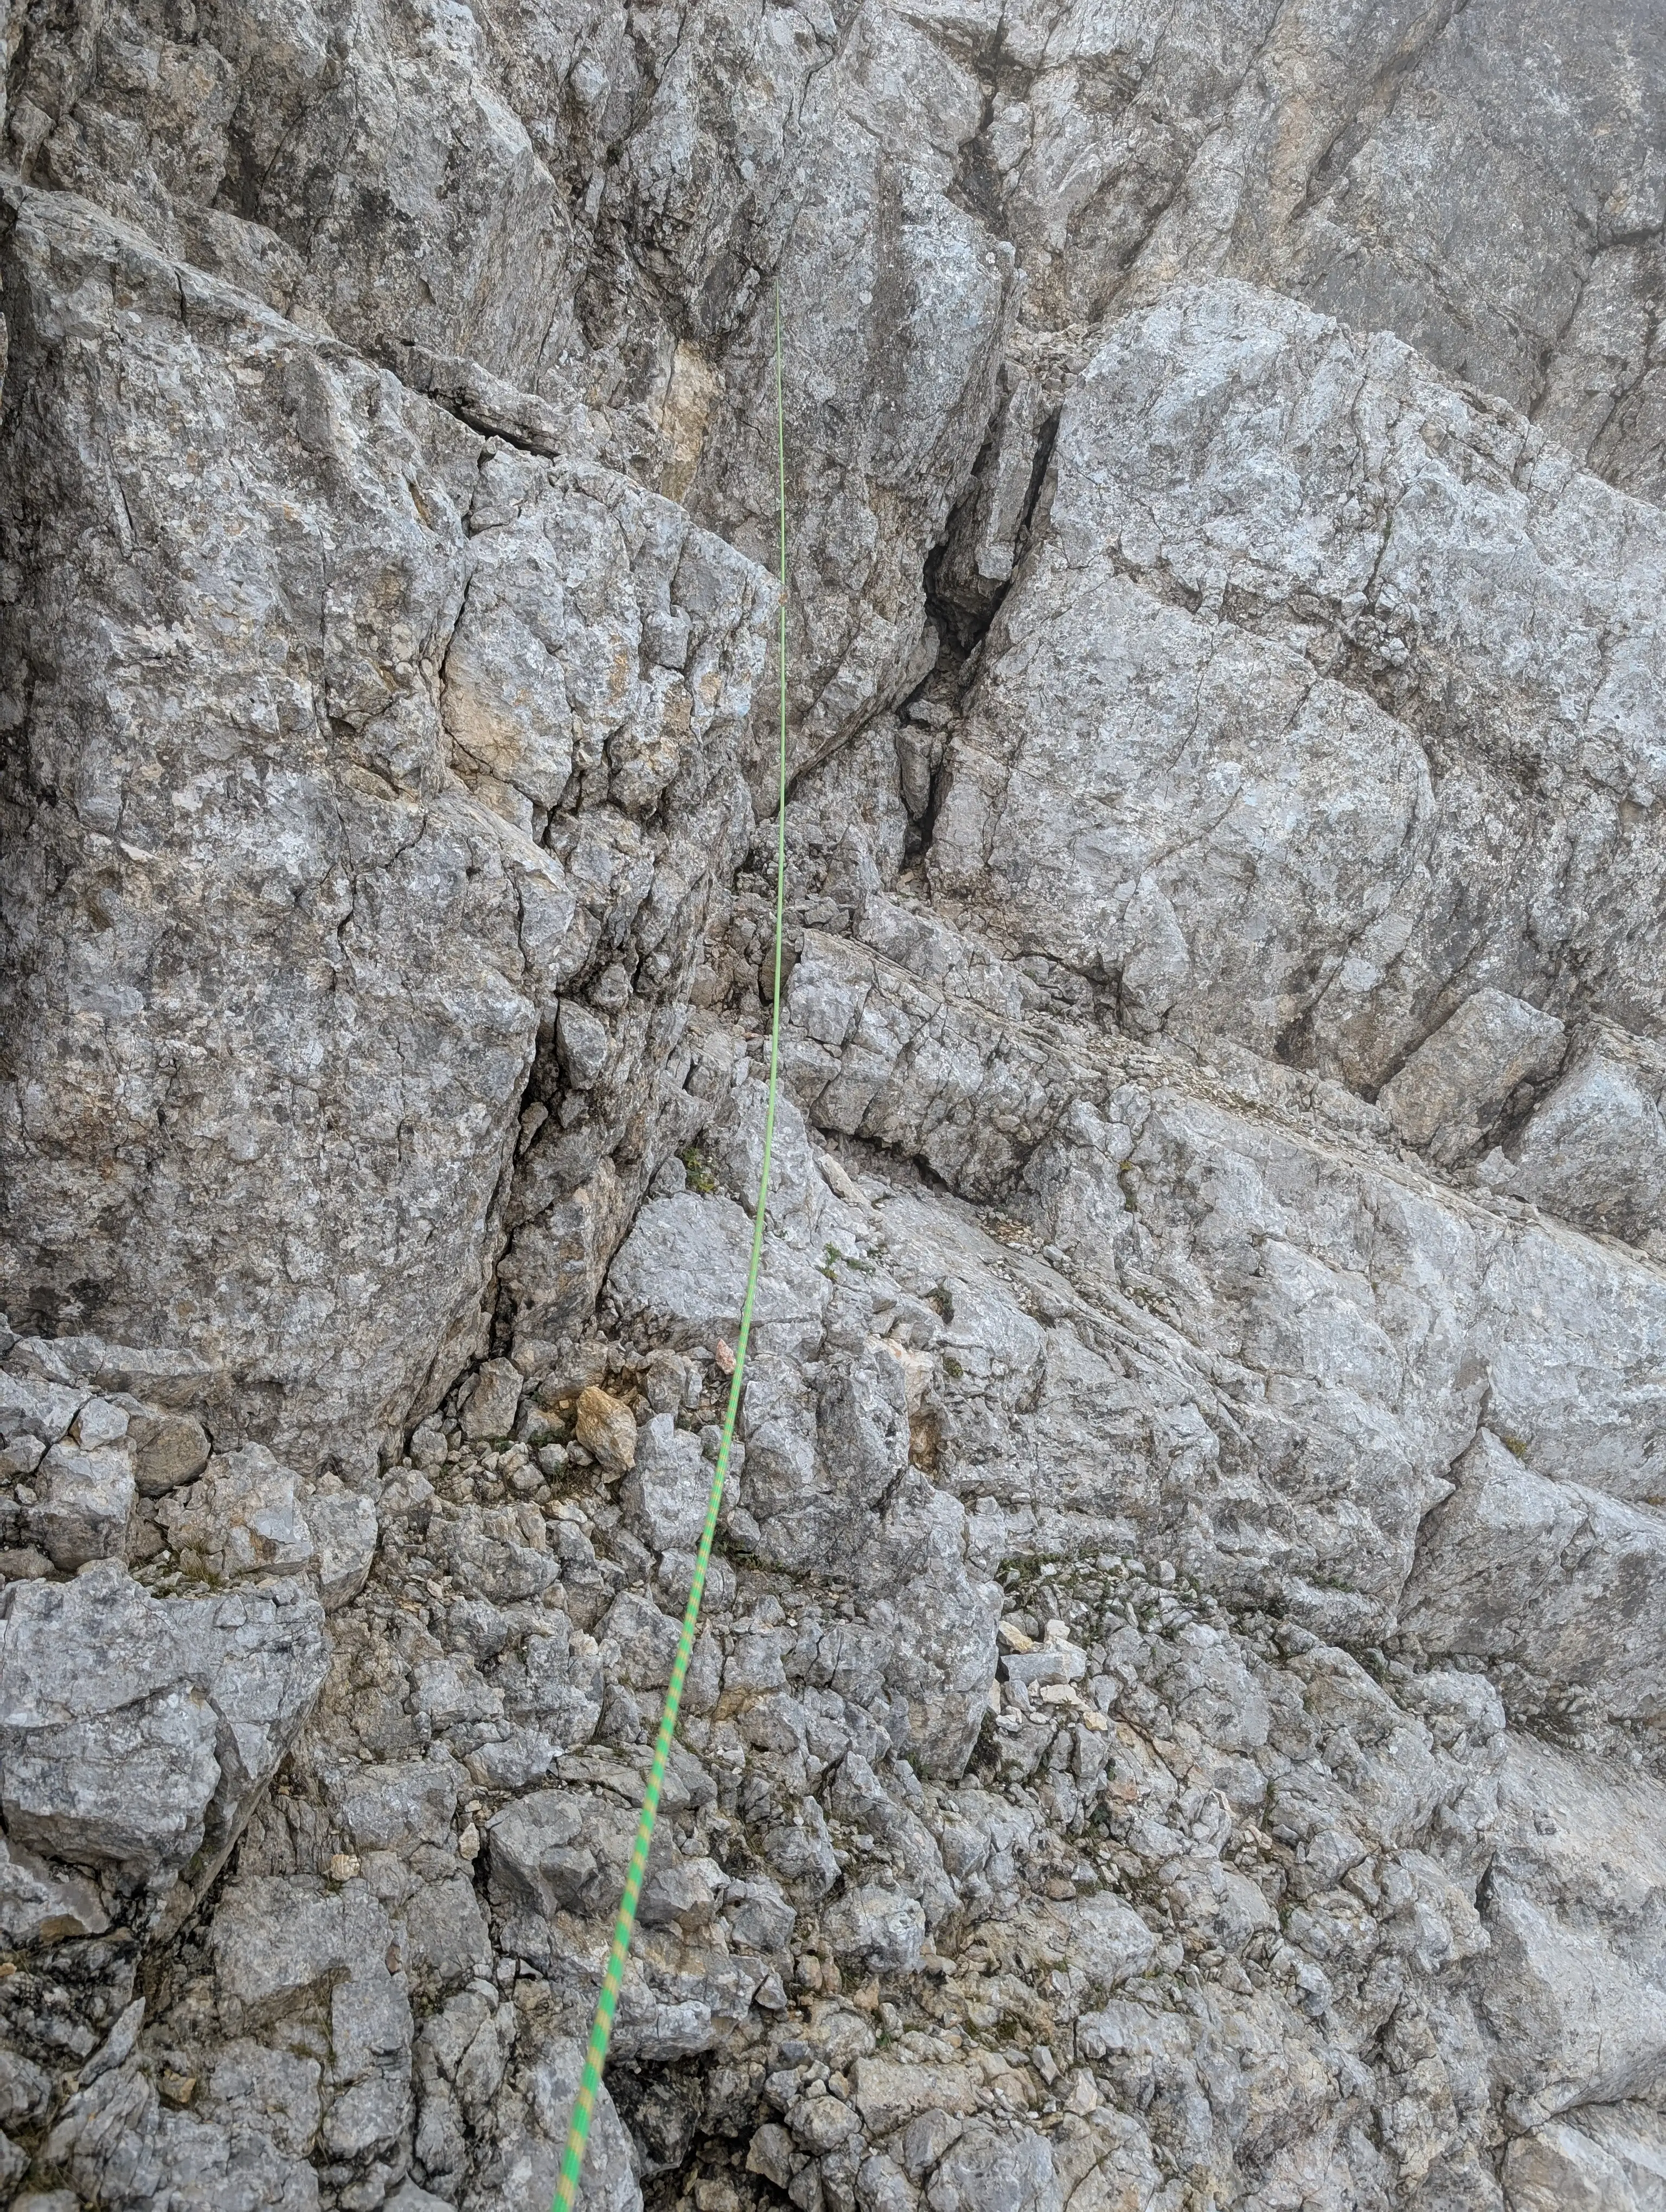 Climbing below blocky towers in the seventh pitch (topo says to go above them). Chimney with jammed rock proved to be most challenging (III+)
 Last pittons on the route, reasonable spot for final belay - didn't use as the last two pitches we did a simul-climbing. They lie below quite distinct black wall. Now a bit of traverse and we leave difficulties.
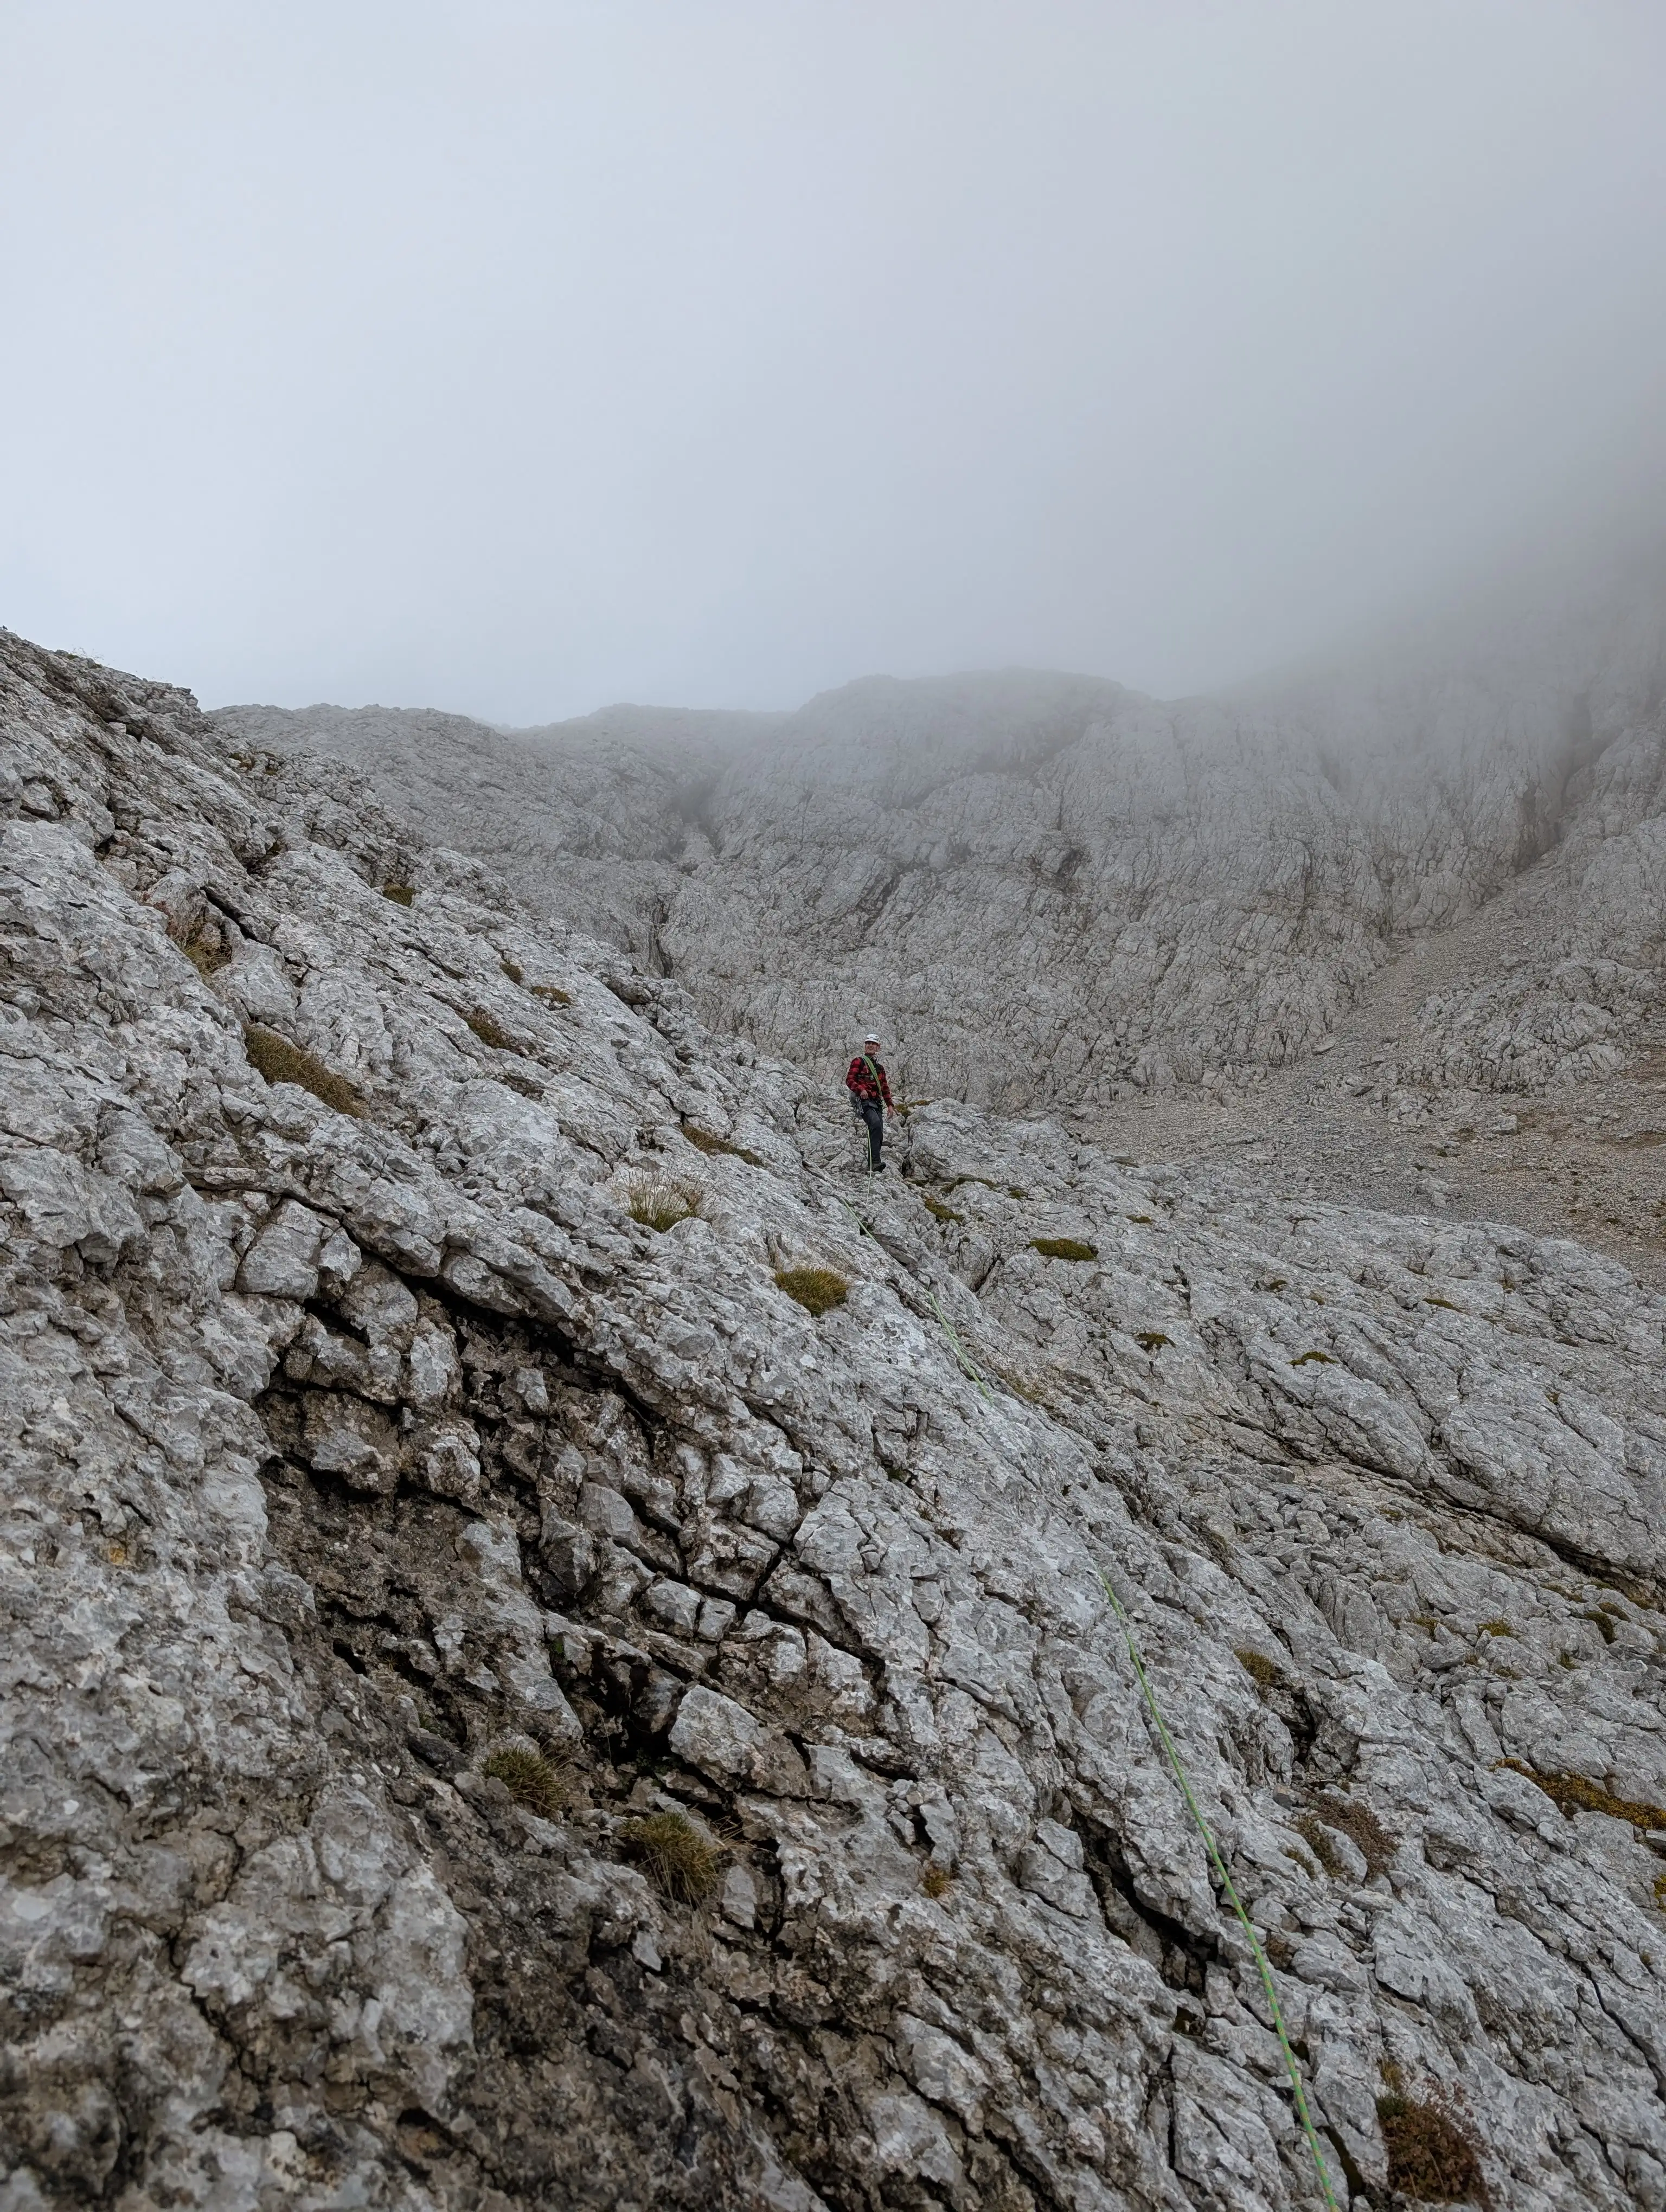 Entering easy terrain, the climbing part is over, now just some occasional scramble.
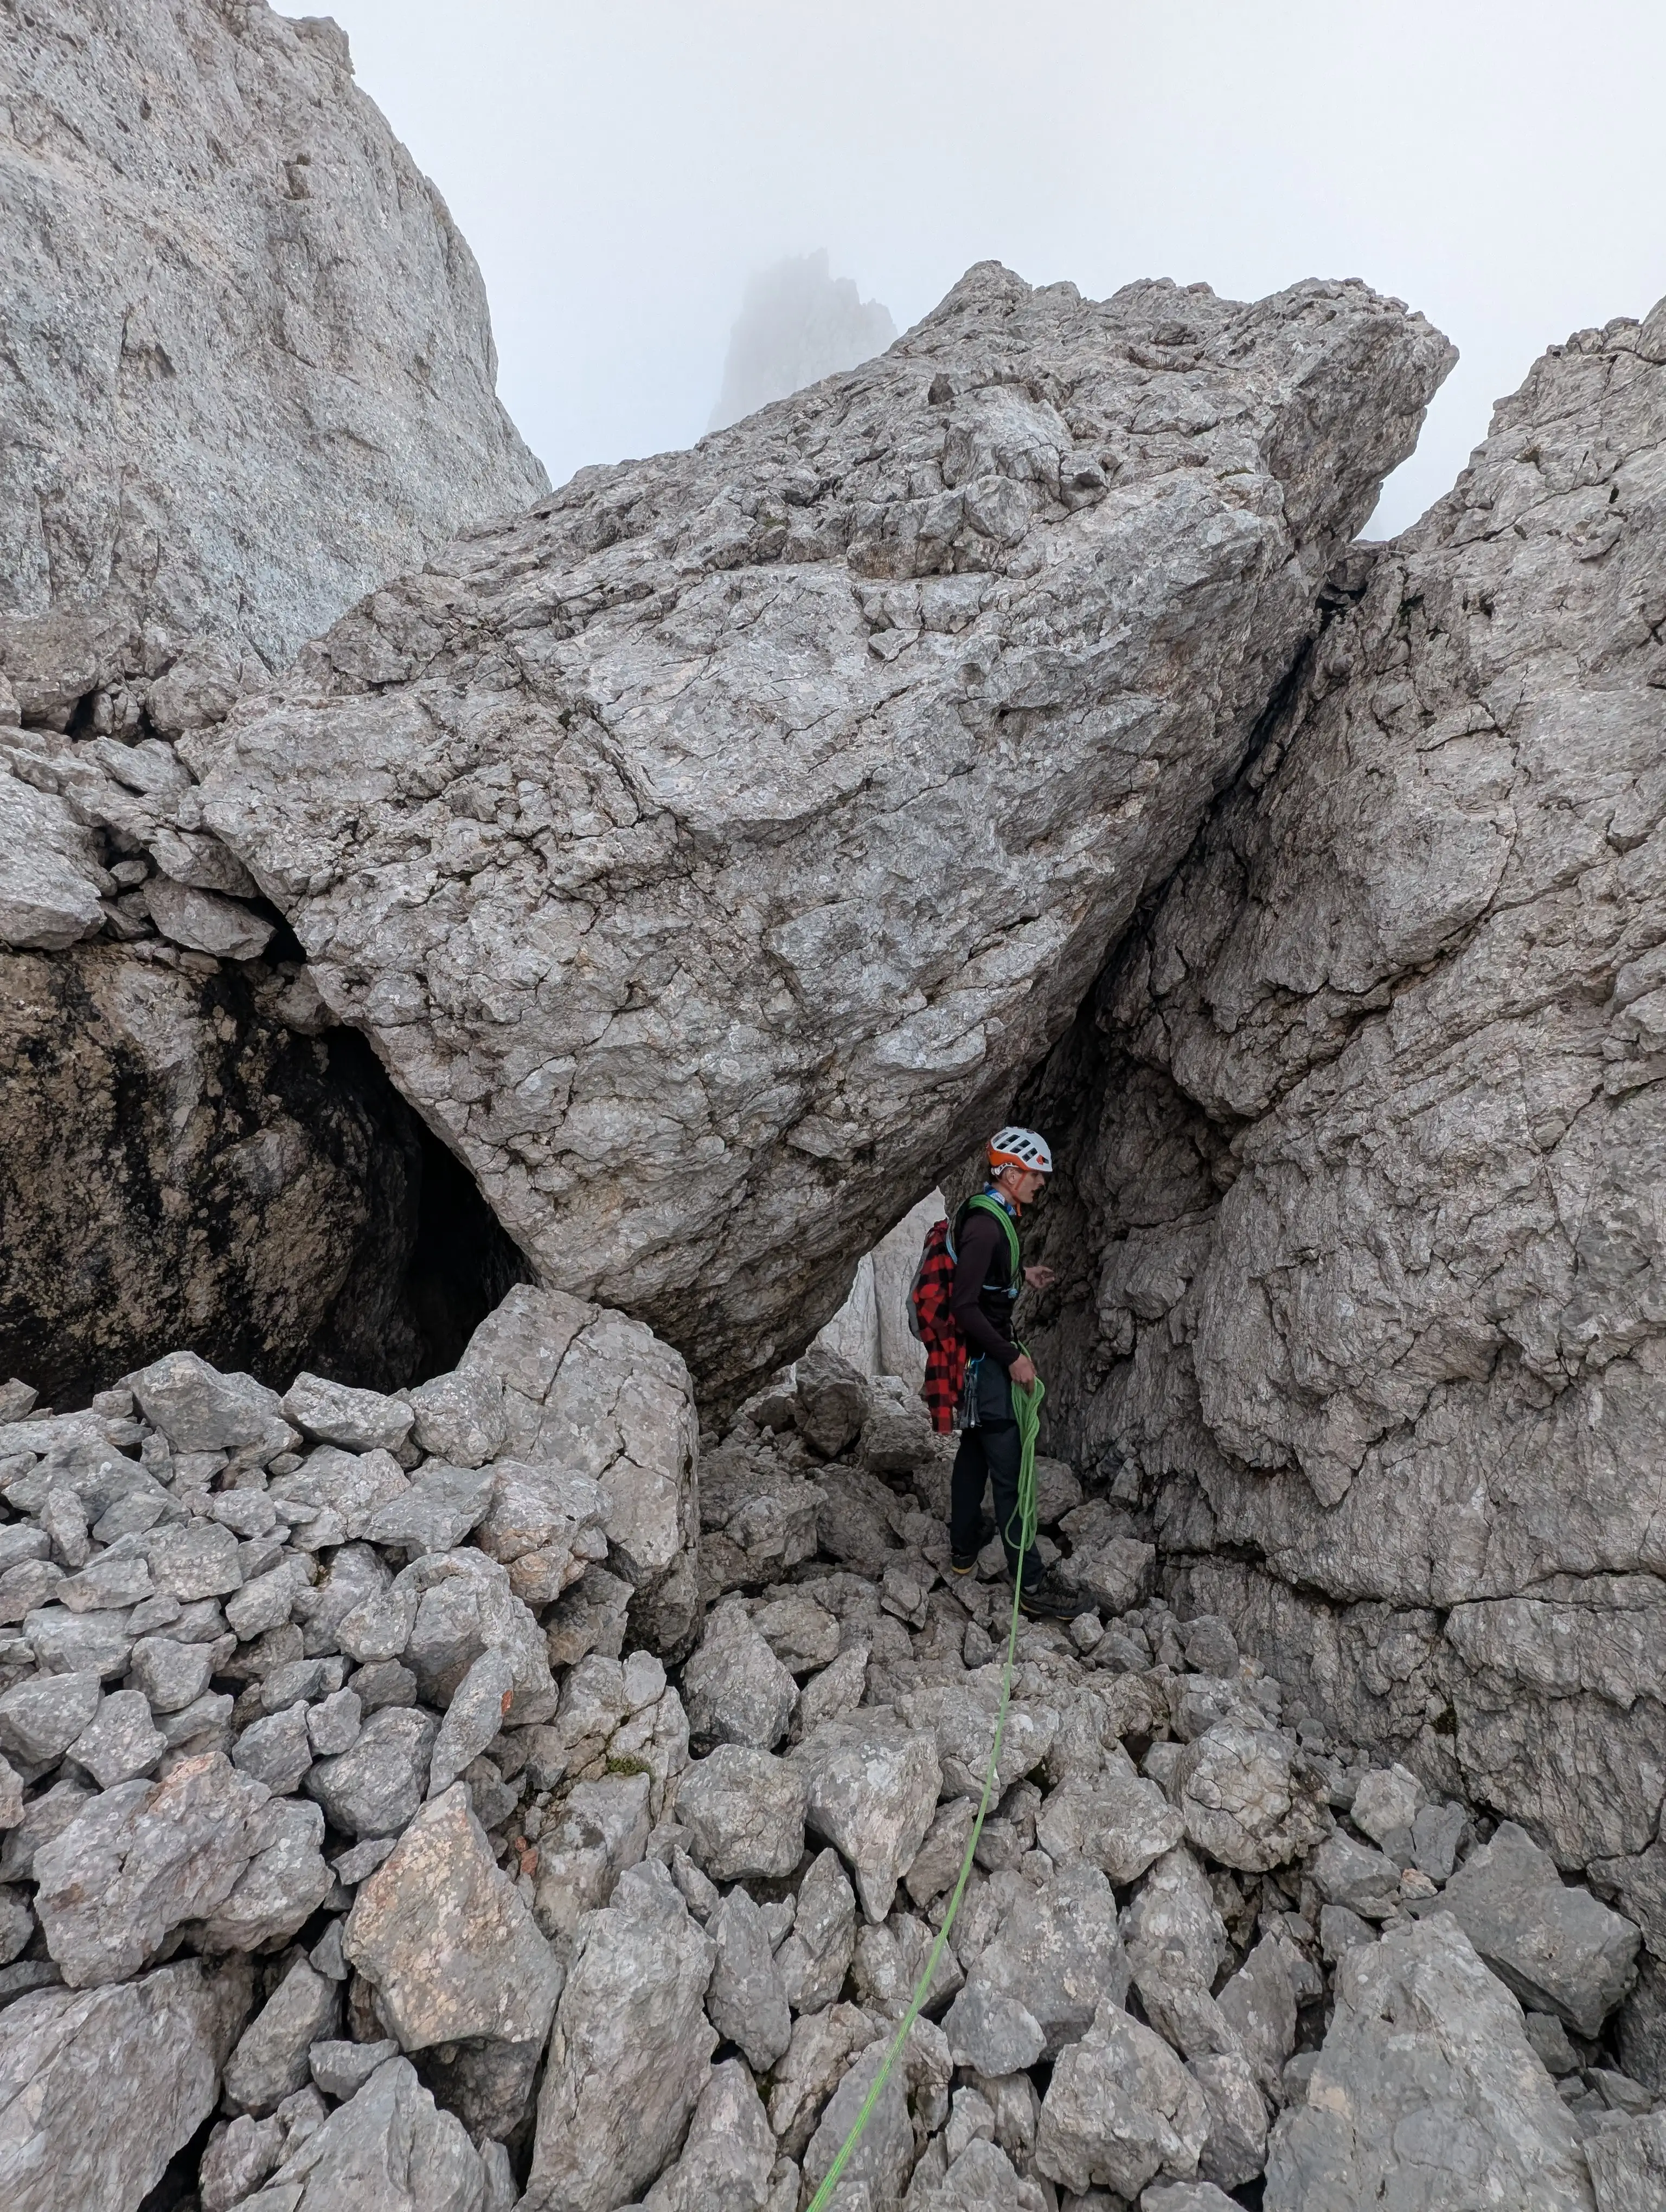 Below the peak of Macesence. Peak is on the left, climb is easy and takes not even 5 minutes from here. Now, under that block and downclimb to the ridge connecting with Stenar (barely visible in the background)
 Stenar with visible ridge connecting it to the base of Macesence. Looks challenging but the climb is an easy one (I+) although a bit exposed.
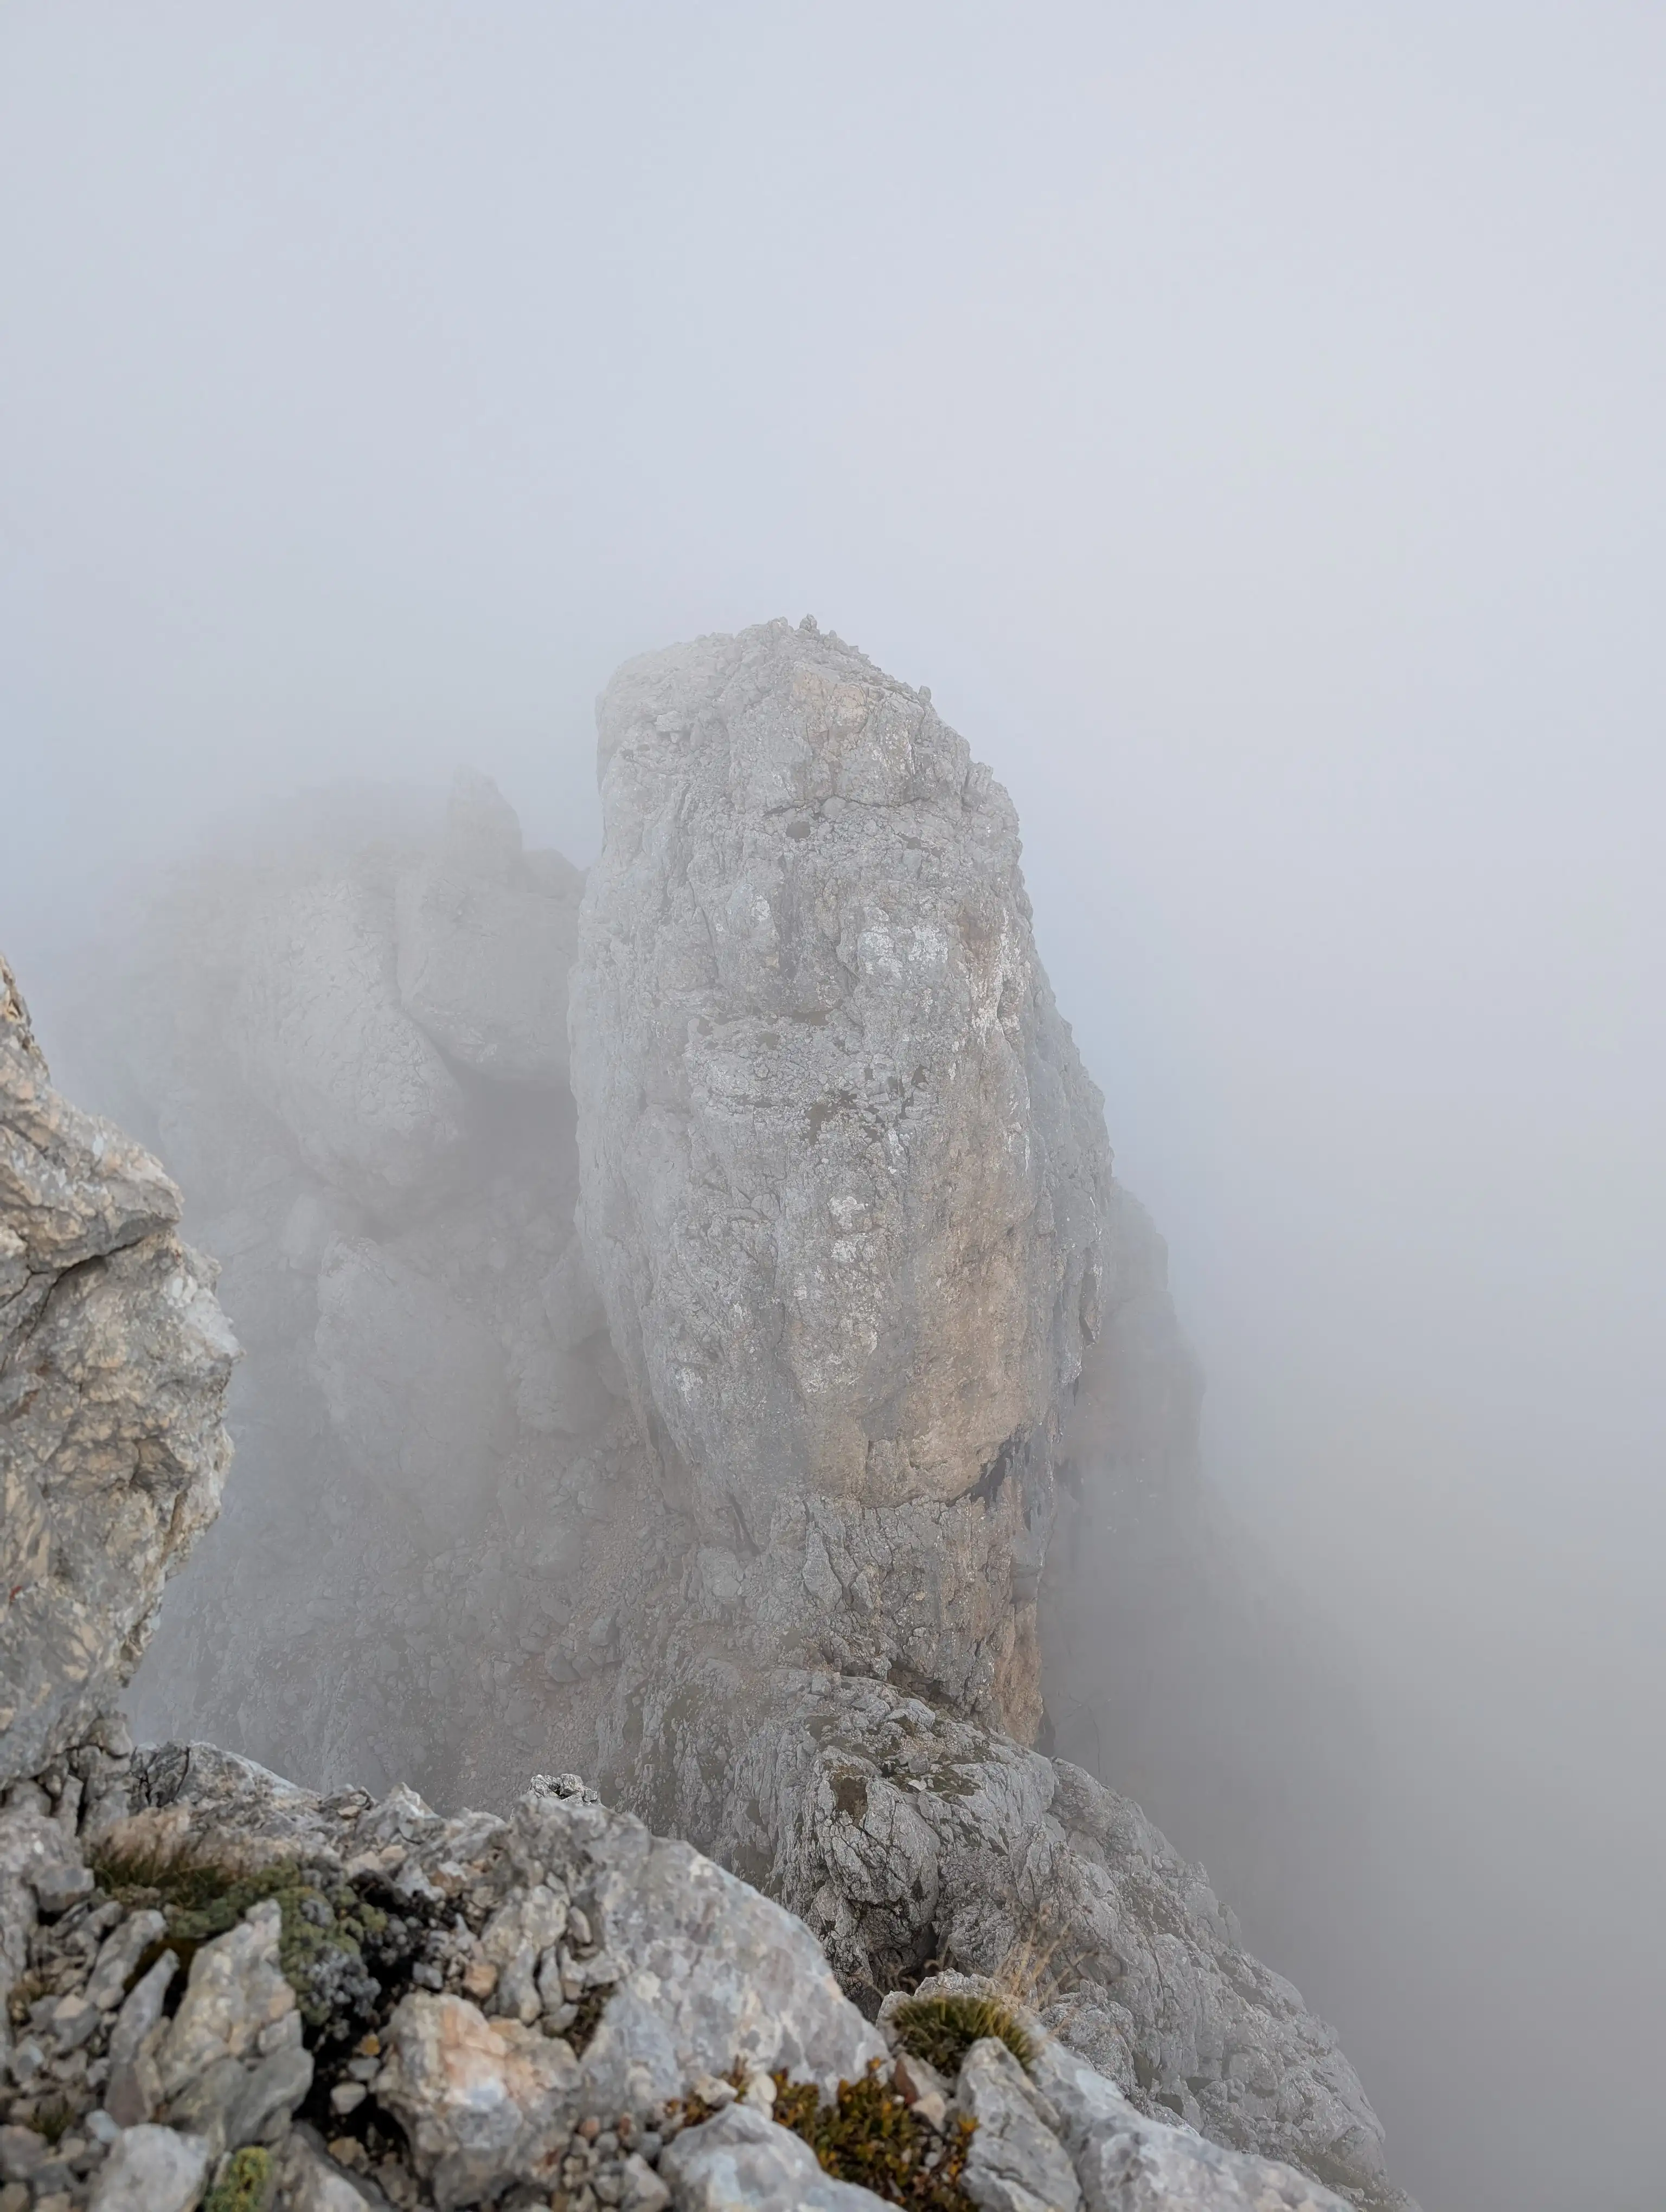 A look back on Macasence, the giant block we crawled under can also be seen.
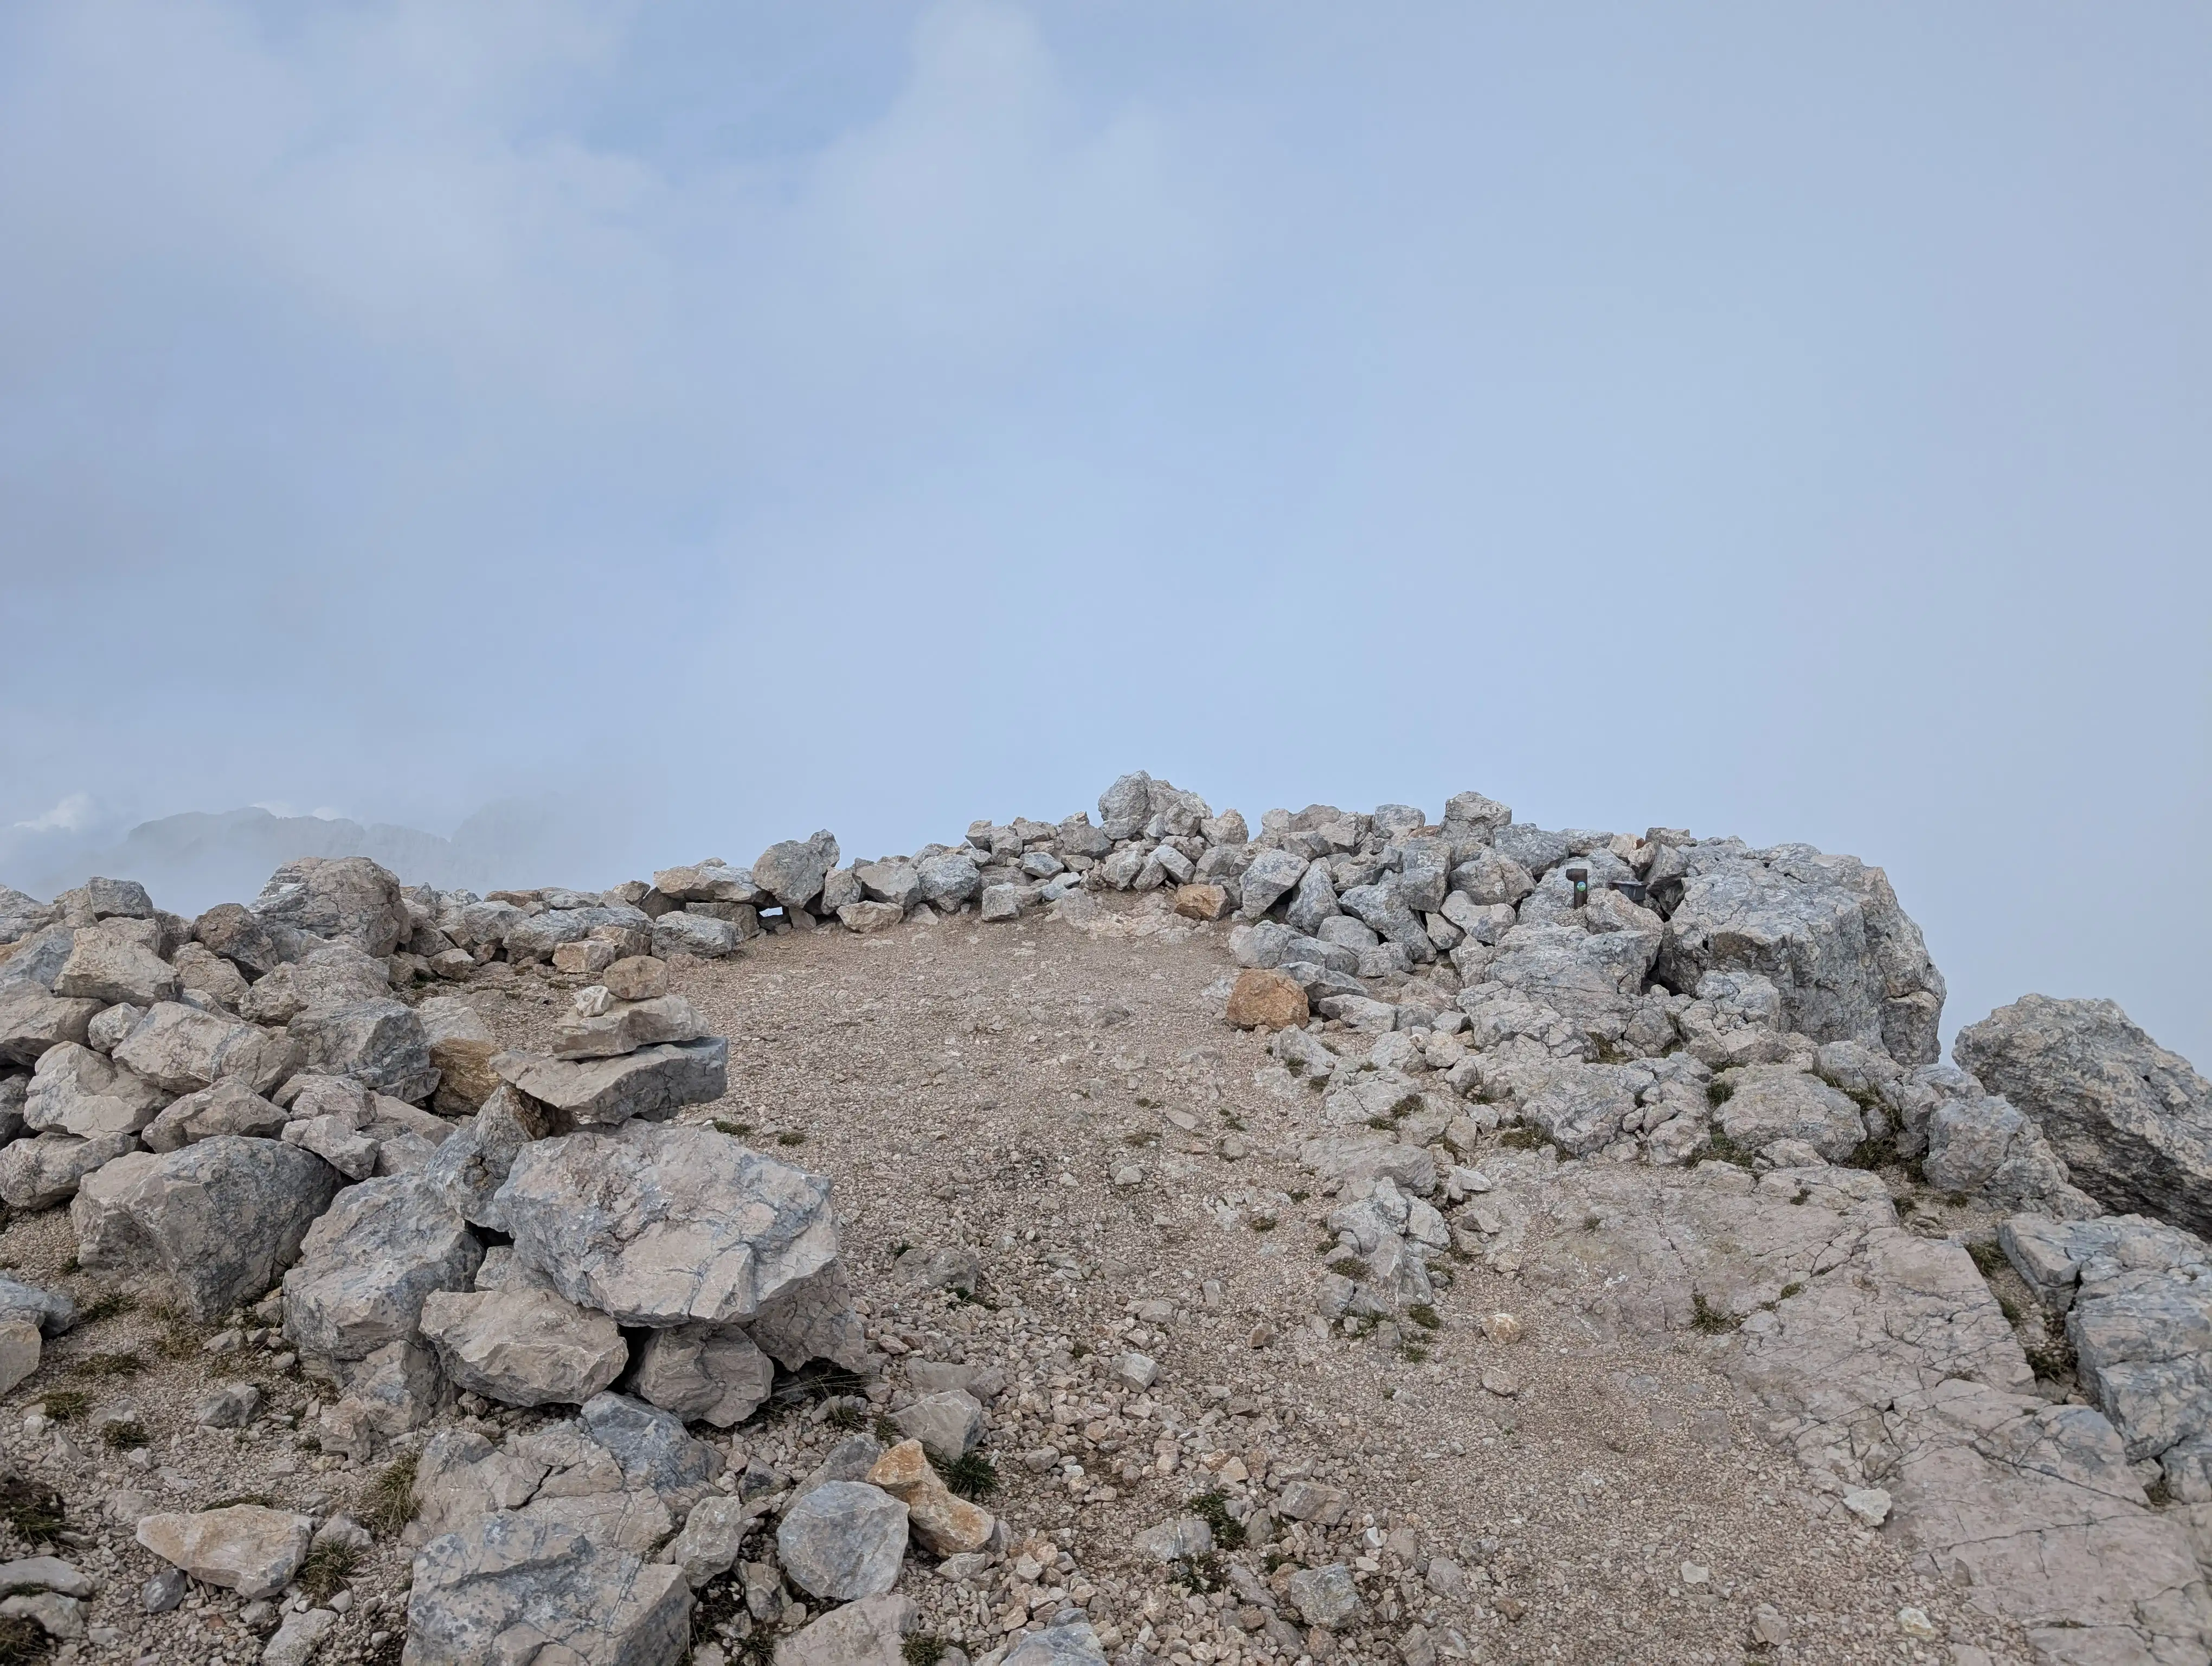 Peak of Stenar, that's it ! Supposedly the views are great but I didn't experience that. Peak looks like a popular destinations for guys who enjoy night rest at altitude (cheers Vid Pintarič!)
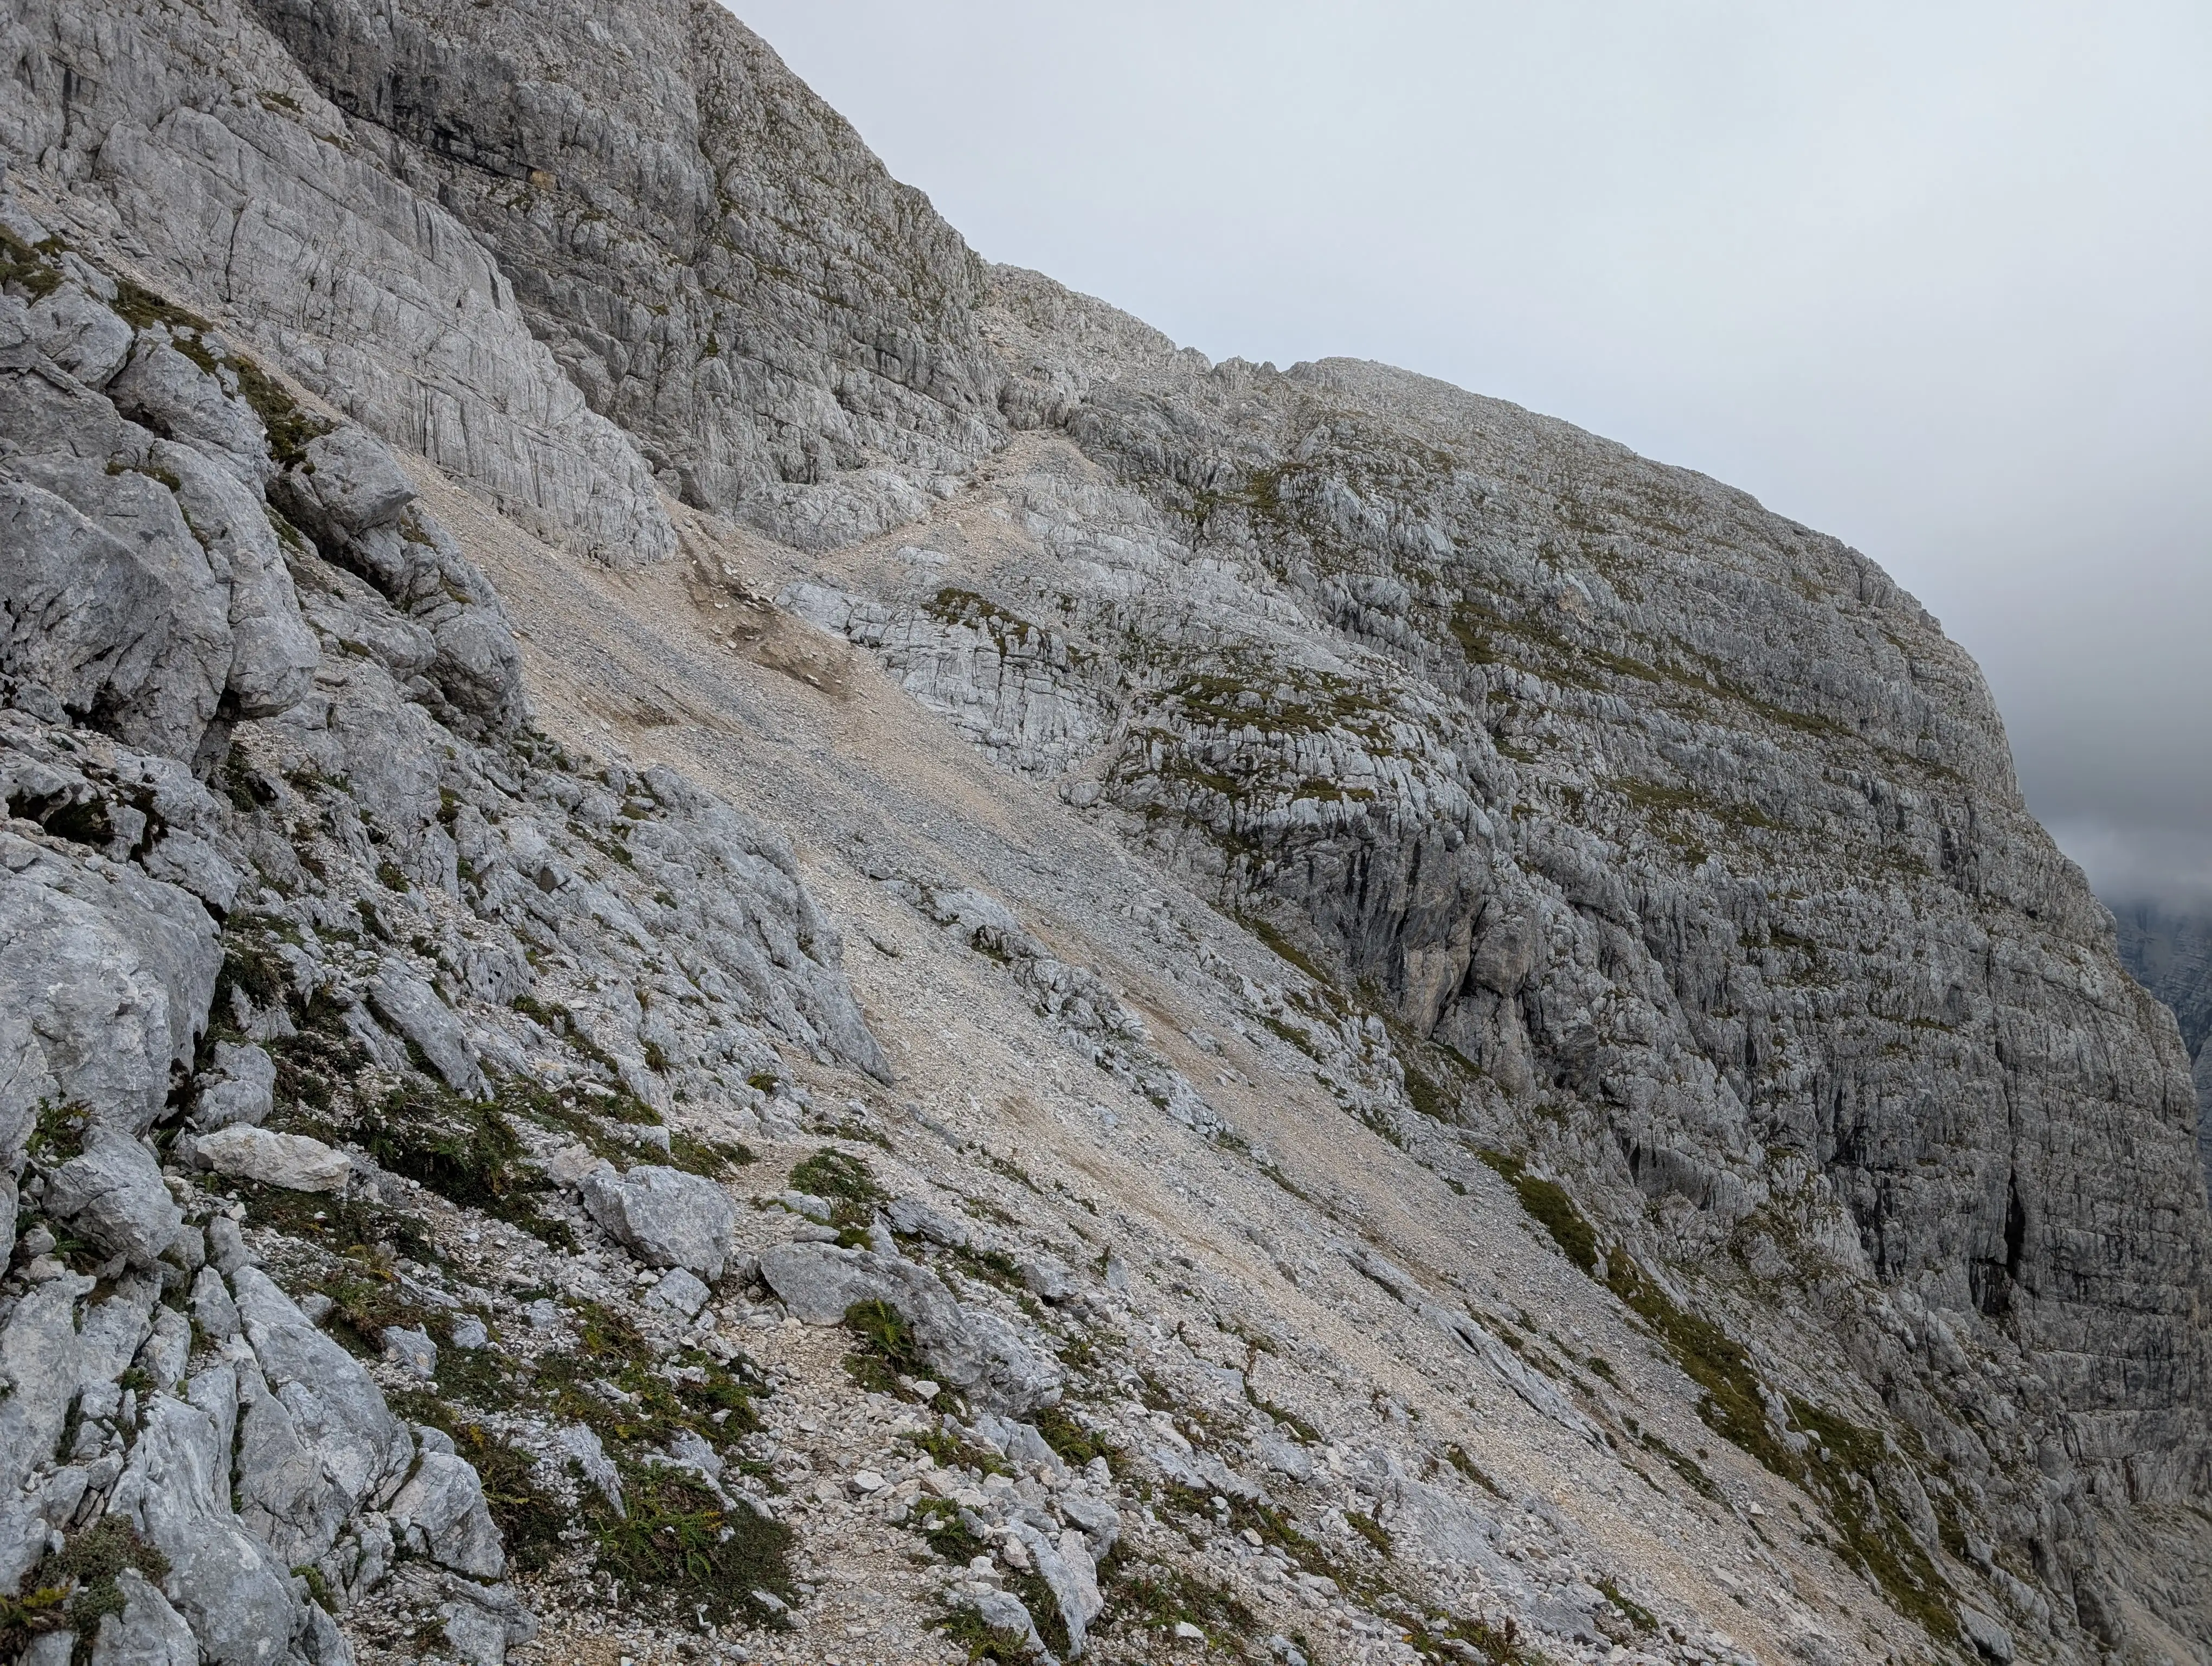 Now only 1500 meters down to Vrata valley, Stenar is left behind.
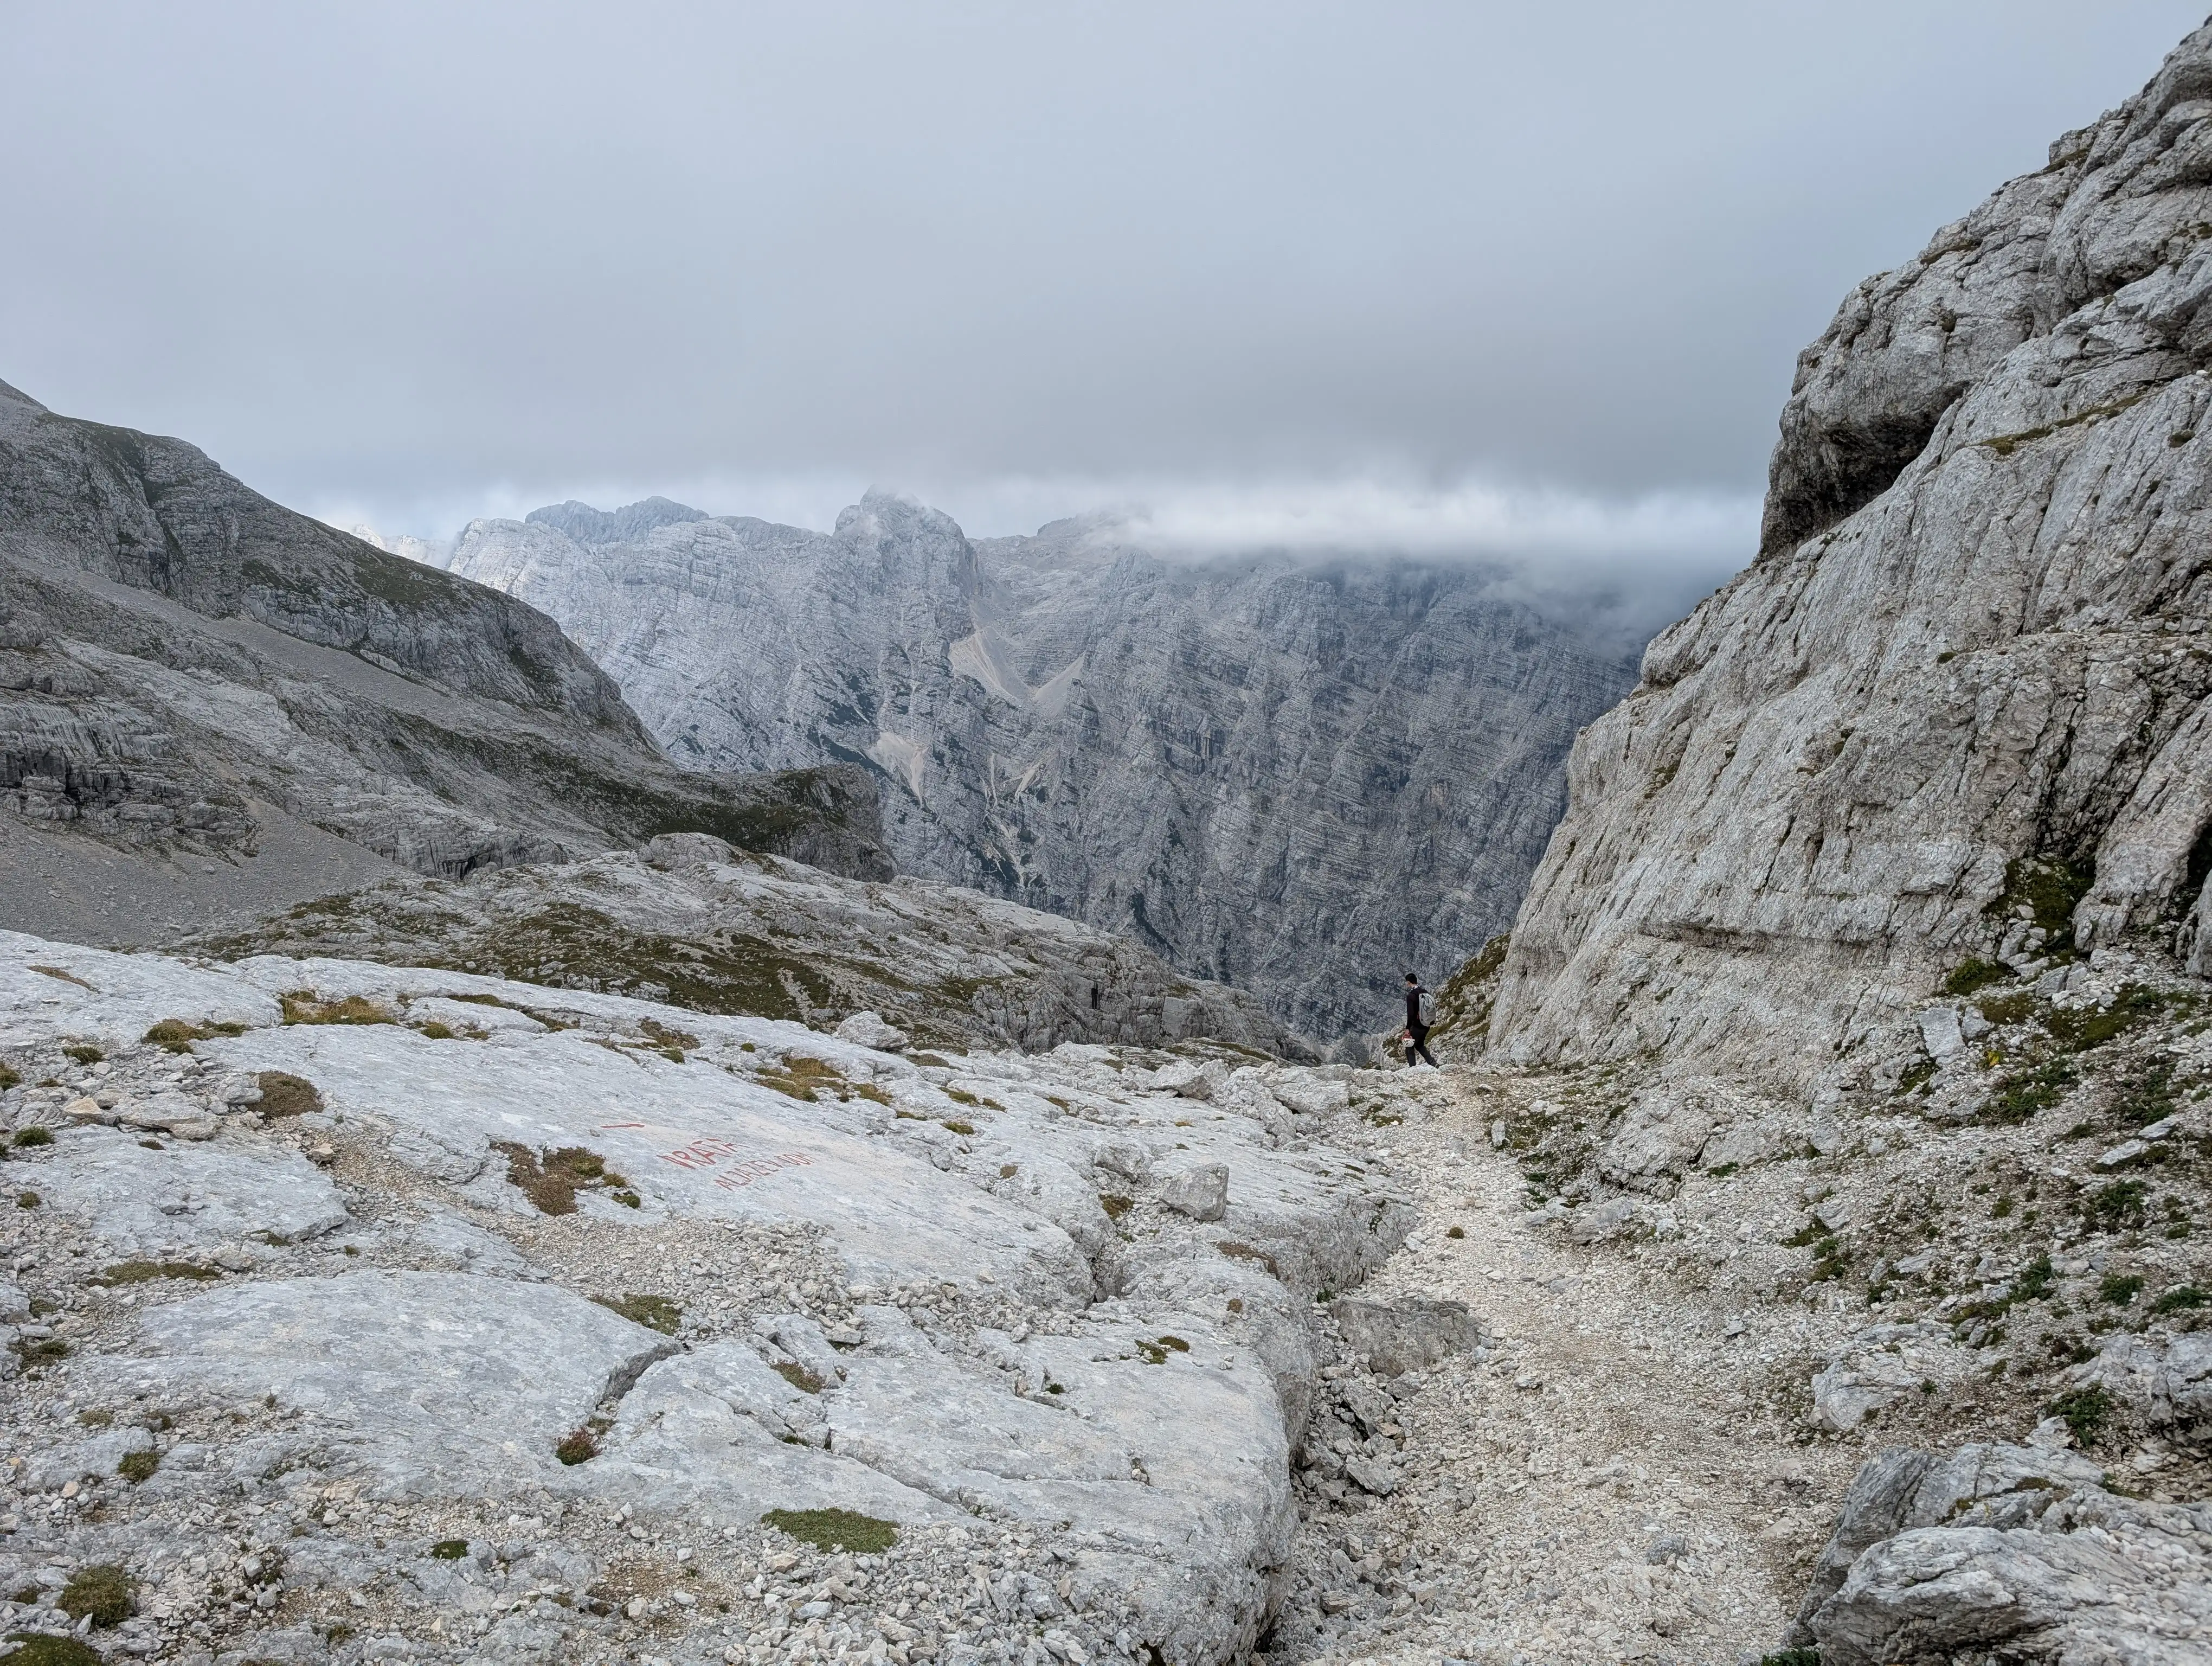 Entering Sovatna ravine soon. Trail is surprisingly pleasant to descend with not that many loose rocks.